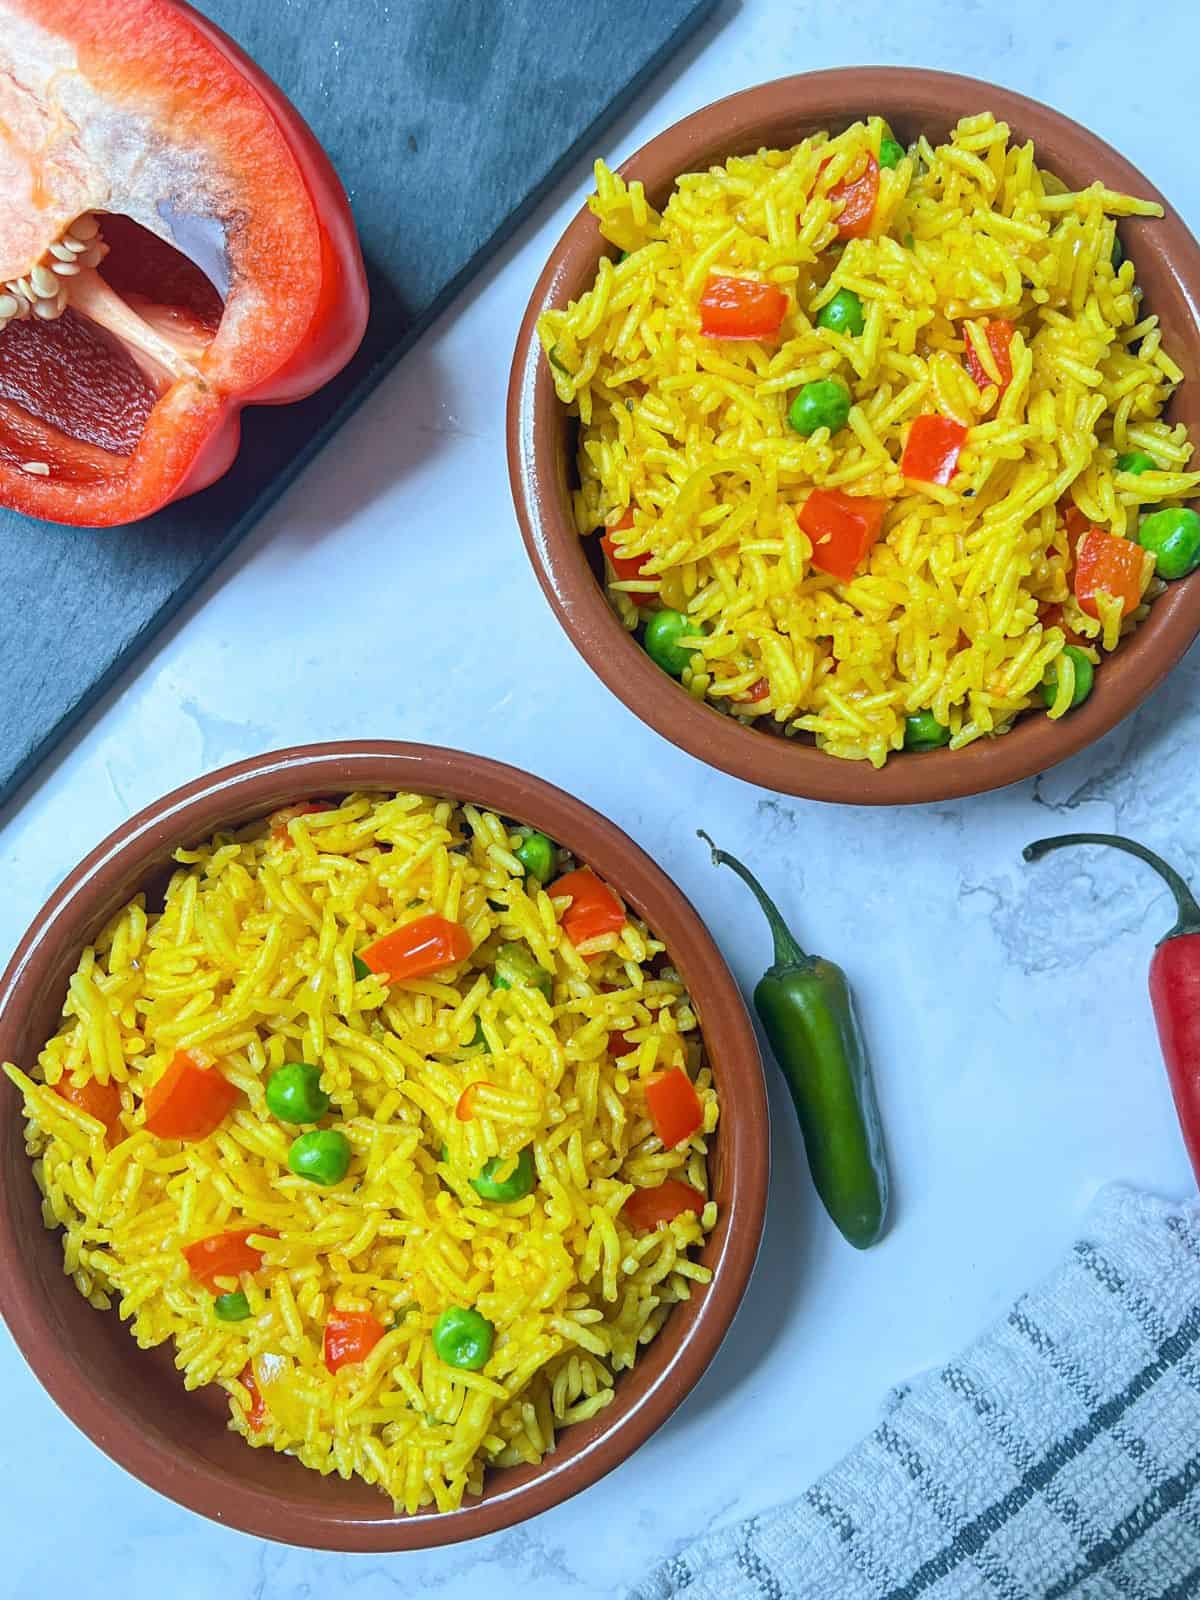
Learn how to make this Homemade Nando’s Spicy Rice which tastes as good as the real thing! Cooked in just one pan and on the table in 25 minutes!
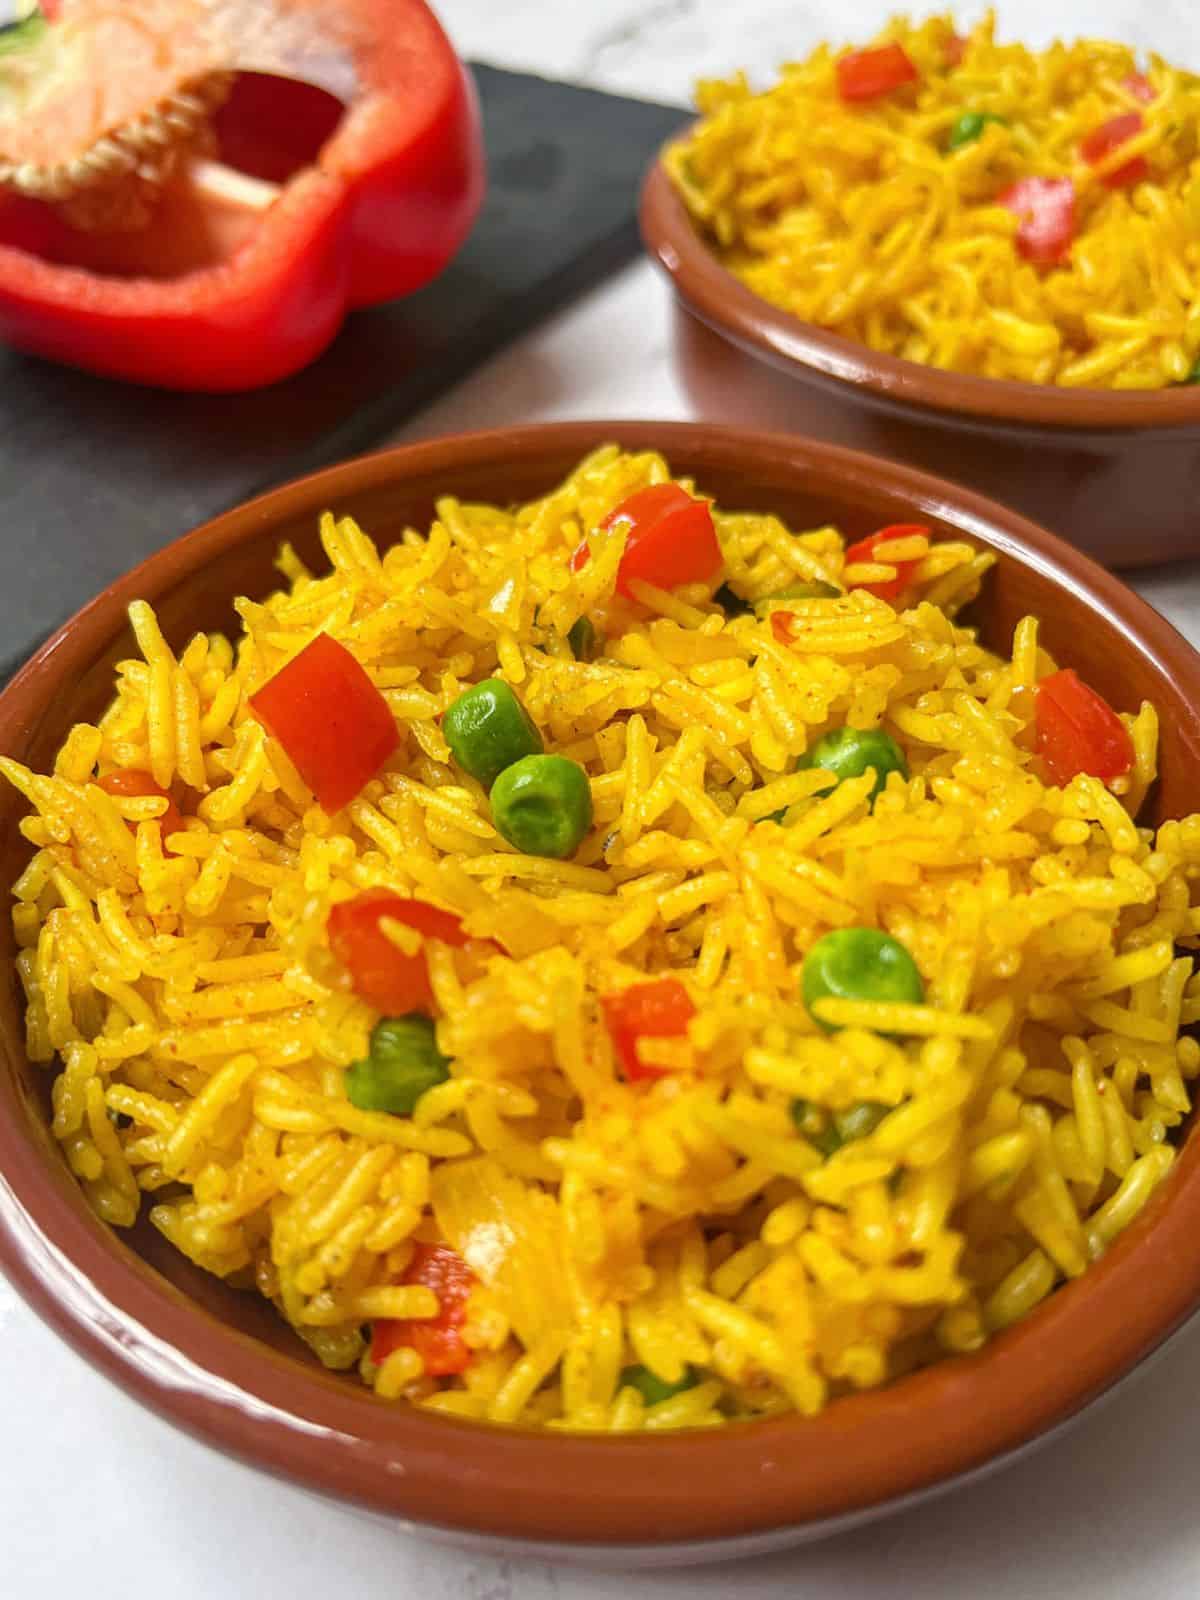
Making this Homemade Nando’s Spicy Rice is so simple!
Want to Save This Recipe?
Enter your email & I'll send it to your inbox. Plus, get great new recipes from me every week!
By submitting this form, you consent to receive emails from The Scatty Mum.
The vegetables and rice are all cooked together in one pan along with the spices resulting in a fluffy rice dish that’s bursting with flavour & tastes as good as the real deal!
Rice is a staple food in this house and we use it all the time in dishes like this pork belly fried rice and chicken & leek risotto.
Eating out at restaurants when you have a food allergy can be tough. Although in the UK, the famous Portuguese restaurant’s rice doesn’t contain any of the top 14 allergens, there is a “may contain” warning for wheat, peanuts and tree nuts due to the chance of cross-contamination and manufacturing methods.
Making this Nando’s style rice at home is not only cheaper, but you can control the ingredients and cooking environment to make it safe for anyone with a food allergy. I love cooking the spicy rice alongside this Nando’s Butterfly Chicken for a fakeaway feast.
If you love recreating restaurant dishes at home too, check out my Five Guys Copycat Burger & Five Guys Cajun Peanut Free Fries.
Jump to:
❤️ Why You Will Love This Recipe
- Ready In Just 25 Minutes: Making this easy spicy rice recipe a quick and simple dish for those busy weeknights.
- Packed Full Of Flavour: This copycat version is full to the brim of flavour and tastes as good (if not better in my opinion!) as the restaurant version.
- Allergy Friendly: This recipe is dairy, egg, gluten & nut free.
- Cooked In One Pot: Resulting in less washing up, which is always a good thing!
- Cheaper Than Easting Out: With the cost of eating out rising, you can recreate your favourite takeaway dish at home for a fraction of the cost.
🥘 Ingredients Needed & Substitutions
✋ Be sure to double check all packaging for allergens. ✋
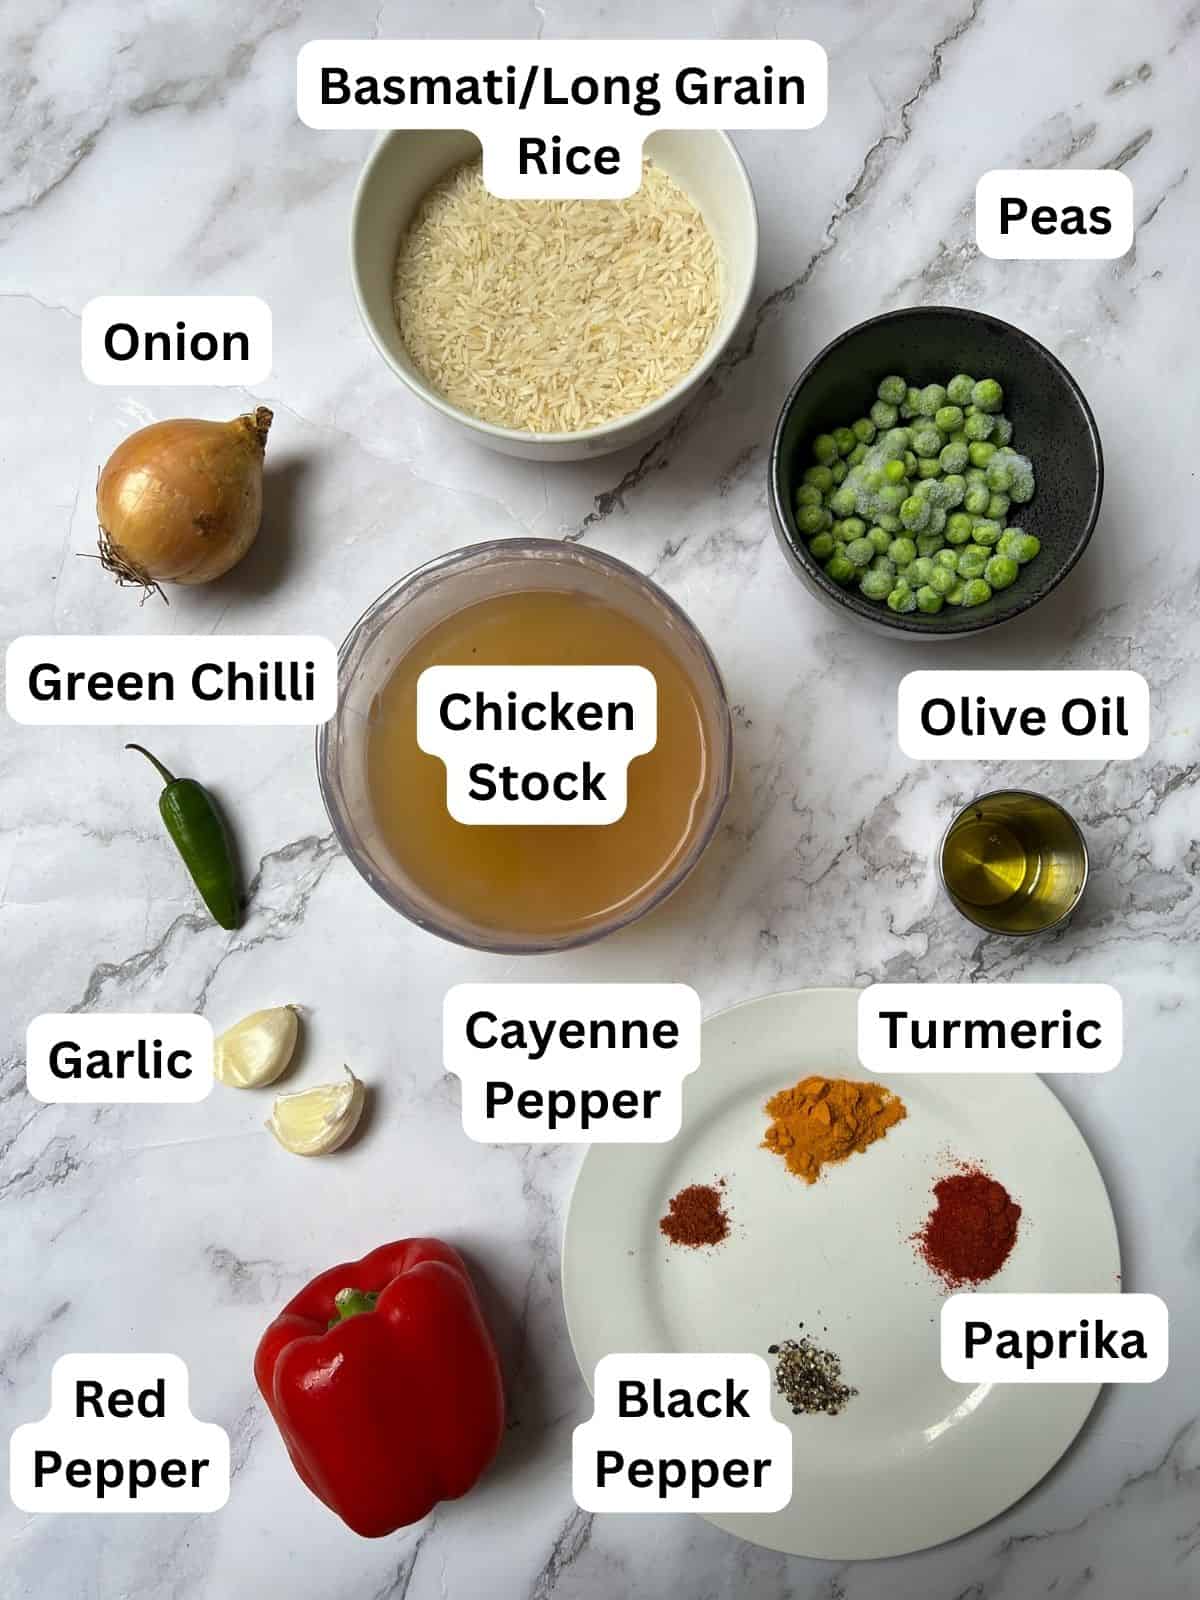
- Rice: Both long-grain rice or basmati rice will work for this dish. You can use brown rice if you prefer, but note you will need to cook the dish for a bit longer and you won’t get the same authentic taste as you will with white rice.
- Stock: You can use chicken stock or to make this rice vegetarian and vegan, swap the chicken stock for vegetable stock. You can either use a chicken stock cube or a stock pot. I love using the Knorr stock pots as they are gluten and dairy free! (Always double check the packaging)
- Aromatics: Onion, garlic & green chilli form the base of the spicy rice. You can use red chillies if you can’t get hold of green ones.
- Vegetables - I have used red pepper and garden peas in this version to add some colour and extra vegetables. In the restaurant version you will find green pepper and no peas, so feel free to use these instead to make it more authentic.
- Spices - Turmeric, smoked paprika, cayenne pepper and black pepper make up the irresistible spice mix.
- Olive Oil
See the recipe card for full information on ingredients and quantities.
✏️ How To Make Homemade Nando's Spicy Rice
⬇️ Here you will find an overview of how to make the recipe. For full information on ingredients and quantities please see the recipe card at the bottom of the page ⬇️
Start by giving the rice a thorough rinse. Place the rice in a sieve under cold running water until the water runs clear. This helps to get rid of the starch from the rice which allows the grains to cook up beautifully fluffy and not overly sticky.
Next, finely chop the onion, red pepper and green chilli & mince the garlic using a garlic press.
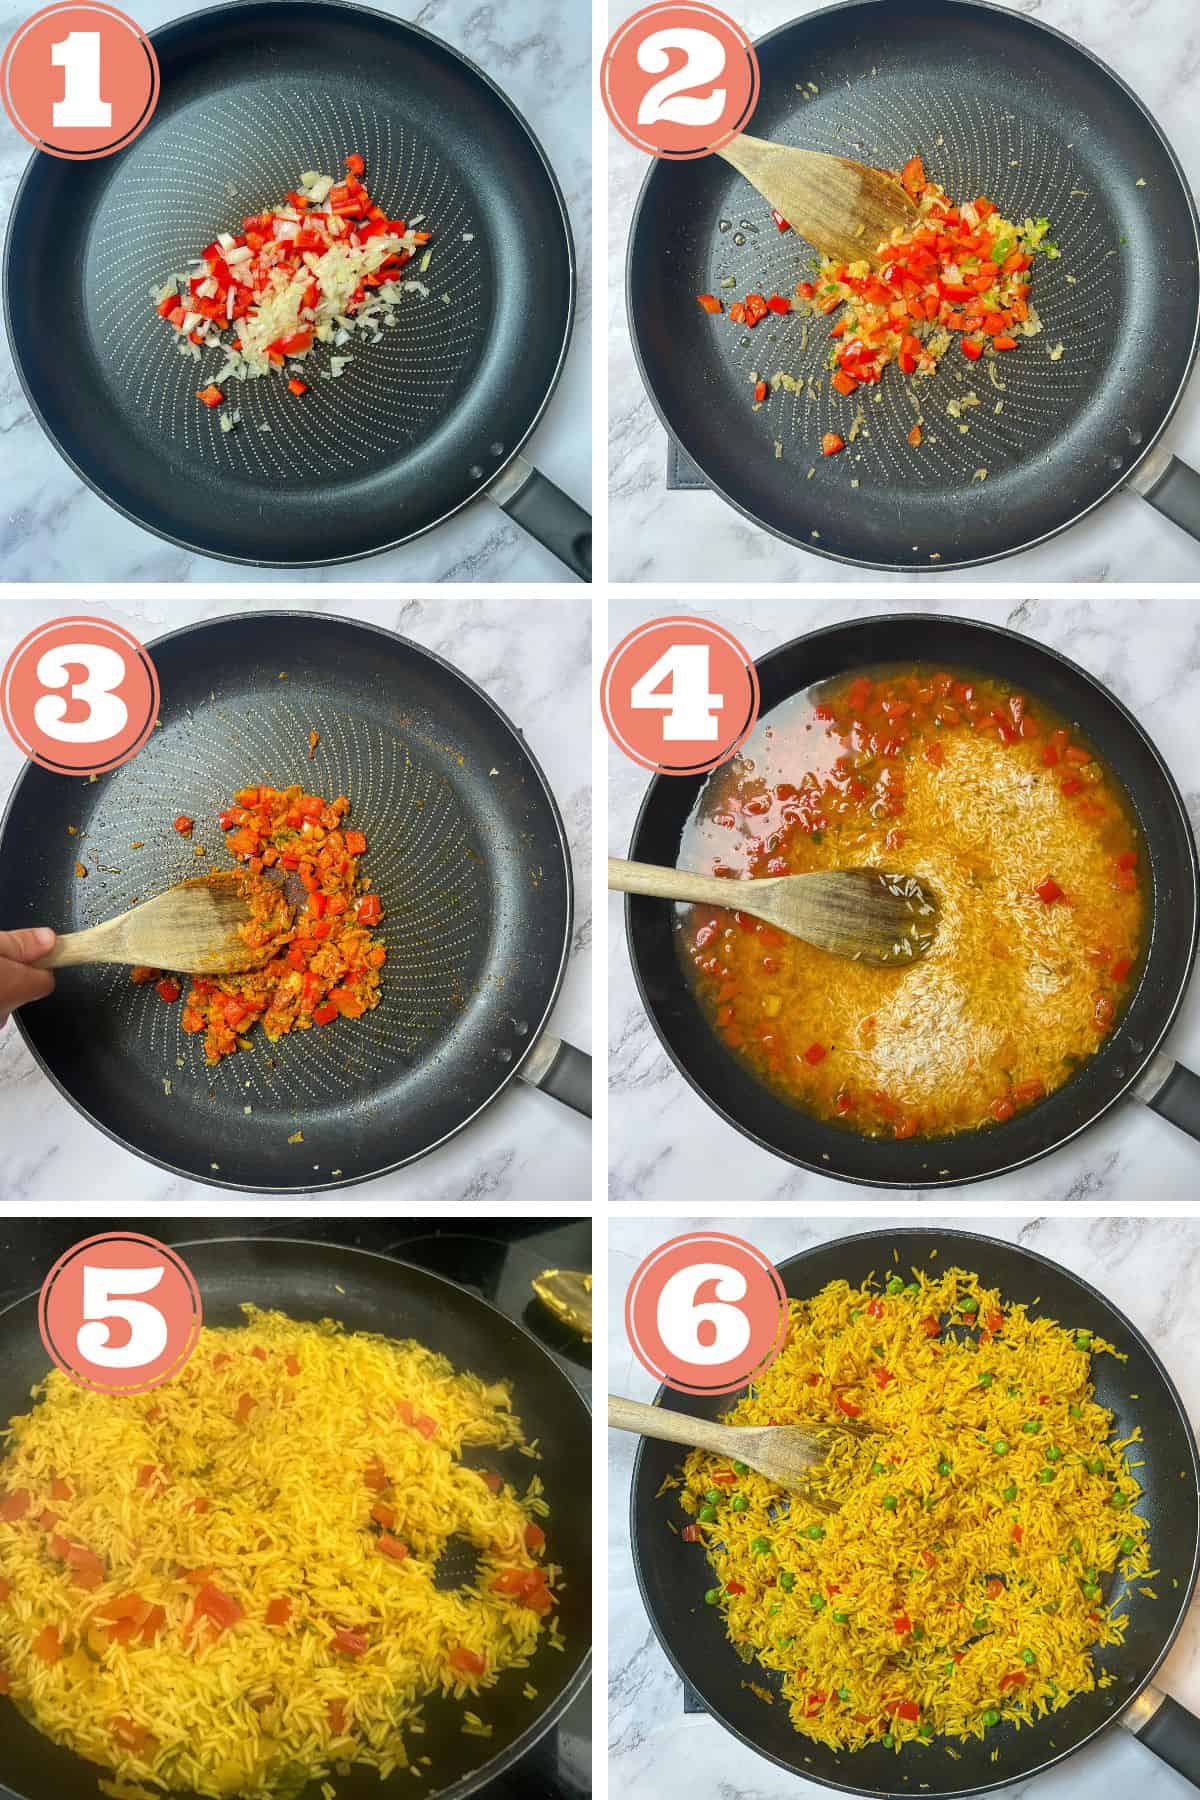
(Photo 1) You will need a large saucepan with a lid. If you don’t have a lid you can cover the pan with a double layer of aluminium foil.
Add the olive oil to the pan over a medium heat. Add the onion and peppers and sauté for a few minutes, stirring regularly until they have softened and the onions have turned translucent.
(Photo 2) Now it's time to add the garlic and chilli to the pan. Give it another stir and let the mixture cook for another couple of minutes.
(Photo 3) Next, stir the spices into the pan and cook for another minute to give the spices a chance to cook out. Go easy on the cayenne pepper if you want to keep things mild!
(Photo 4) Now, it's time to bring it all together. Add the rice to the pan, pour in the prepared stock, and stir gently before covering the pan with its lid. Bring to a boil then lower the heat to a gentle simmer, and let the rice cook for 10 minutes.
Don’t be tempted to lift the lid, as this will cause the steam to escape and will slow down the cooking process!
(Photo 5) After 10 minutes, take off the lid & stir in the peas. ( no need to defrost them beforehand!)
Remove the pan from the heat and recover with the lid, leaving the pan to finish steaming for 5 minutes.
(Photo 6) Give the rice one last stir before serving!
💡 Tips & Tricks
- Rinse the Rice! Don't be tempted to skip this step as it helps remove excess starch from the grains. This allows the rice to become fluffy & not sticky!
- No Lid? No Problem! If your frying pan doesn’t have a lid, you can make your own by covering the lid with two layers of aluminium foil.
- Adjust The Spice Level. If you like things spicy add in another ¼ teaspoon of cayenne pepper to heat things up. If you really aren’t a fan of spicy food, just leave it out!
- Leave The Rice Alone! As tempting as it may be to lift the lid… don’t! Each time you do this, steam will escape and slow down the cooking time.
- All Rice Cooks Differently. Check the packaging of the rice you are using as some rice may require additional cooking time. The best way to judge it is to check the rice when adding the peas. If it isn’t quite done, leave it on the heat for another couple of minutes before taking it off (lid still on!) to rest for 5 minutes.
🥡 Storage, Reheating & Freezing
Storage
If you have leftovers, the best way to cool the rice quickly is to lay it out flat on a cold baking tray on the kitchen side. As soon as it cools, (don't leave cooked rice out of the fridge for longer than an hour) transfer it to an airtight container where it will keep in the fridge for up to 24 hours.
Reheating
The best way to reheat this Portuguese spicy rice is to place it in the microwave and reheat it until it’s piping hot throughout. Cook in minute increments stirring each time. Do not reheat the rice more than once.
Freezing
Empty the cooled rice into freezer bags and freeze flat. This is the most space-effective way of freezing it. The rice will keep for up to a month in the freezer. When you are ready to eat, defrost in the fridge overnight and reheat as above.
🍴 What To Serve With Spicy Rice
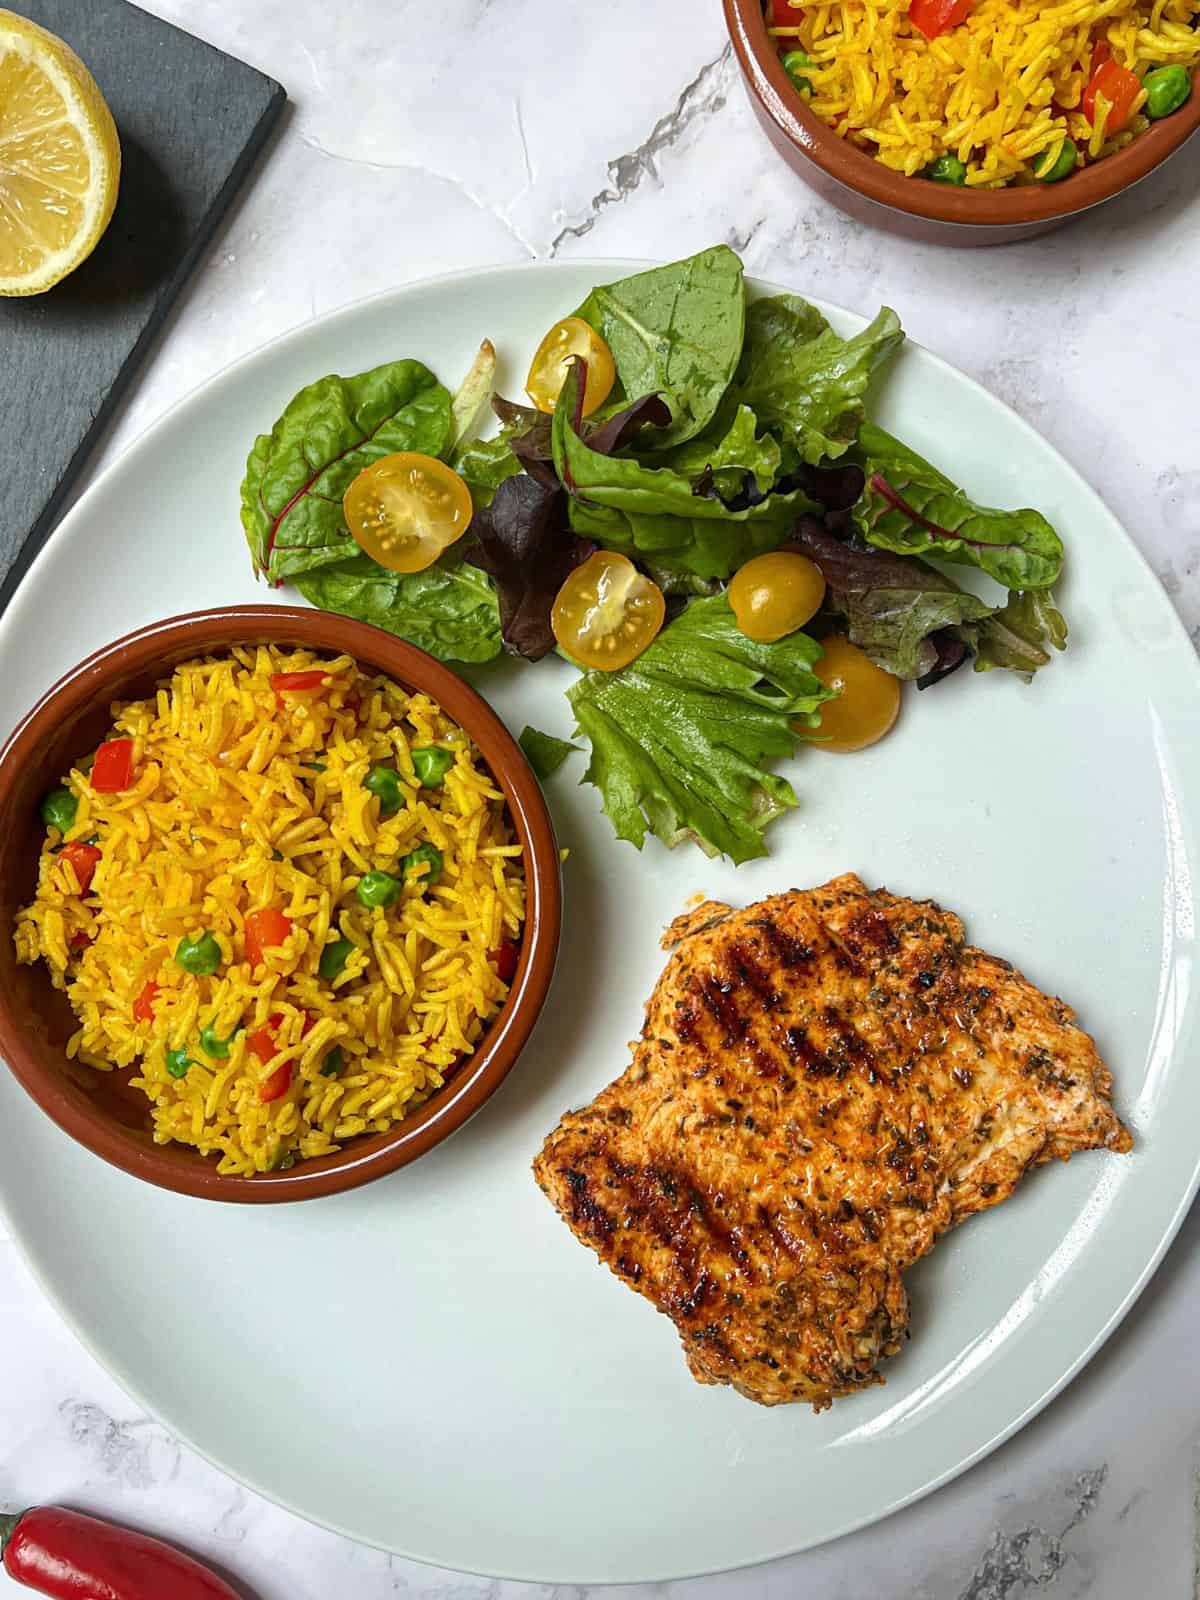
Whip up a delicious Nando’s feast and serve your homemade Nando’s spicy rice alongside this Nando’s Butterfly Peri Peri Chicken, Dairy Free Coleslaw, Dairy Free Garlic Bread, a nice green salad and these Minted Mushy Peas. ( They taste just like macho peas!)
You can also serve the rice as a main dish in its own right or alongside some chicken or seafood like this air fryer sea bass & gambas pil pil.
💬 Recipe FAQs
Yes, the base recipe for Nando's-style spicy rice is vegetarian and can easily be made vegan. Just make sure that the stock you use is vegetarian or vegan-friendly.
Nando's-style spicy rice is typically made with long-grain or basmati white rice. This type of rice has a light and fluffy texture, which works well with the flavourful spices and vegetables. However, you can experiment with other types of rice if you prefer.
Yes, frozen peas work perfectly in this recipe. There's no need to defrost them before adding them to the dish; they will thaw and cook quickly as the rice steams at the end of the cooking process.
📖 More Rice Recipes..
Looking for other recipes like this? Why not try these:
📖 Recipe

Homemade Nando's Spicy Rice
Ingredients
- 200 g ( 1 cup) basmati or long grain rice rinsed
- 400 ml ( 13.5 fl oz / 1.5 cups ) chicken stock check label for allergens
- ½ medium onion finely diced
- 2 cloves garlic crushed
- ½ medium red pepper diced in small squares
- 1 small green chilli finely diced
- 50 g ( 2 oz / ⅓ cup) frozen peas
- ½ teaspoon turmeric
- ½ teaspoon smoked paprika
- ¼ teaspoon cayenne pepper
- ¼ teaspoon black pepper
- 1 tablespoon olive oil
Instructions
- Rinse the rice in a sieve under cold running water until the water runs clear.
- Finely chop the onion & green chilli, dice the red pepper into small squares and mince the garlic with a garlic press.
- In a large skillet or lidded frying pan, heat the olive oil over a medium heat. Add the chopped onion & diced peppers and sauté for 3-4 minutes until they soften.
- Add the chopped chilli & minced garlic to the pan and sauté for another 1-2 minutes.
- Sprinkle in the turmeric, smoked paprika, cayenne pepper and black pepper. Stir well and cook out for a further minute.
- Add the rice & made-up stock to the pan. Stir gently, cover with a lid and simmer on a low heat for 10 minutes.
- Remove the pan from the heat & stir in the peas (no need to defrost!) Re-cover with the lid and leave to steam for a further 5 minutes.
- Give the rice once last stir and serve immediately.
Notes
- Rinse the Rice! Don't be tempted to skip this step as it helps remove excess starch from the grains. This allows the rice to become fluffy & not sticky!
- No Lid? No Problem! If your frying pan doesn’t have a lid, you can make your own by covering the lid with two layers of aluminium foil.
- Adjust The Spice Level. If you like things spicy add in another ¼ teaspoon of cayenne pepper to heat things up. If you really aren’t a fan of spicy food, just leave it out!
- Leave The Rice Alone! As tempting as it may be to lift the lid… don’t! Each time you do this, steam will escape and slow down the cooking time.
- All Rice Cooks Differently. Check the packaging of the rice you are using as some rice may require additional cooking time. The best way to judge it is to check the rice when adding the peas. If it isn’t quite done, leave it on the heat for another couple of minutes before taking it off (lid still on!) to rest for 5 minutes.




Comments
No Comments