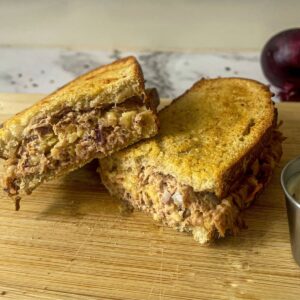
Craving comfort food but short on time? This Air Fryer Tuna Melt is your lunchtime superhero! Made with toasted bread, creamy tuna and gooey cheese, it’s ready in just 15 minutes!
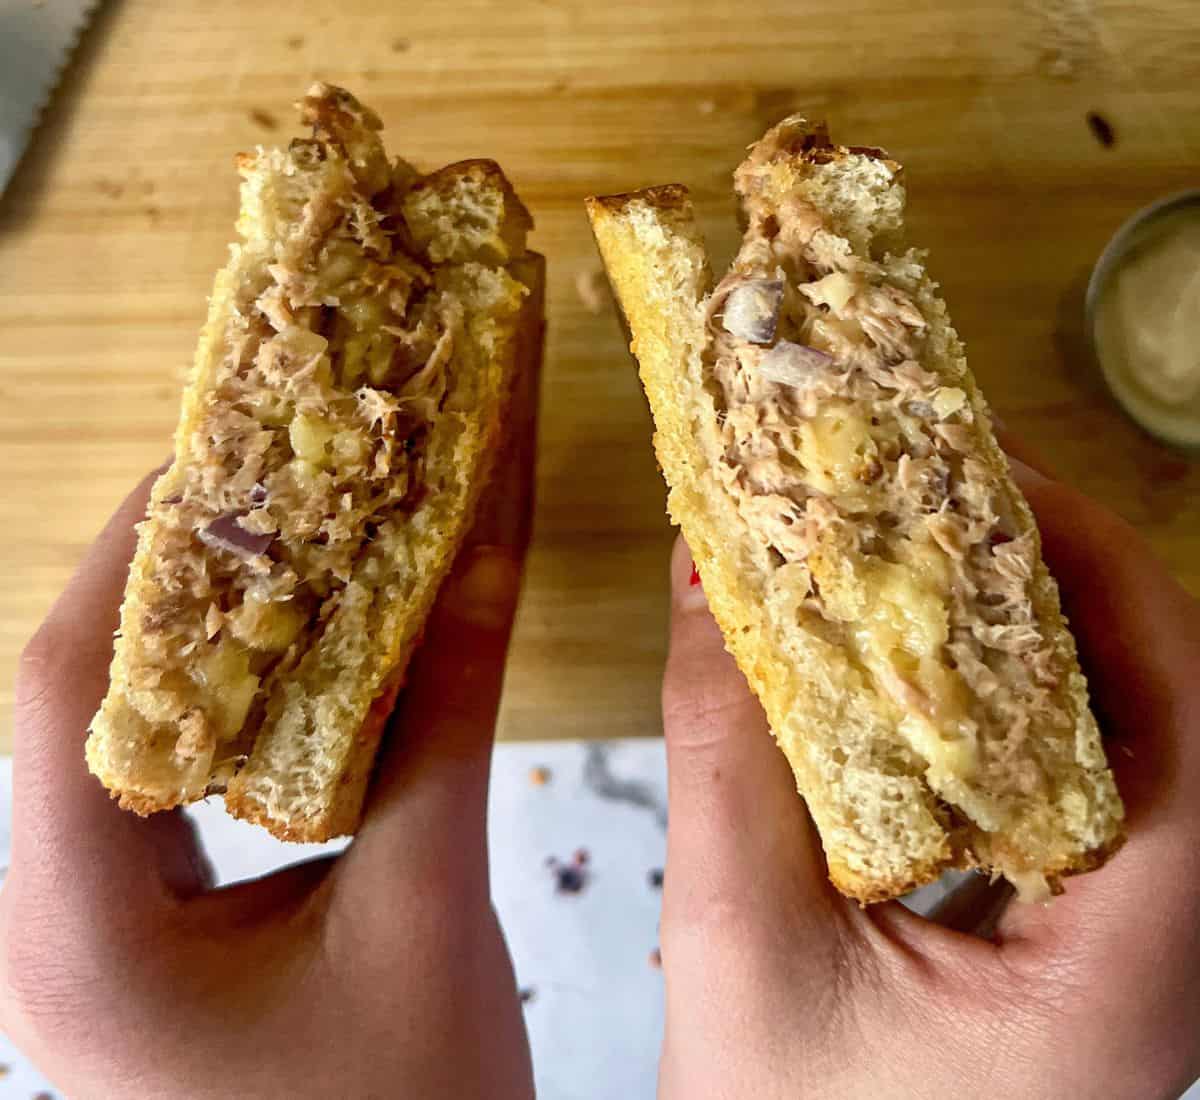
Are you bored with a basic grilled cheese sandwich? This air fryer tuna melt cranks the classic comfort food up a notch, without any greasy pan drama.
Want to Save This Recipe?
Enter your email & I'll send it to your inbox. Plus, get great new recipes from me every week!
By submitting this form, you consent to receive emails from The Scatty Mum.
A blanket of gooey melted cheese, juicy tuna & creamy mayo are sandwiched between two slices of golden, perfectly toasted bread. Comfort. Food. Heaven!
It’s really quick & easy to make! You can pimp it up and swap out ingredients to make your ultimate sandwich. I’ll even show you further down how to make your tuna melt allergy-friendly with gluten-free, egg-free and dairy-free options!
Canned tuna is such a great store cupboard ingredient and can be used in so many things. Another of my tuna favourites is this creamy tuna & sweetcorn pasta bake.
Jump to:
🥘 Ingredients You Will Need
Here is a brief overview of the ingredients you will need to make this tuna melt in the air fryer. To find out how to make it allergy-friendly, simply scroll down to the section below this one.
✋ Be sure to double check all packaging for allergens. ✋
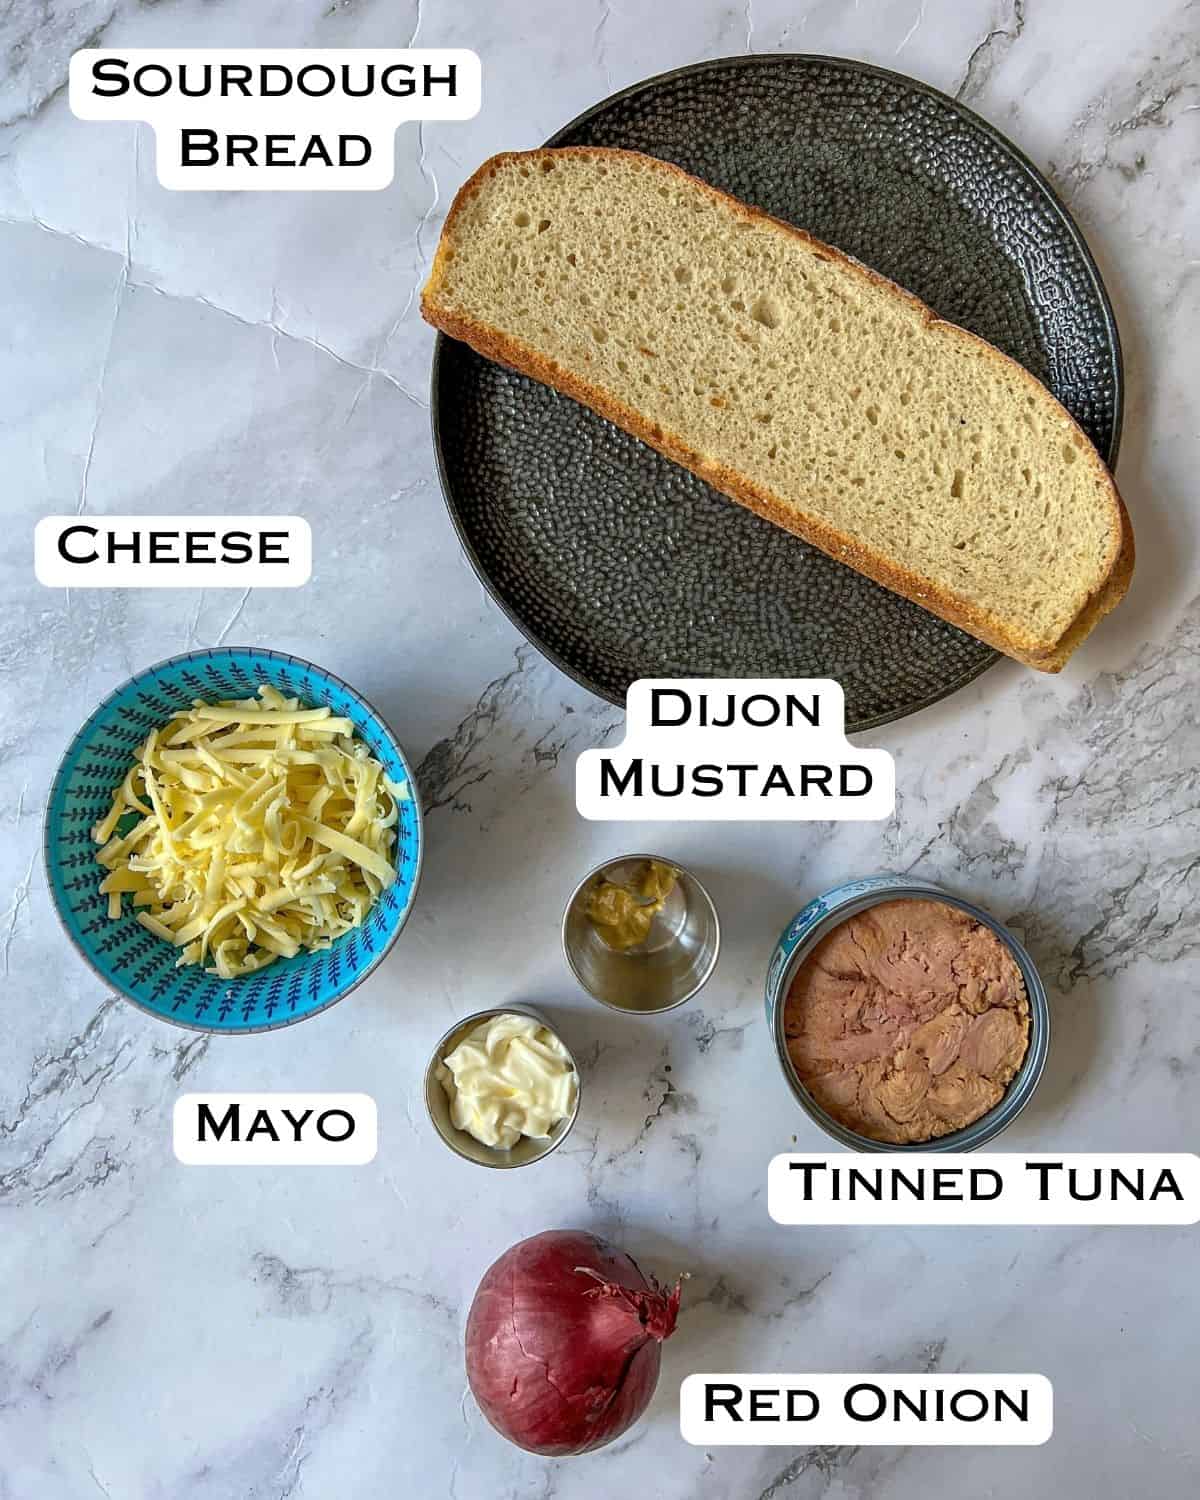
- Bread - A firmer bread like sourdough works best as the filling can be quite heavy. If you use a sliced white sandwich loaf, be aware that it won’t take as long to cook as the bread is much thinner.
- Tuna - Canned tuna in brine, oil or spring water, the choice is yours!
- Cheese - I have used a mild cheddar that I have then grated. I would recommend buying a block of cheese and grating yourself, as pre-grated cheese can contain ingredients that stop it clumping together in the bag, this means it doesn’t melt as well as block cheese.
- Red Onion - Red onion has a slighter milder and sweeter flavour than white onion.
- Mayo & Dijon Mustard - These are mixed together to create a mustard-flavoured mayo.
- Butter - The butter is spread on the outside of the bread to create that crispy, golden finish. You can also use mayo for this if you prefer.
See the recipe card for full information on ingredients and quantities.
🤔 How Can I Make This Tuna Melt Allergy Friendly?
- ✔️ Gluten-Free: Simply swap the sourdough for a gluten-free version. You will need to handle the sandwich more carefully as gluten-free bread can fall apart more easily. Check the mustard's packaging to ensure it doesn’t contain any gluten.
- ✔️ Dairy-Free: Use vegan cheese instead of regular cheese and spread mayo on the outside of the bread to help it crisp up instead of butter.
- ✔️ Egg-Free: Find an allergy-friendly egg-free mayo and use this instead of regular mayo.
- ✔️ Mustard-Free: Add a pinch of cayenne pepper in place of the mustard.
- ✔️ Sulphite-Free: Use a sulphite-free mustard like this organic Dijon mustard.
⚡ Variations
I have kept things simple ( but still super tasty!) with this recipe but feel free to play around with the ingredients and add some extras for a different spin on things.
The following ingredients all work great, but maybe not all at once!
- Fresh sliced tomato
- Chilli flakes
- Jalapenos
- Sweetcorn
- Finely sliced celery
- Gherkins
✏️ How to Make - Step-By-Step Instructions
⬇️ Here you will find an overview of how to make the recipe. For full information on ingredients and quantities please see the recipe card at the bottom of the page ⬇️
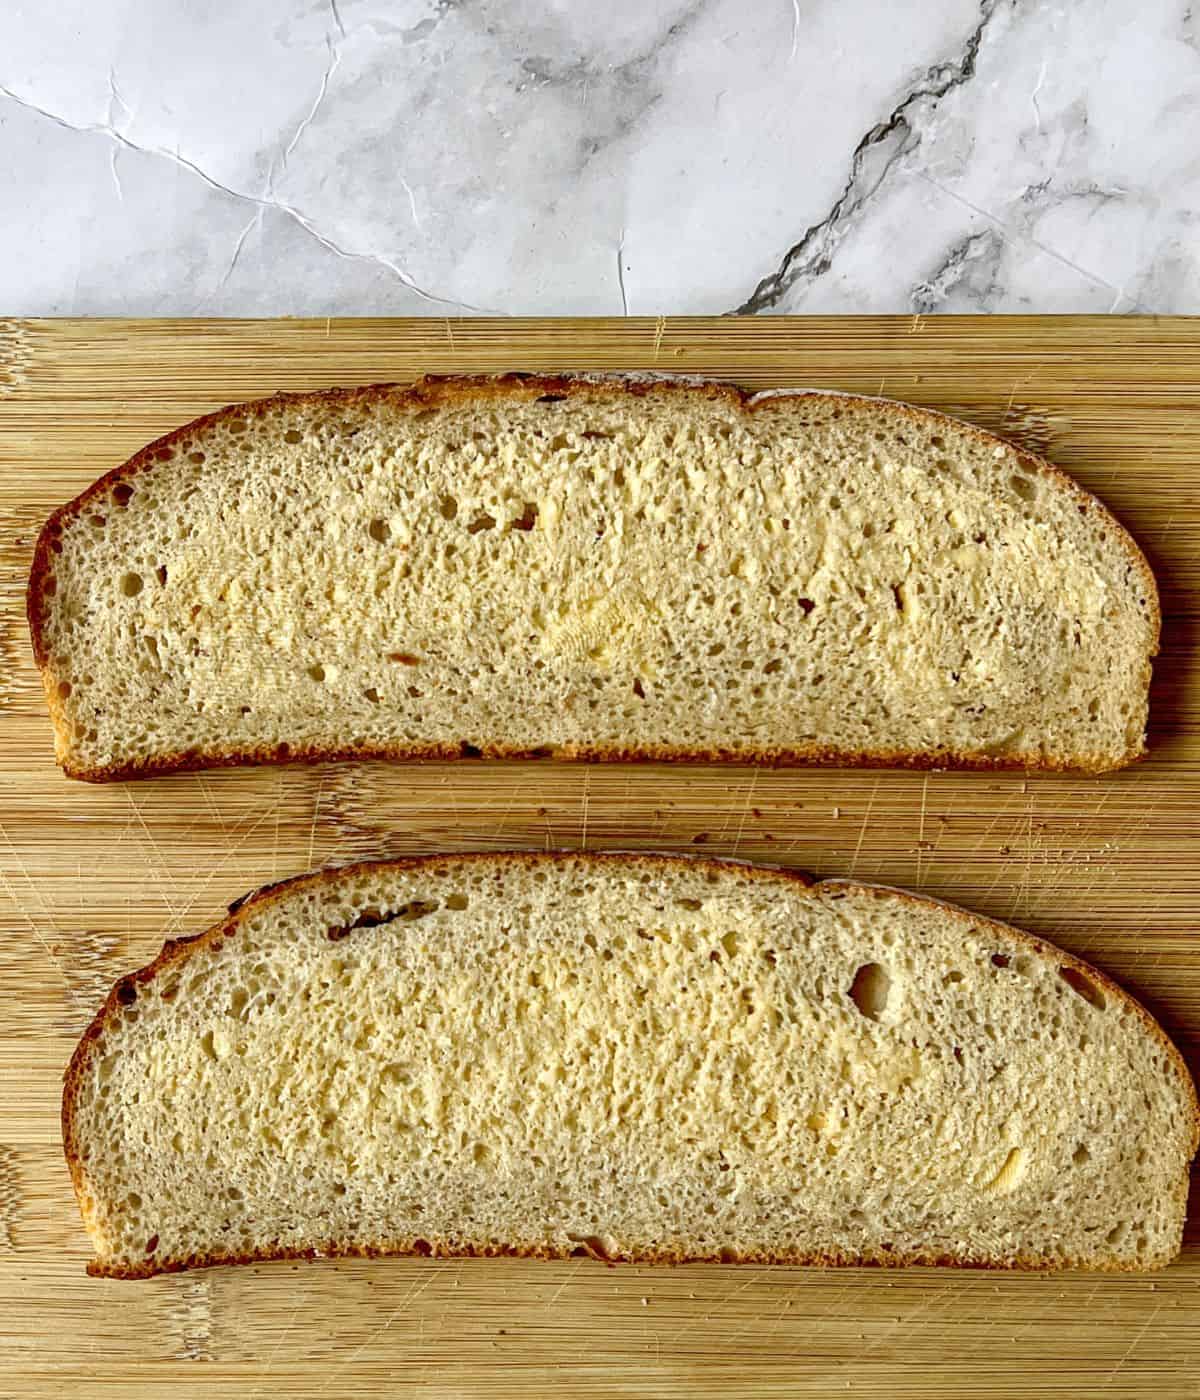
Step 1: Spread some softened butter on one side of each bread slice.
Step 2: Finely chop or slice the red onion. Add it to a bowl, along with the flaked tuna, mayo, Dijon mustard, and a dash of salt and pepper.
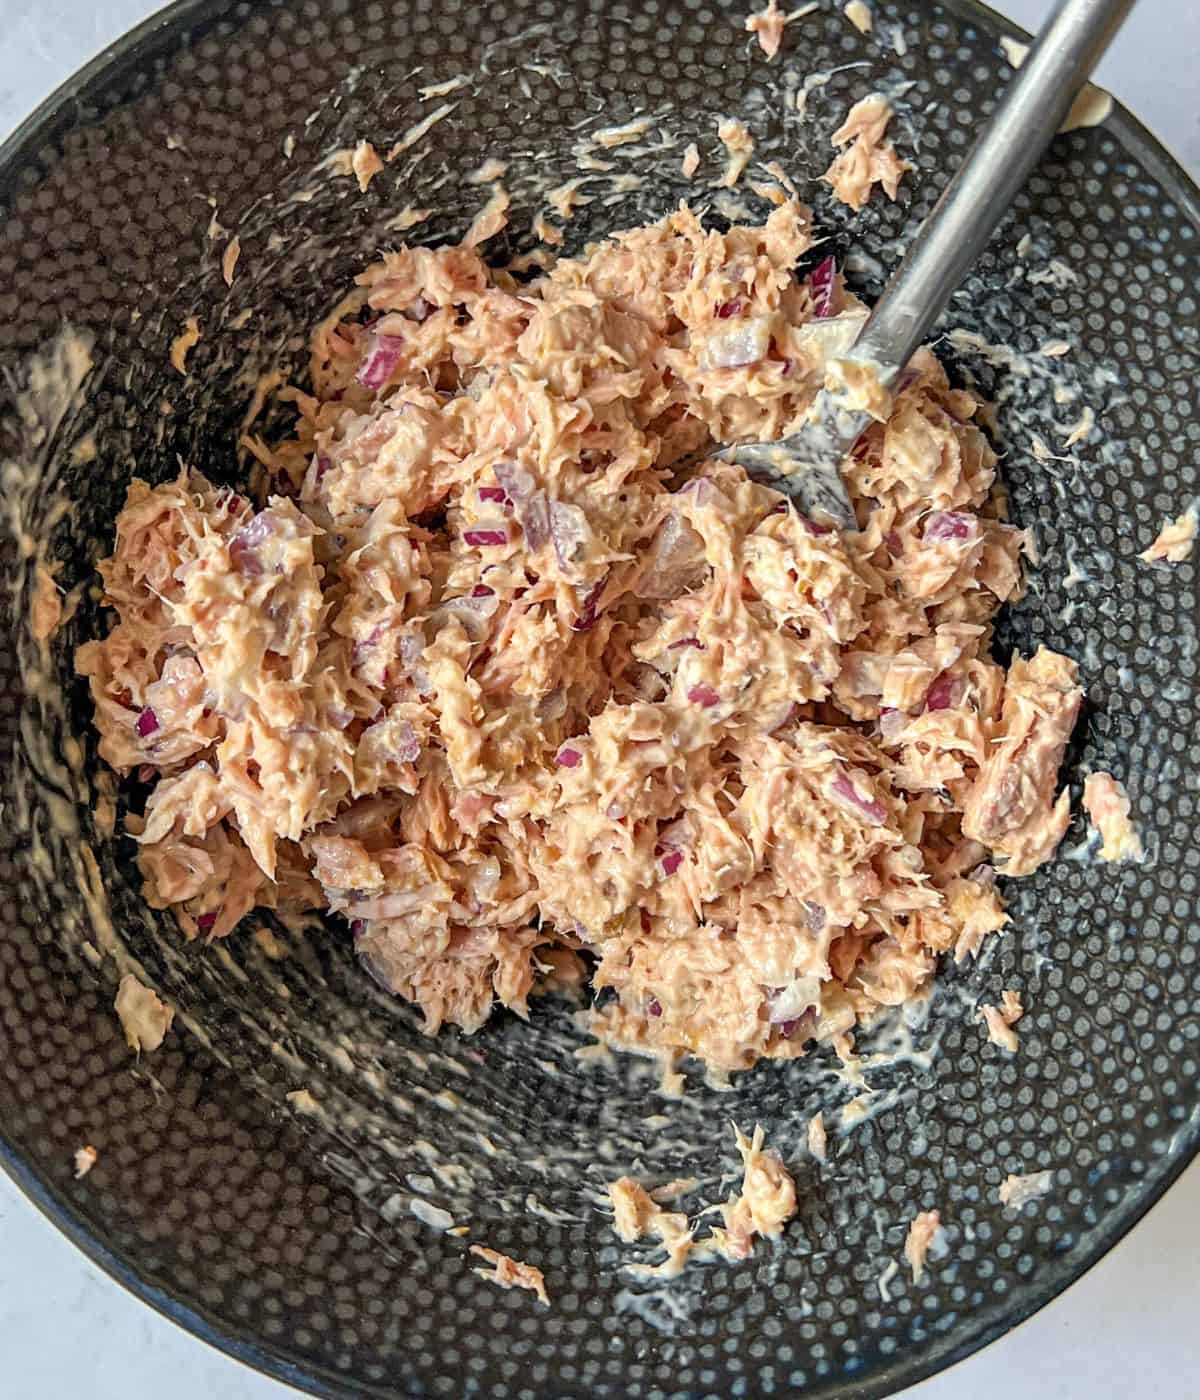
Step 3: Flip the bread slices over so the buttered sides rest against the chopping board & spread the tuna salad on both slices.
You may not need to use all the mixture, depending on how big your bread is.
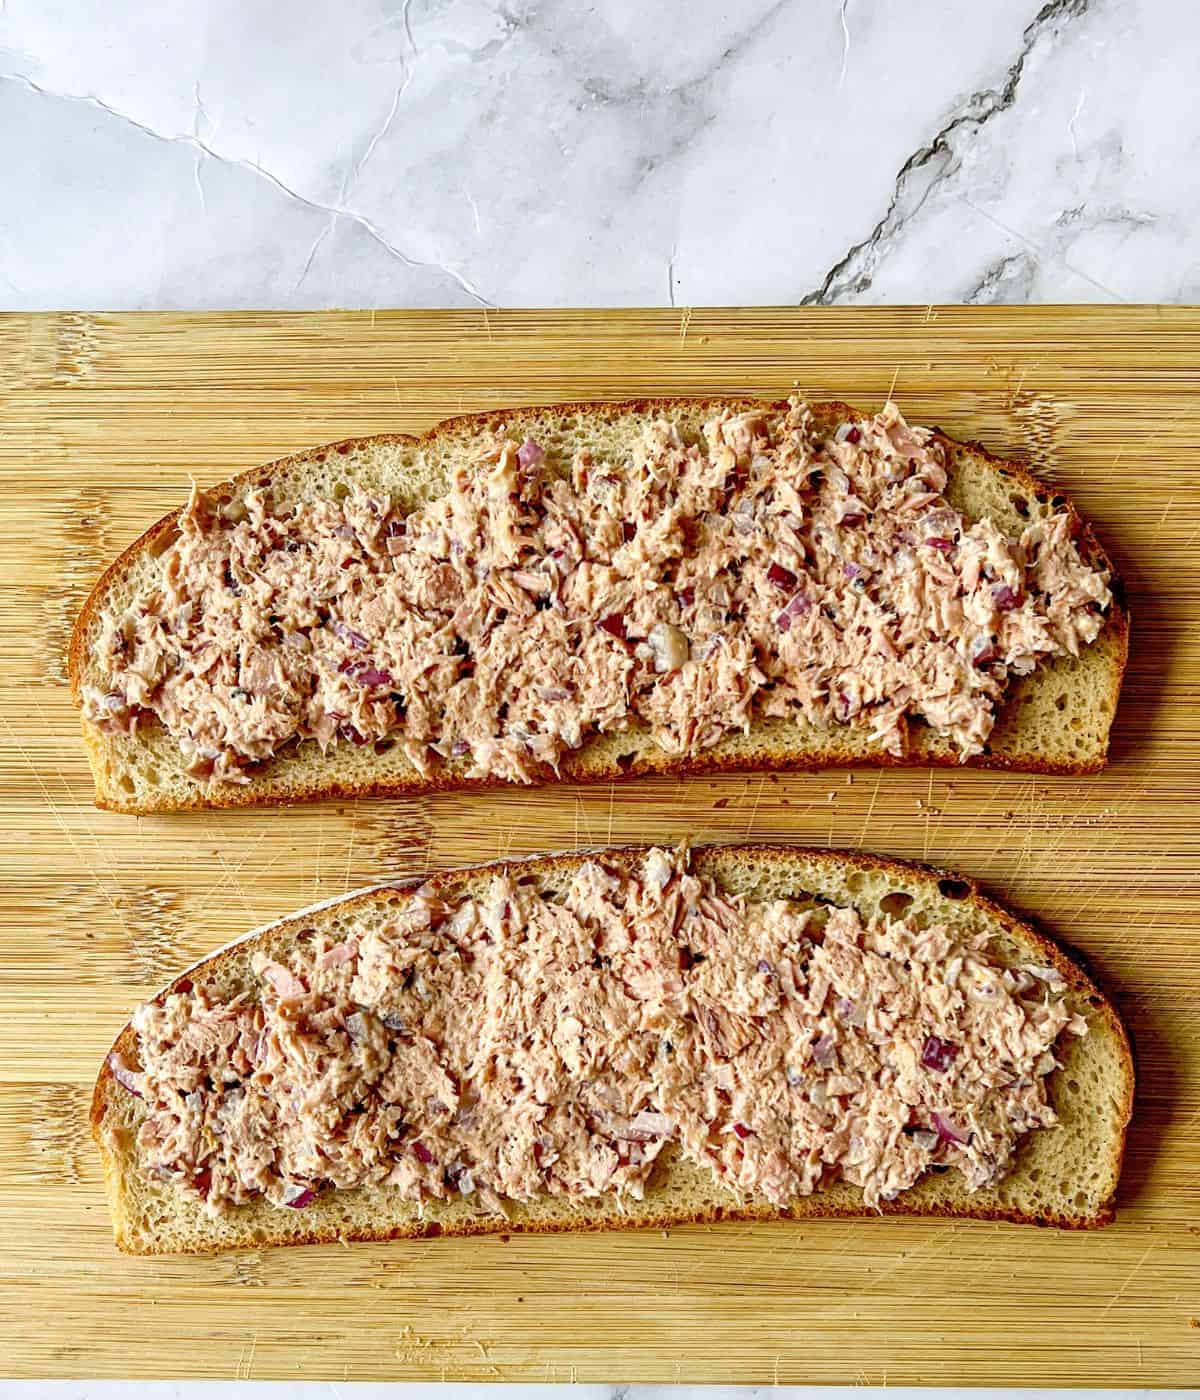
Step 4: Now, sprinkle the grated cheese over both slices of the bread on top of the tuna. Next, bring the slices together, making a sandwich and squash down with your hands.
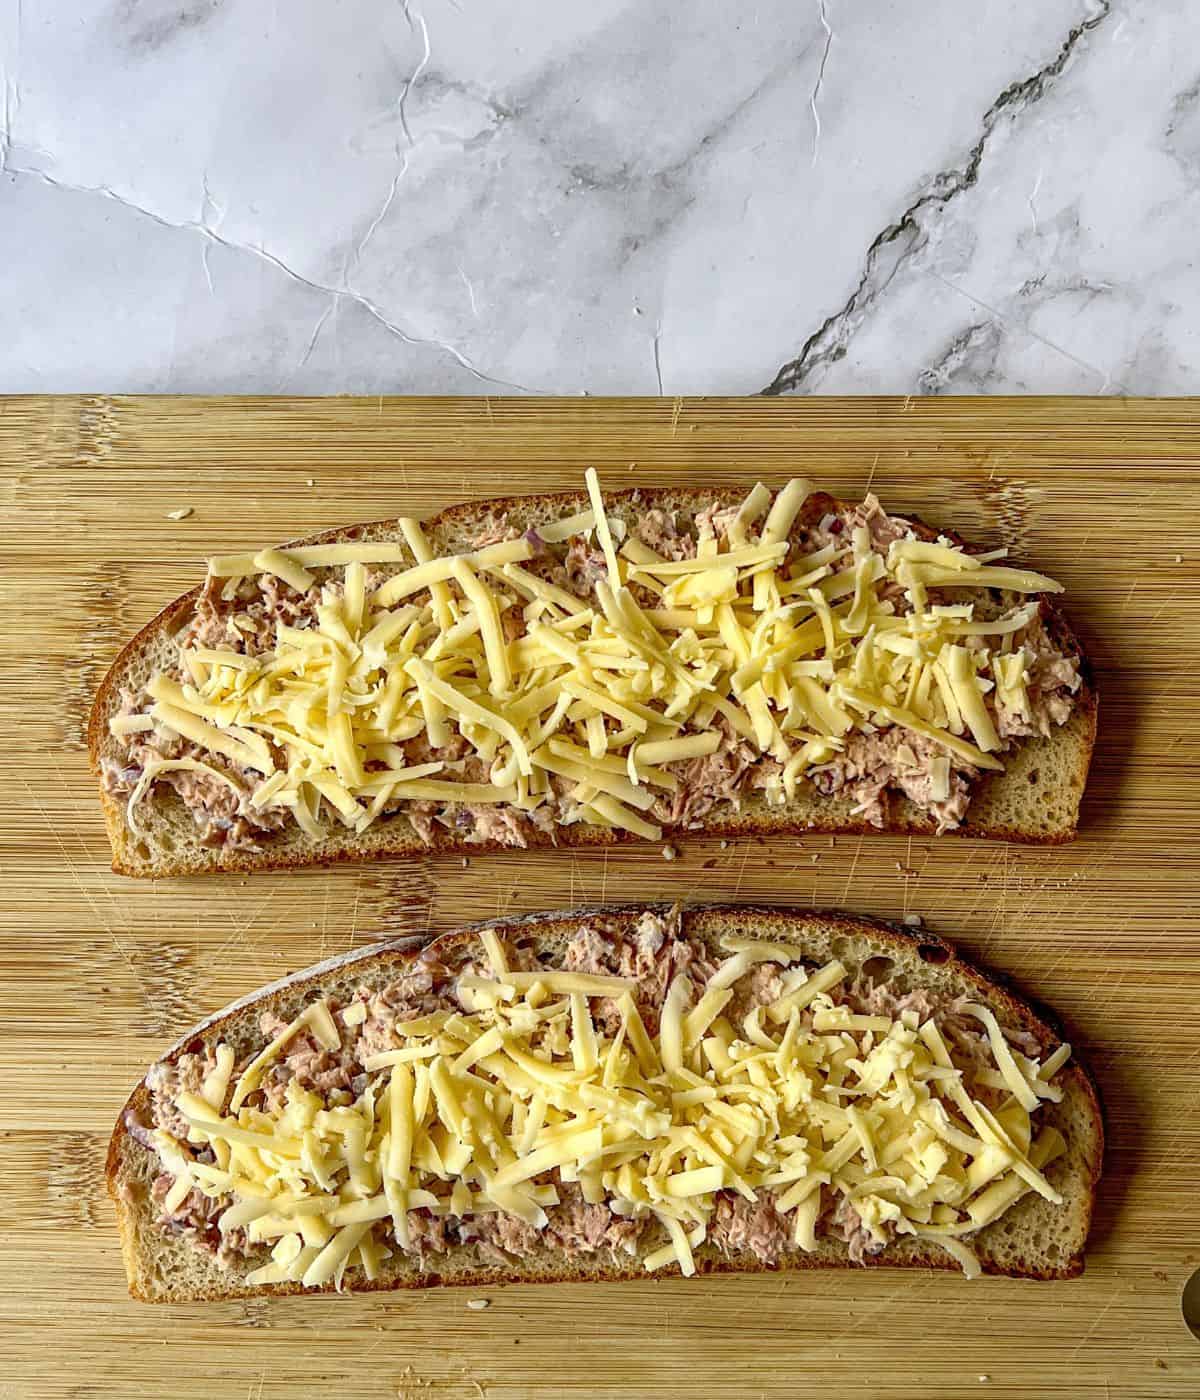
Step 5: Cook in a pre-heated air fryer, letting it sizzle away for 3-4 minutes per side until the bread turns golden and crunchy and the cheese is deliciously gooey.
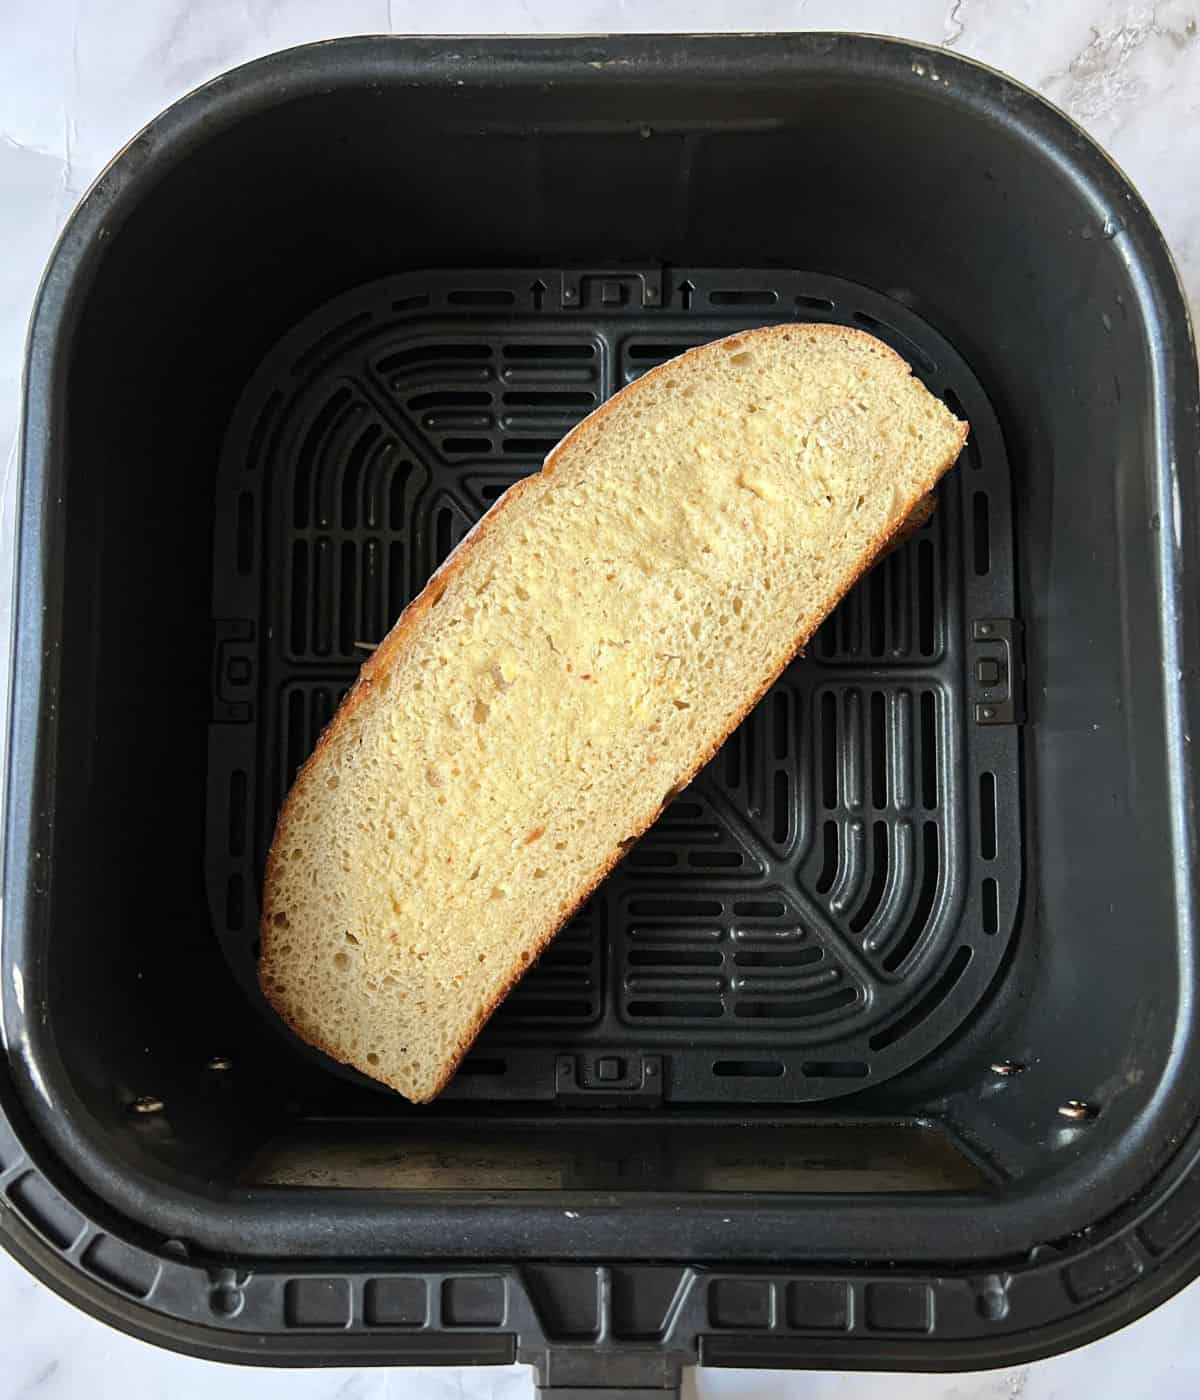
Step 6: Keep an eye on it, as different breads will cook at different rates. Let it cool for a moment, then slice it in half and serve immediately.
💡 Tips & Tricks
- ✔️ Butter The Outside Of The Bread: This helps the bread to crisp up and turn a lovely golden colour. You can also spread mayo on the bread instead.
- ✔️ Keep An Eye On It: I have personally tested this recipe using my Instant Pot Vortex Plus Clear Cook air fryer, so the recommended temperature and cooking times are tailored for this specific make and model. It's important to note that different air fryer brands may vary in their cooking performance, Keep checking your food closely and check for readiness as you cook.
- ✔️ Tuna: Depending on the size of your bread, you may not need to use all of the tuna mix. Save some for the next day or use it in a pasta salad.
- ✔️ Bread: If you use a plain white sandwich loaf, be aware that it will not take as long to cook as if you are using sourdough - it’s best to keep an eye on the sandwich whilst it’s cooking.
- ✔️ Grate Your Own Cheese: Grate your own cheese for a meltier texture. Pre-shredded cheese often contains anti-caking agents, which means it doesn’t melt as well.
- ✔️ Get That Cheese Pull: For extra ooze and gooeyness, use mozzarella instead of cheddar.
🤔 What Brand Of Air Fryer Do You Use?
As always, all of my air fryer recipes are tested in the Instant Pot Vortex Plus Clear-Cook I absolutely love this air fryer!
It cooks quickly and evenly and I love that it has a see-through cooking drawer with a light, so you can see how the food is cooking without having to open the air fryer basket.
It's also brilliant at cooking fish. These air fryer trout fillets are so tender and flaky!
🥡 Storage
I would recommend eating your grilled tuna melt straight after cooking, as it won’t store very well texture wise.
However, if you have any leftover filling, you can store the tuna mayo salad separately in the fridge for up to 3 days in an airtight container.
I wouldn’t recommend freezing the sandwich or the filling.
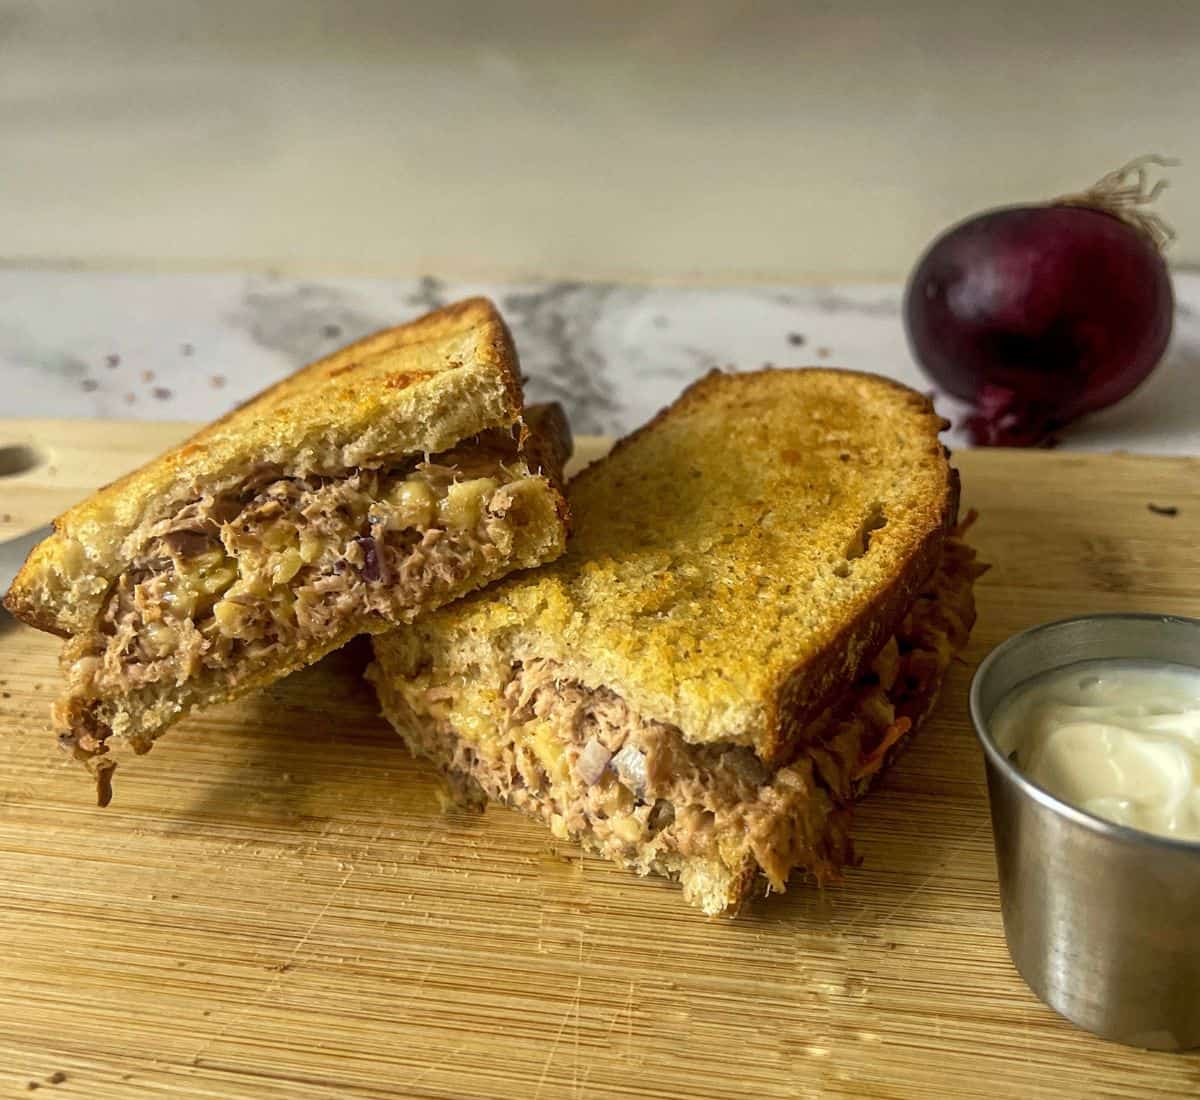
🍴 Serving Suggestions
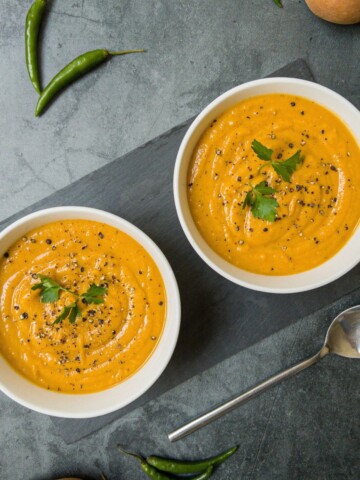
You can serve this tuna melt on its own as a light lunch or pair it with a dairy-free creamy tomato soup for a classic grilled cheese and soup combo.
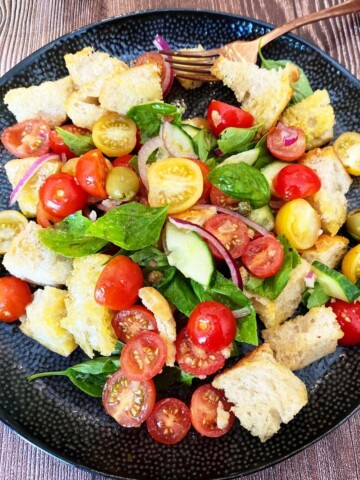
It’s also delicious served with a side of crisps or a refreshing green salad and dairy-free coleslaw.
💬 Recipe FAQs
The tuna mayo filling can be prepared two days in advance and stored in the fridge until you are ready to use it, just take it out 15 minutes beforehand so it has time to come back to room temperature before adding it to the sandwich.
Yes! Make the sandwich up as per the recipe and place on a hot griddle pan for 4-5 minutes each side until golden and crispy.
Cut the bread in half diagonally or use smaller slices.
📖 More Lunch Recipes
Check out these other tasty lunch ideas!
If you loved this recipe, please leave me a 5🌟 rating or comment below. I really do appreciate it. 😊
📖 Recipe
Air Fryer Tuna Melt
Equipment
Ingredients
- 2 slices sourdough can be substituted for gluten-free bread
- 110 g ( 4 oz) canned tuna drained
- 40 g ( 1.5 oz) mild cheddar- grated can be substituted for dairy free cheese
- ¼ red onion finely chopped
- 3 tablespoon mayo can be substituted for egg free mayo
- ¼ teaspoon dijon mustard can be substituted for a pinch of cayenne pepper
- 2 teaspoon butter can be substituted for mayo or dairy free spread
- salt and pepper
Instructions
- Pre-heat your air fryer to 180˚C / 350˚F.
- Spread one side of each bread slice with softened butter.
- Chop the red onion finely and add to a small bowl with the flaked tuna, mayonnaise, Dijon mustard, and a pinch of salt and pepper. Stir well until fully combined.
- Turn the bread over so the slices are butter side down on the chopping board.
- Spread the tuna salad evenly on both bread slices. Top with the grated cheese.
- Place the other buttered bread slice on top, buttered side facing out and squash the sandwich together with your hands.
- Place the assembled sandwich in the air fryer basket (chop in half if it doesn’t fit) and air fry for 3-4 minutes per side, or until golden brown and the cheese is melted and bubbly. Keep an eye on it to avoid burning!
- Once golden brown and melty, carefully remove the sandwich from the air fryer and let it cool slightly before slicing it in half.
Notes
- Butter The Outside Of The Bread: This helps the bread to crisp up and turn a lovely golden colour. You can also spread mayo on the bread instead.
- Keep An Eye On It: I have personally tested this recipe using my Instant Pot Vortex Plus Clear Cook air fryer, so the recommended temperature and cooking times are tailored for this specific make and model. It's important to note that different air fryer brands may vary in their cooking performance, Keep checking your food closely and check for readiness as you cook.
- Tuna: Depending on the size of your bread, you may not need to use all of the tuna mix. Save some for the next day or use it in a pasta salad.
- Bread: If you use a plain white sandwich loaf, be aware that it will not take as long to cook as if you are using sourdough - it’s best to keep an eye on the sandwich whilst it’s cooking.
- Grate Your Own Cheese: Grate your own cheese for a meltier texture. Pre-shredded cheese often contains anti-caking agents, which means it doesn’t melt as well.
- Get That Cheese Pull: For extra ooze and gooeyness, use mozzarella instead of cheddar.





Comments
No Comments