
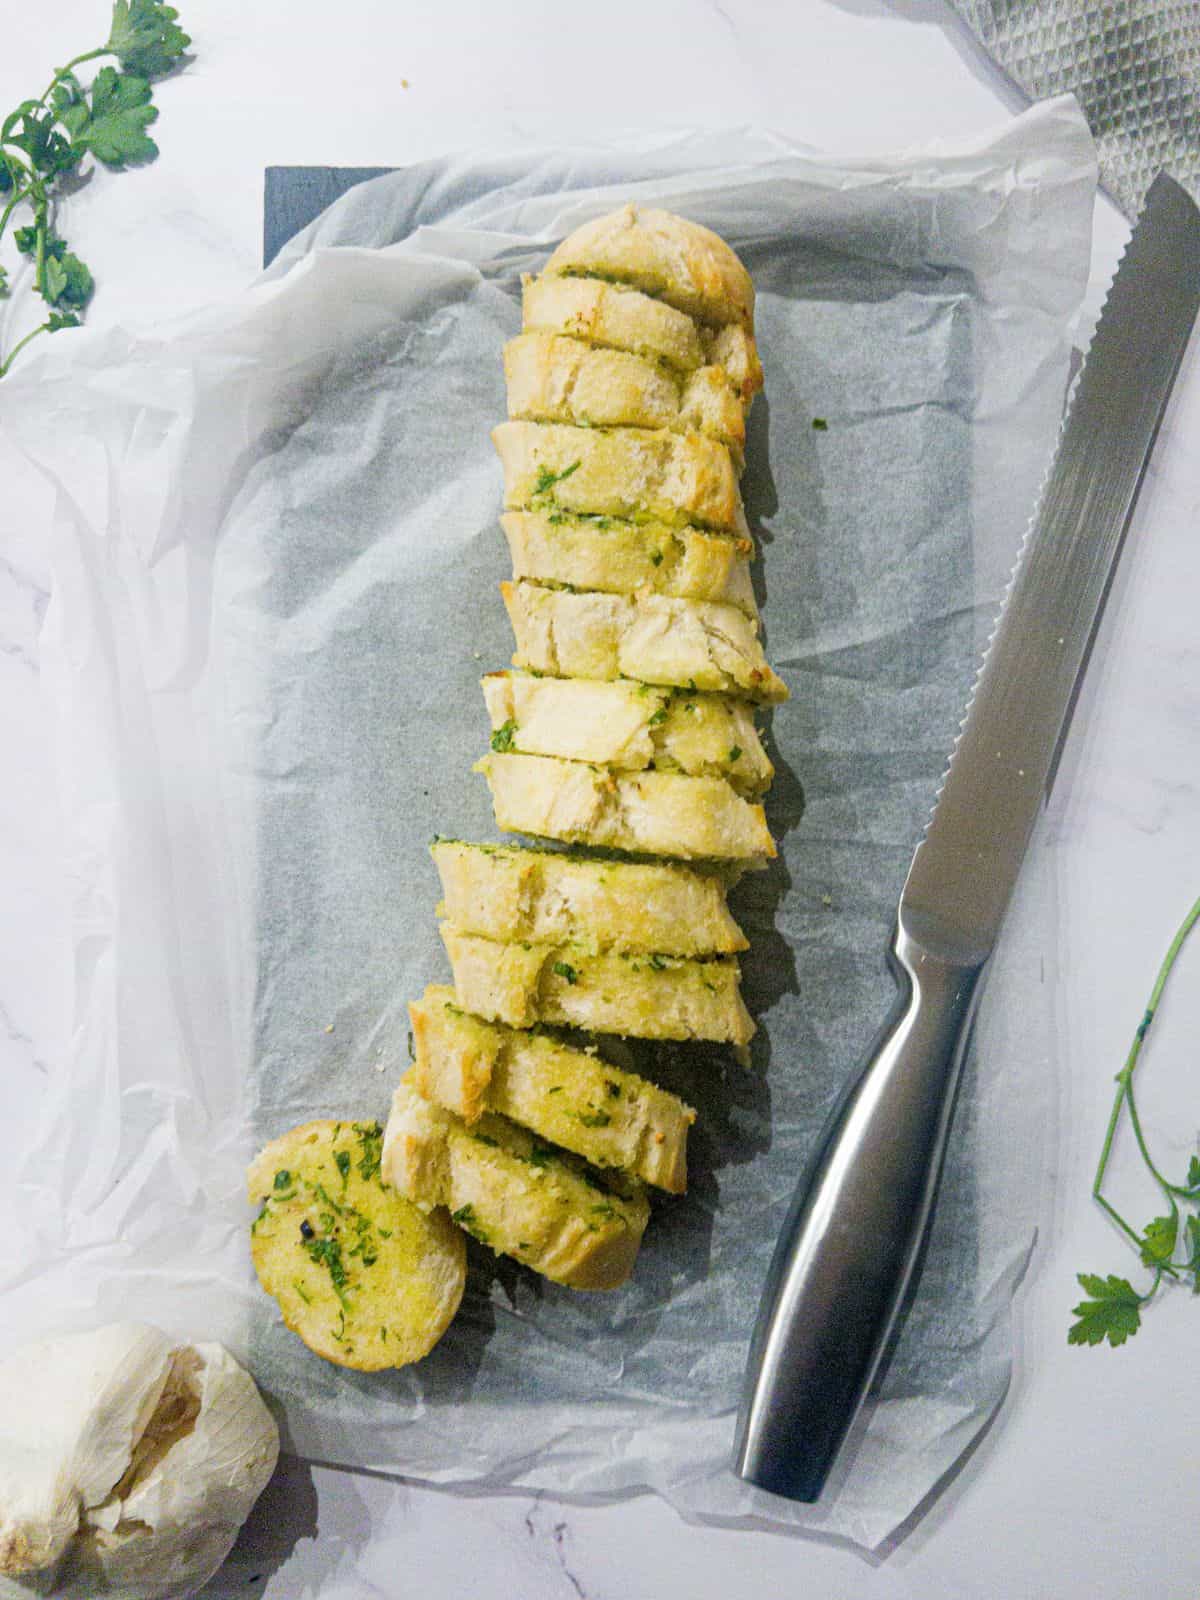
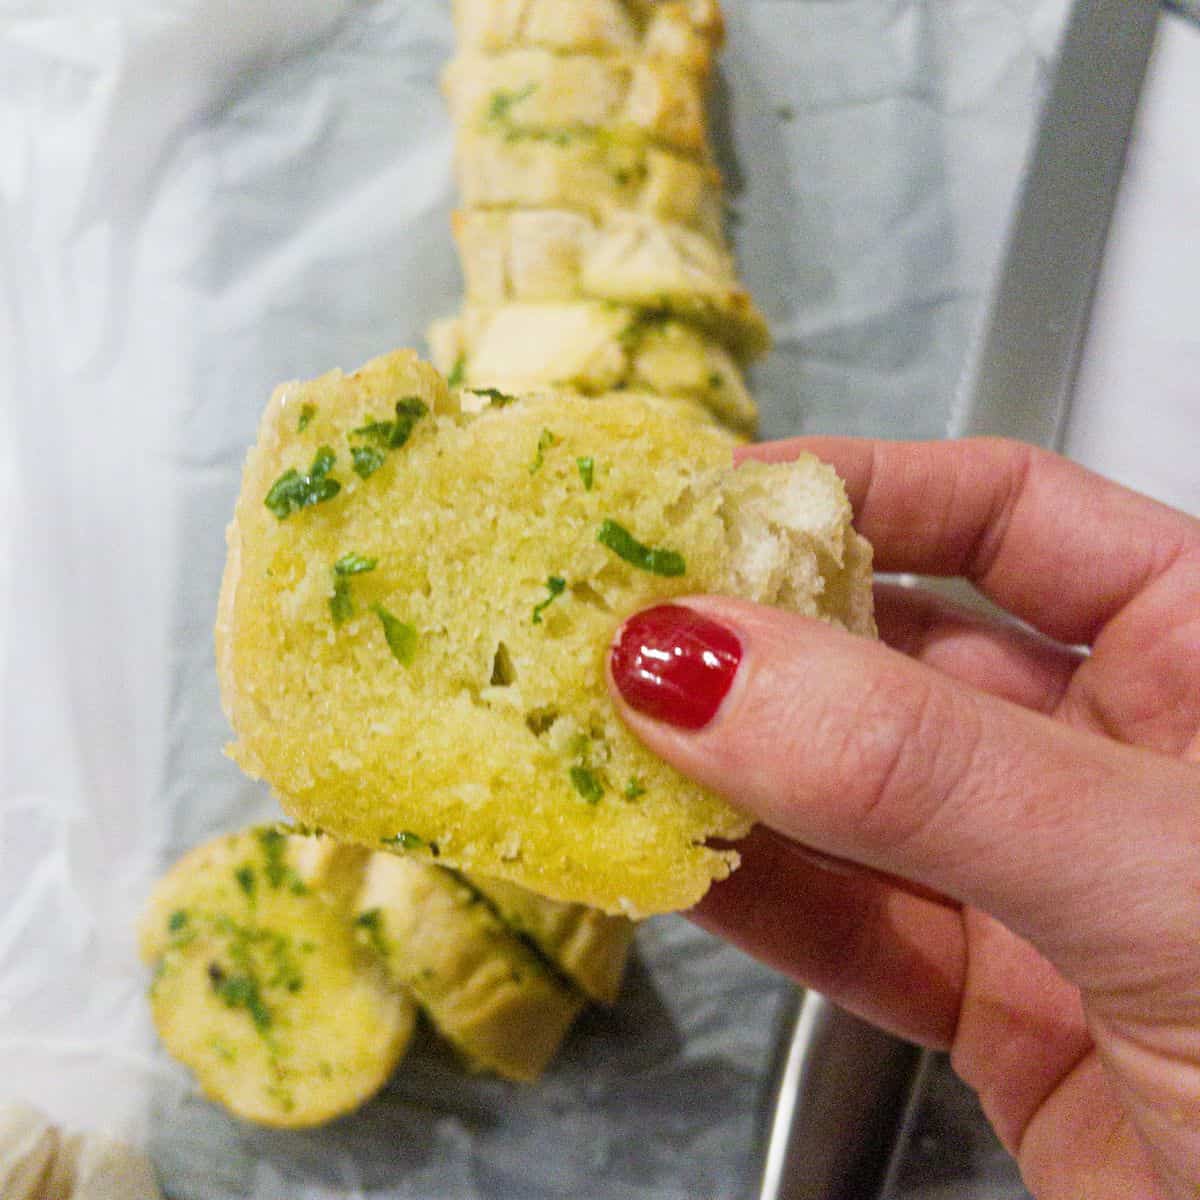
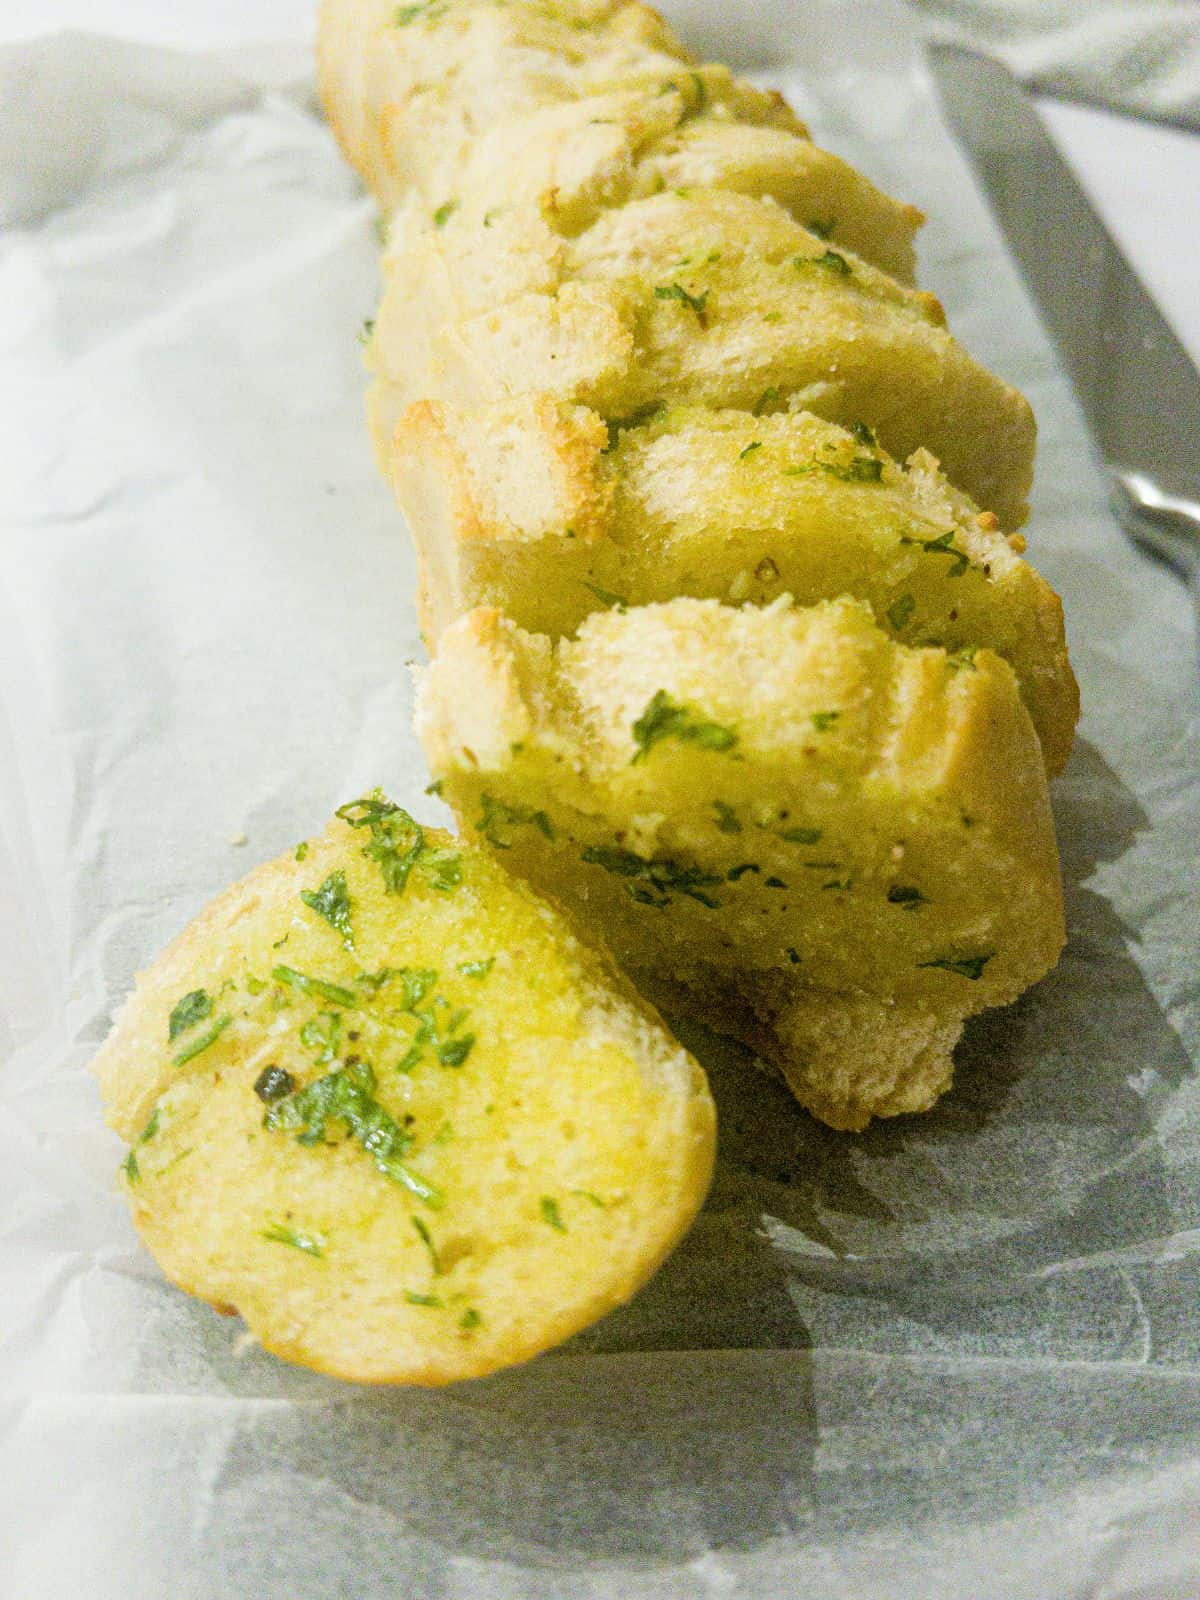
This delicious Dairy Free Garlic Bread is crunchy on the outside with a soft buttery garlic & parsley centre. It makes the perfect accompaniment to a midweek meal & is ready in under 20 minutes! The whole family will love this!
Disclosure: This post may contain affiliate links - This means I receive a commission for purchases made though those links, at no cost to you. Please click here for further info*
Want to Save This Recipe?
Enter your email & I'll send it to your inbox. Plus, get great new recipes from me every week!
By submitting this form, you consent to receive emails from The Scatty Mum.
Hands up if you can't resist a crunchy baguette with crispy edges, fresh from the oven, dripping in garlic butter? Me neither! I even created a garlic bread pasta bake because we love it so much!
If you cannot tolerate a lot of the shop bought versions as they contain dairy, then I have the answer for you with this homemade dairy-free garlic bread. It's so tasty that I'm sure you will never buy store-bought again!
Dripping in garlic butter (dairy-free of course!) it really is the ultimate comfort food and is also suitable for vegans.
You can easily adjust the "garlicky" flavour and have it as strong or as mild as you like.
Serve this vegan garlic bread recipe as a side to any pasta dish like this Macaroni Cheese With Chorizo, Pepperoni Pizza Pasta, Dairy & Egg Free Carbonara or Creamy Vegan mushroom pasta.
Jump to:
🥘 Ingredients You Will Need
Here is a brief overview of the ingredients you will need to make this dairy free garlic bread. It's dairy free as written, but to find out how to make it even more allergy-friendly, simply scroll down to the section below this one.
✋ Double check all packaging for allergens ✋

- Bread - For ease and quickness I have used part baked baguettes, as they last for ages in the cupboard. They normally come in a pack of two, so if you are only making one loaf, simply pop the other baguette in the freezer until you are ready to use. See below for other variations to use.
- Fresh Garlic Cloves - Mince these with a garlic press so you don't get big chunks of garlic. I. Would recommend. Use fresh garlic cloves over jarred if you can, as you can really taste the difference.
- Dairy-Free Butter - I love Flora Plant Butter and have used the unsalted version, but any dairy-free spread will work. You will not need to season the butter mix if you use a salted spread.
- Fresh Parsley - Fresh is always best and I wouldn't recommend using dried parsley as the flavour is totally different.
- Onion Granules - I use these to add extra flavour to the garlic bread.
See the recipe card for full information on ingredients and quantities.
🥜 How Can I Make This Allergy-Friendly?
This recipe is already dairy-free, but can easily be adapted to be gluten-free too.
✔️ Make It Gluten-Free: Simply swap the baguette for a gluten free bread. Any crusty baguette or ciabatta would work well.
⚡ Substitutions & Variations
- ✔️ Bread - Instead of a part-baked baguette you can also use a French stick, ciabatta or even spread the garlic mixture over fresh sourdough slices.
- ✔️ Vegan Butter - If you don't have any dairy-free butter you can mix olive oil with the garlic and parsley instead and then spread this on the bread. If you do not require the recipe to be dairy free you can just use regular butter.
- ✔️ Cheese - To make this extra naughty and even more tasty, add come vegan parmesan cheese or grated dairy-free cheddar to the slices with the garlic mixture or even add a tablespoon of nutritional yeast to the butter mix to enhance the cheesy flavour.
- ✔️ Garlic - In this instance fresh is best, but if you don't have any garlic in, you can use jarred garlic or even a couple of teaspoons of garlic powder, however, you will not achieve the same flavour as using fresh garlic.
✏️How to Make - Step-By-Step Instructions
⬇️ Here you will find an overview of how to make the recipe. For full information on ingredients and quantities please see the recipe card at the bottom of the page ⬇️
Step 1: Start by mincing the garlic with a garlic press. You can chop the garlic, but I prefer using a garlic press as I don't like big chunks of garlic.
Step 2: Chop the fresh parsley, including stalks, very finely with a sharp knife.
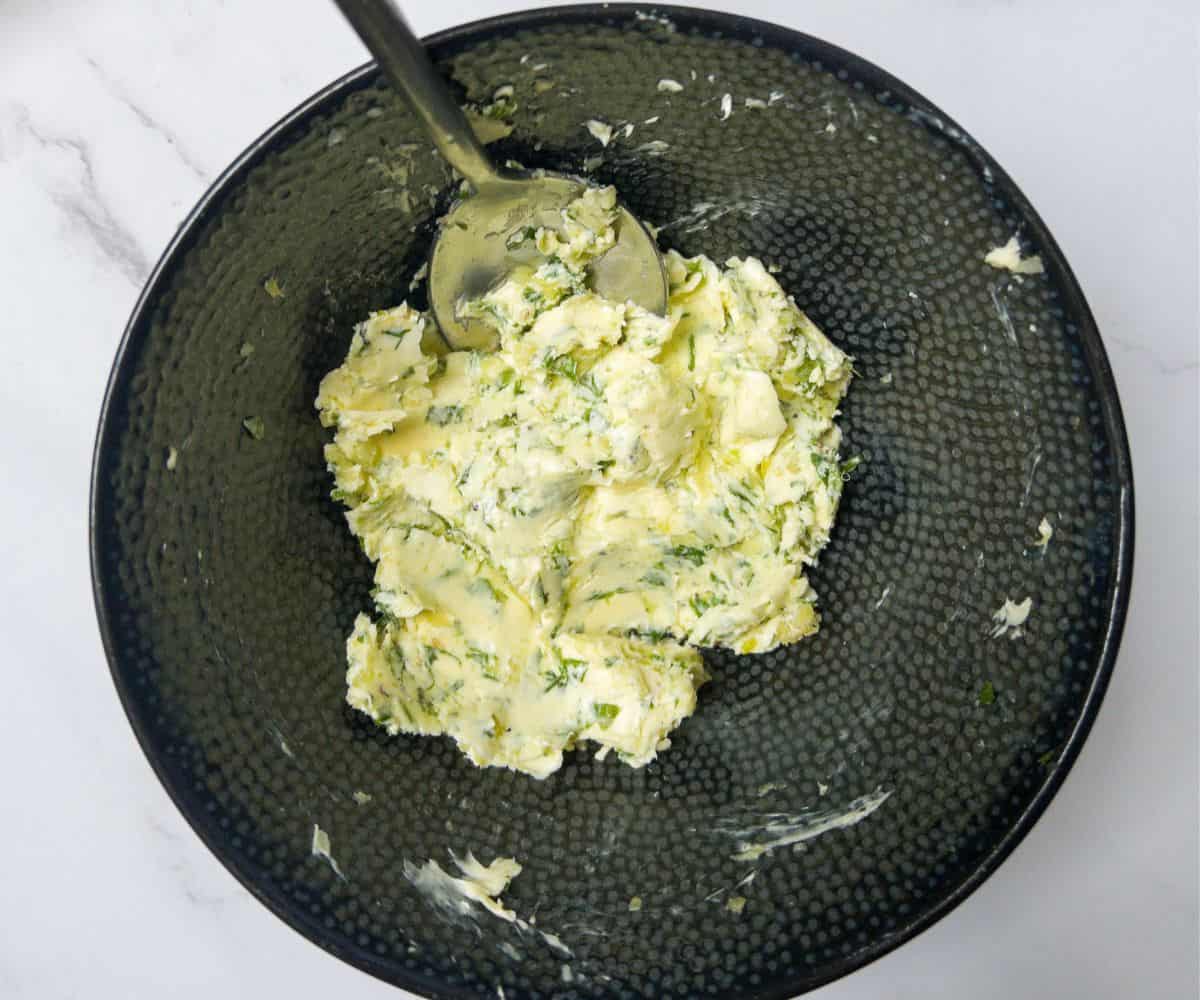
Step 3: Add the garlic to a small bowl along with the vegan butter, parsley & onion granules. Season with sea salt and black pepper to your taste preference.
Step 4: Stir quite vigorously with a spoon until the butter begins to soften and all the ingredients are nicely mixed together.
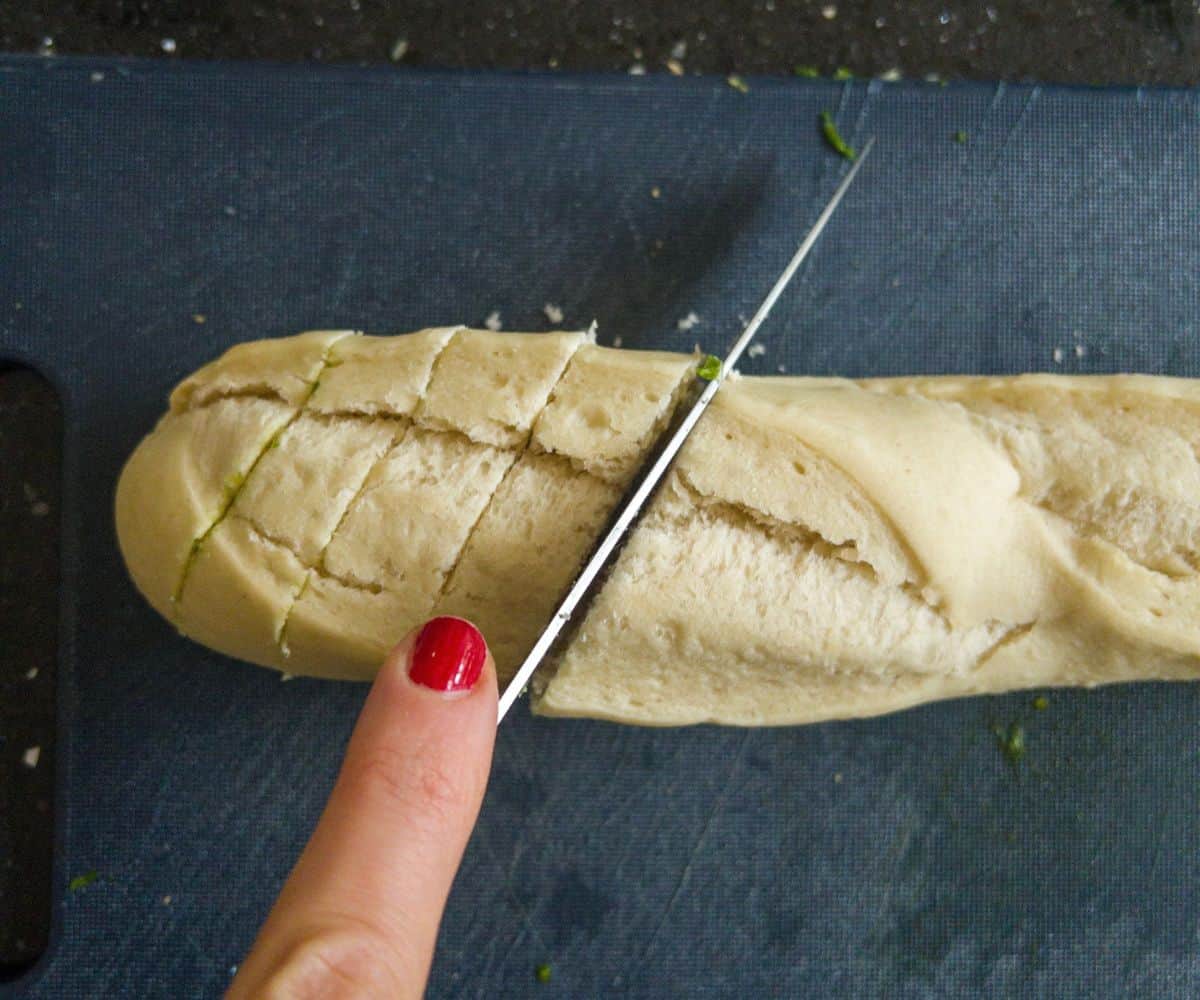
Step 5: With a bread knife cut the baguette into slices around 1-2cm thick, but only cut about ¾ of the way through, you want to leave the baguette in tact at the bottom.
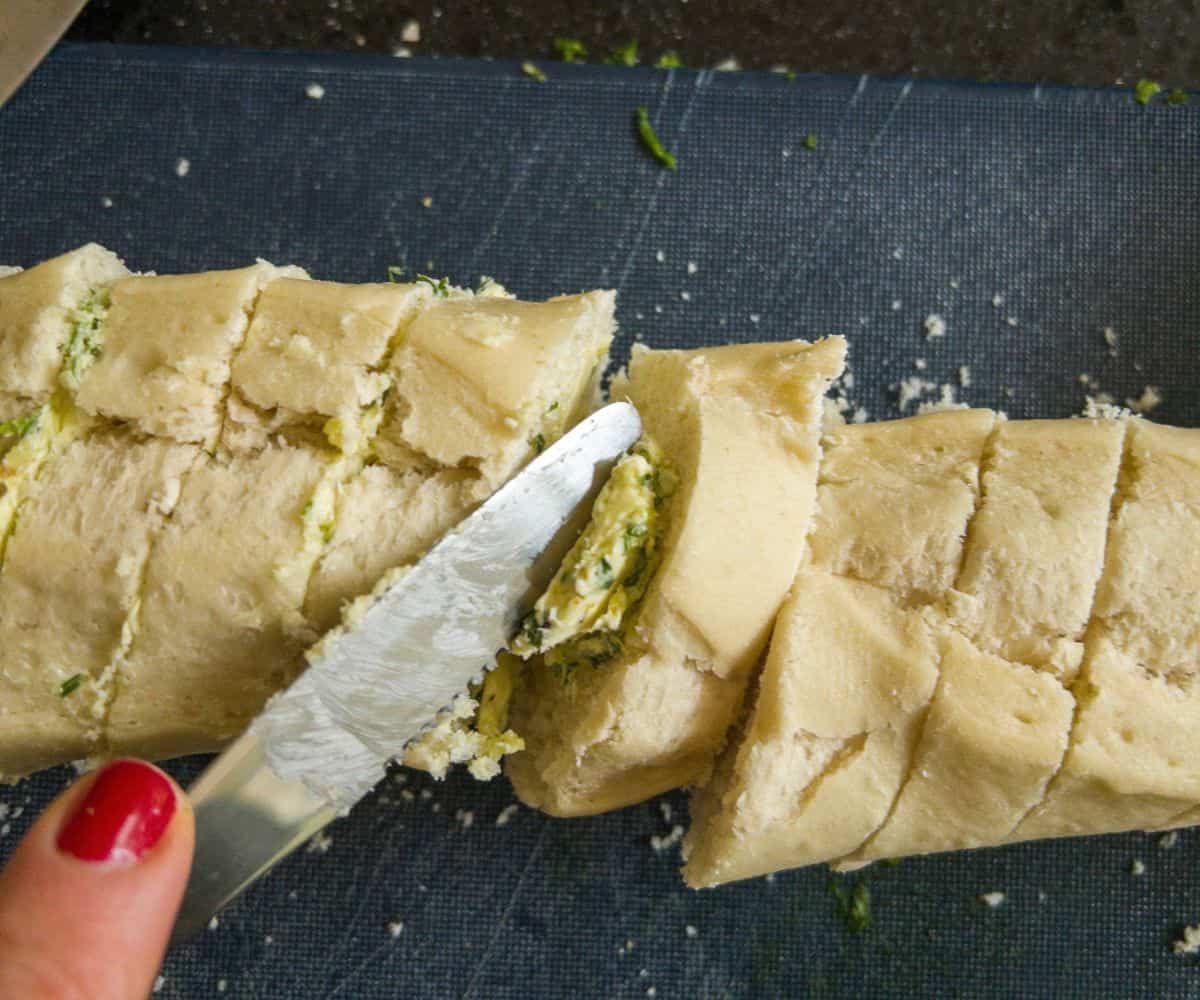
Step 6: Spread the garlic butter mixture into each slice, making sure you get into all the little crevices.

Step 7: Wrap the bread tightly in aluminium foil.(This helps to keep all the delicious buttery mixture in the bread and not seep out) and then bake for 20 minutes in a hot pre-heated oven.
Step 8: Remove the foil and return to the oven to bake for a further 5 minutes to allow the outside of the garlic bread to become crisp and golden brown.
💡 Lauren's Tips
- ✔️ Adjust Garlic Amount: Adjust the amount of garlic used depending on how strong you like your garlic flavour!
- ✔️ Fresh Herbs: Grow some fresh herbs in a pot on your kitchen side, so you will always have some on hand for when you need them.
- ✔️ Spread Mixture: Spread the mixture right to the edges and make sure you have fully covered each piece. You don't want to leave any part of the bread untouched - it sucks to get the dry bit of garlic bread doesn't it!
- ✔️ Use Nutritional Yeast for Extra Flavour: Add some nutritional yeast for a cheesy flavour without dairy.
🥡 Storage Instructions
In The Fridge
This dairy-free garlic bread really is best eaten warm from the oven however once cooled, you can store it in an airtight container in the fridge for up to 3 days.
When ready to eat, simply pop in the oven at 180˚C for 5-8 minutes to warm through.
In The Freezer
You can freeze this garlic bread for up to 3 months, so why not make two, cook one and pop the other in the freezer. Allow the garlic bread to cool to room temperature and store in a freezer bag or suitable container.
You can re-heat straight from frozen, (cooked or un-cooked) just add another 5-10 minutes to the cooking time.
The vegan garlic butter can also be frozen separately and stored in some cling film, in the freezer. Defrost on the kitchen side for a few hours when ready to use.
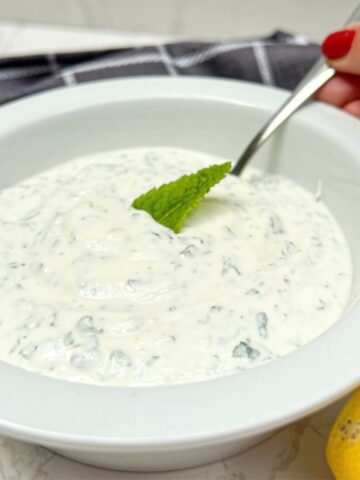
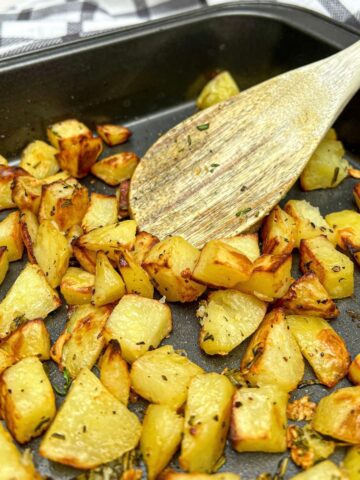
🍴 Serving Suggestions
Here are some of my favourite dishes to serve with the galric bread.
Dairy Free Creamy Bacon & Mushroom Pasta Bake
💬 Recipe FAQs
Yes! You can prepare the garlic butter mixture and spread it on the bread, then wrap the bread in foil and store it in the fridge or freezer.
When ready to serve, just bake it in the oven-straight from the freezer if needed, with a bit of extra baking time.
Is garlic bread vegan?
Traditional garlic bread often contains dairy butter, so it's not automatically vegan. However, by using dairy-free butter and checking that your bread doesn't contain any animal products, you can easily make it vegan.
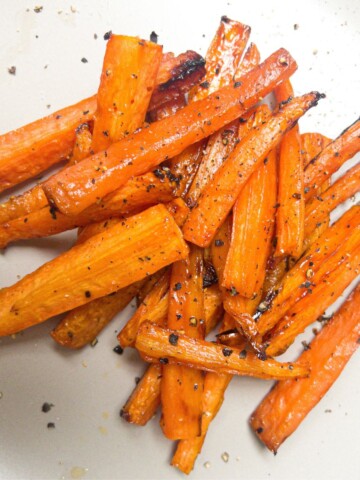
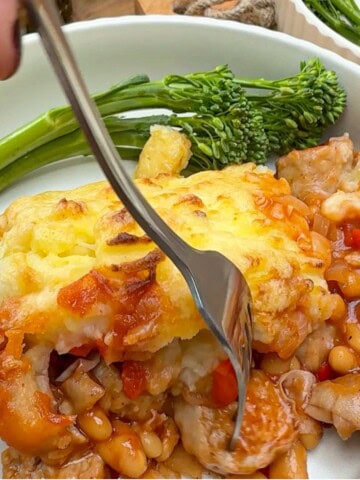
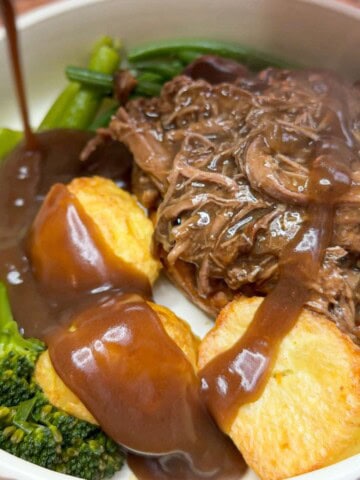
📖More Dairy Free Side Dishes
Check out these other delicious dairy-free sides.

If you loved this recipe, please leave me a 5🌟 rating or comment below. I really do appreciate it. 😊
📖 Recipe
Dairy Free Garlic Bread
Ingredients
- 1 baguette Part baked or fresh (can be substituted for gluten free)
- 4 cloves garlic minced
- 50 g ( 1.7 oz) dairy free butter I used Flora plant butter - unsalted
- 1 handful fresh parsley finely chopped including stalks
- ½ teaspoon onion granules
- salt & pepper to taste
Instructions
- Pre-heat oven to 200˚ C Fan / 390 F.
- Mince the garlic with a garlic press.
- Chop the fresh parsley, including stalks, very finely with a sharp knife.
- Add the garlic to a small bowl along with the vegan butter, parsley & onion granules. Season with sea salt and black pepper to your taste preference.
- Stir quite vigorously with a spoon until the butter begins to soften and all the ingredients are nicely mixed together.
- With a bread knife cut the baguette into slices around 1-2cm thick, but only cut about ¾ of the way through, you want to leave the baguette in tact at the bottom.
- Spread the garlic butter mixture into each slice.
- Wrap tightly in aluminium foil and then bake for 20 minutes in the pre- heated oven.
- Remove the foil and return to the oven to bake for a further 5 minutes to allow the outside of the garlic bread to become crisp and golden brown.
- Serve immediately whilst still warm.
Notes
- Adjust Garlic Amount: Adjust the amount of garlic used depending on how strong you like your garlic flavour!
- Fresh Herbs: Grow some fresh herbs in a pot on your kitchen side, so you will always have some on hand for when you need them.
- Spread Mixture: Spread the mixture right to the edges and make sure you have fully covered each piece. You don't want to leave any part of the bread untouched - it sucks to get the dry bit of garlic bread doesn't it!
- Use Nutritional Yeast for Extra Flavour: Add some nutritional yeast for a cheesy flavour without dairy.
- Bread - Instead of a part-baked baguette you can also use a French stick, ciabatta or even spread the garlic mixture over fresh sourdough slices.
- Vegan Butter - If you don't have any dairy-free butter you can mix olive oil with the garlic and parsley instead and then spread this on the bread. If you do not require the recipe to be dairy free you can just use regular butter.
- Cheese - To make this extra naughty and even more tasty, add come vegan parmesan cheese or grated dairy-free cheddar to the slices with the garlic mixture or even add a tablespoon of nutritional yeast to the butter mix to enhance the cheesy flavour.
- Garlic - In this instance fresh is best, but if you don't have any garlic in, you can used jarred garlic or even a couple of teaspoons of garlic powder, however you will not achieve the same flavour as using fresh garlic.


Comments
No Comments