


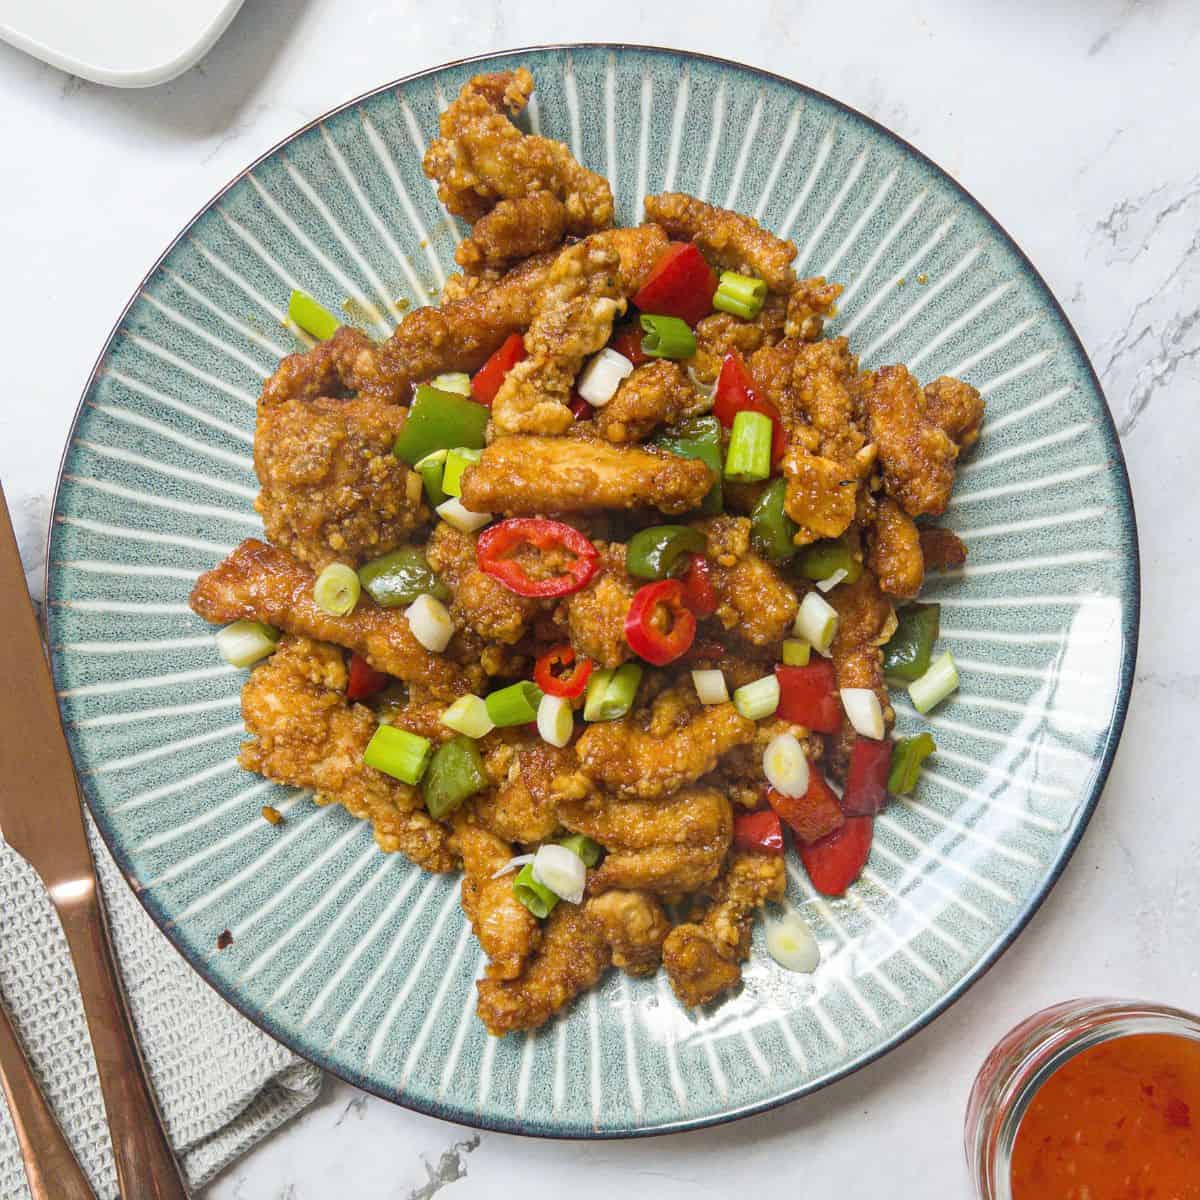
This Crispy Shredded Chicken is my take on the Chinese takeaway favourite, with crispy strips of chicken tossed in a sticky, sweet chilli sauce with peppers and spring onions.
It takes around 40 minutes, including a quick marinade, and is a great one for a Friday night fakeaway. You can adjust the amount of chilli depending on how spicy you like it.
Want to Save This Recipe?
Enter your email & I'll send it to your inbox. Plus, get great new recipes from me every week!
By submitting this form, you consent to receive emails from The Scatty Mum.

If you've ever ordered crispy chilli beef from the Chinese takeaway, this crispy shredded chicken is a similar idea.
The trick is getting the chicken nice and crispy before tossing it through the sauce. I use cornflour and egg white for the coating, then fry it in batches so the pieces don't all stick together.
You can also make the chicken in the air fryer or oven if you'd rather not deep-fry it. I've included the instructions further down.
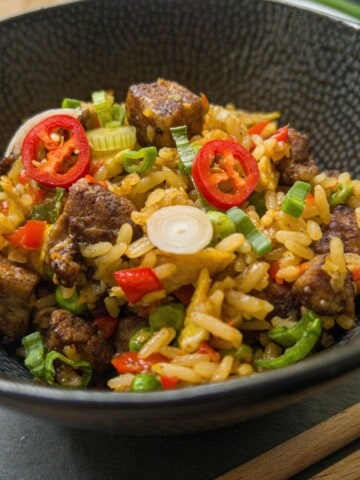
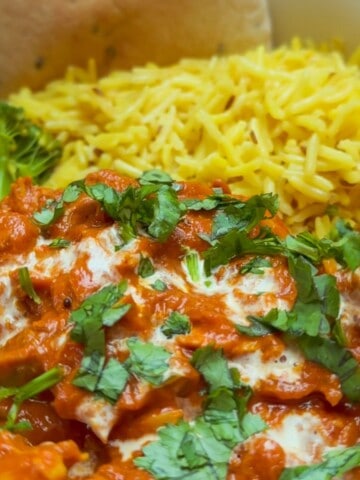
I'm a big fan of fakeaway nights at home (so much cheaper and you know exactly what's going in it!). Some of my other go-tos are this copycat Five Guys burger, slow cooker beef massaman curry, air fryer sweet & sour chicken, Nando's butterfly chicken breast and spicy rice.
Jump to:
🥘 Ingredients You Will Need
Here is a brief overview of the main ingredients needed to make Chinese crispy shredded chicken. For the full list, scroll down to the recipe card at the bottom of the page. To find out how to make it allergy-friendly, simply keep scrolling to the section below this one.

✋ Double check all packaging for allergens ✋
See the recipe card for full information on ingredients and quantities.
🥜 How Can I Make This Allergy-Friendly?
✔️ Make It Gluten-Free: Use gluten-free soy sauce or tamari, and check that your sriracha and other sauces are suitable. Cornflour is naturally gluten-free, but always check the packaging.
✔️ Make It Egg-Free: The original recipe uses egg white to help the cornflour coating stick to the chicken. I haven't tested an egg-free version yet, so I can't guarantee the same crispy result.
✔️ Make It Sesame-Free: Leave out the sesame oil and use vegetable oil instead. Check the labels on your sauces for sesame ingredients or cross-contact warnings.
✏️ How to Make Crispy Shredded Chicken With Chilli
⬇️ Here you will find an overview of how to make the recipe. For full information on ingredients and quantities please see the recipe card at the bottom of the page ⬇️

Step 1: Marinate The Chicken
Slice the chicken breast into thin, even strips and add to a bowl with the marinade ingredients.
Give everything a good mix, cover and pop it in the fridge for at least 15 minutes. You can also leave it overnight if you want to get ahead.

Step 2: Prep The Sauce & Veg
While the chicken is marinating, stir together all the sauce ingredients in a small bowl and set aside.
Chop the peppers and fry them in a little oil with the garlic paste for a few minutes - you want them just softened, not mushy.

Step 3: Coat The Chicken
Add the egg white and cornflour to the marinated chicken and mix until all the strips are coated.
If the pieces start sticking together, separate them with your fingers or a fork before frying. This helps them cook evenly and gives you individual crispy pieces rather than one big clump.

Step 4: Fry The Chicken
Heat the vegetable oil in a large, deep, heavy-based saucepan to around 180°C (350°F). Don't fill the pan more than one-third full.
Carefully lower the chicken into the oil in small batches, separating the strips as you go. Fry for around 5-6 minutes, depending on their thickness, until golden and crispy.
Check the chicken is cooked all the way through. If you're using a food thermometer, the centre of the thickest piece should reach 75°C.
Remove with a slotted spoon and drain on kitchen paper. Repeat with the remaining chicken.
Step 5: Toss & Serve
Throw the crispy chicken into the pan with the peppers, pour over the sauce, and stir-fry for a couple of minutes until everything's coated and sticky.
Scatter over spring onions and serve straight away.

💡 Lauren's Top Tips
- 🌟 Get The Oil Hot Enough: around 180˚C (or 350˚F) is perfect. If you've got a meat thermometer, fab! If not, just stick the end of a wooden spoon into the oil - if it bubbles up around the spoon straight away, you're good to go.
- 🌟 Add The Chicken Slowly: add the coated chicken pieces to the oil one or two strips at a time with a slotted spoon, to stop all of the pieces from sticking together. Fry in batches to avoid overcrowding the pan.
- 🌟 Want More Sauce? The measurements for the stir-fry sauce are enough to coat the chicken. If you prefer more sauce you can double the amount used in the ingredients..
- 🌟 Serving Ideas: Turn it into a fakeaway feast with my Salt & Pepper Chips, No Egg Fried Rice, air-fried spring rolls and Salt & Pepper Chicken Wings. You can evfen sprinkle over some salt & pepper seasoning for extra flavour! Don't forget the prawn crackers and a big bowl of sweet chilli sauce for dipping!
🔨 Meal Planning Toolbox
🗒️ Make Ahead: You can marinate the chicken, chop the peppers and prepare the sauce up to 24 hours in advance. Keep everything covered separately in the fridge until you're ready to cook.
🗒️ Leftovers / Storage / Reheating: Store any leftovers in an airtight container in the fridge for up to 48 hours. Reheat in the oven at 180°C (350°F), in the air fryer or in the microwave until piping hot throughout. The chicken will lose some of its crispiness once it's been mixed with the sauce, especially if reheated in the microwave.
🗒️ Freezing: This is definitely one that's best eaten fresh, but you can freeze leftovers for up to 3 months. Once cooled, pop into a freezer-safe container and freeze. Defrost overnight in the fridge before reheating as above.
💬 Recipe FAQs
Yes! Simply pre-heat the air fryer to 190˚C / 380˚F. Spray the bottom tray with spray oil and add the coated chicken in a single layer, not overcrowding the pan. Give the chicken another spray and cook for 10-12 minutes until cooked, shaking halfway through. The results will depend on strip thickness, coating and equipment.
You can, but the chicken will not be as crispy as it will be if you fry it. Coat the chicken in the cornflour and egg white as normal, then place on a baking tray in a preheated oven @ 200˚C for 20-25 minutes until golden brown, turning halfway through. The results will depend on strip thickness, coating and equipment.
🍴 More Asian Recipes You May Like..
Looking for other recipes like this? Try these:


If you loved this recipe, please leave me a 5🌟 rating or comment below. I really do appreciate it. 😊
📖 Recipe
Crispy Shredded Chicken With Chilli
Equipment
- Meat thermometer optional
Ingredients
Marinade
- 1 tablespoon gluten free soy sauce
- 1 teaspoon sesame oil
- 1 teaspoon garlic paste
- ½ teaspoon black pepper
Stir Fry
- 3 tablespoon gluten free soy sauce
- 1 teaspoon sriracha sauce
- 3 tablespoon honey
- 2 tablespoon lemon juice freshly squeezed
Vegetables
- ½ medium green pepper diced into small squares/sliced
- ½ medium red pepper diced into small squares/sliced
- 1 teaspoon garlic paste
- 1 tablespoon vegetable oil
- 1 spring onion finely sliced
Chicken
- 250 g (8.8 oz) chicken breast sliced into thin strips
- 100 g (¾ cup + 1 tbsp) cornflour
- 1 egg white
- Vegetable oil for shallow frying enough to fill saucepan a third full.
Instructions
Marinate The Chicken
- Chop the chicken breasts into thin strips, put into a large bowl with the marinade ingredients, stir and marinate in the fridge for at least 15 minutes, but preferably overnight to really let the flavours soak into the chicken pieces.
Cook the Vegetables
- Whilst the chicken is marinating, chop the red and green pepper and add to a hot frying pan on a medium heat with a drop of oil, along with the garlic paste and fry for 2-3 minutes, stirring regularly.
Make The Stir Fry Sauce
- Mix all the stir fry sauce ingredients together in a small bowl and set aside for later.
Heat The Oil For The Chicken
- Add the vegetable oil to a large, high sided saucepan. You want it around a third full, but no more than half full. Heat on high to 180°C (350°F) until bubbling.
Coat The Chicken
- Once marinated, remove the chicken from the fridge. Separate the egg yolk from the white and add the egg white to the chicken strips along with the cornflour and stir to fully coat.
- Fry The Chicken
- Heat the vegetable oil in a large, deep, heavy-based saucepan to around 180°C (350°F). Don't fill the pan more than one-third full.Carefully lower the chicken into the oil in small batches, separating the strips as you go. Fry for around 5-6 minutes, depending on their thickness, until golden and crispy.
- Check the chicken is cooked all the way through. If you're using a food thermometer, the centre of the thickest piece should reach 75°C.Remove with a slotted spoon and drain on kitchen paper. Repeat with the remaining chicken
Assemble
- Add the chicken and the stir fry sauce to the frying pan containing the vegetable mixture and fry for 2-3 minutes on a medium-high heat until the sauce has completely coated the chicken.
- Top with the sliced spring onions and serve immediately.
Notes
- Crispy chicken: Fry the chicken in small batches so the oil temperature doesn't drop too much. Aim for 180°C (350°F) for the crispiest coating.
- Check it's cooked: The chicken should reach an internal temperature of 75°C (167°F).
- Adjust the spice: Add more or less sriracha depending on how spicy you like it. Start with less if you're cooking for kids.
- Best served fresh: Toss the crispy chicken through the sauce just before serving to stop it from getting soggy.
- Make ahead: Marinate the chicken, chop the vegetables and prepare the sauce up to 24 hours in advance. Keep everything covered in the fridge.
- Leftovers: Store in the fridge for up to 48 hours and reheat until piping hot throughout. The coating won't be quite as crispy the next day.
- Freezing: Freeze leftovers for up to 3 months and defrost overnight in the fridge before reheating.



Catherine Riding says
Great recipe, the kids loved this and it’s great that it feels like a takeaway as they feel like they’re getting a treat!
Lauren Woodger says
So glad everyone enjoyed it, it's a winner with my kids too! It's so nice to feel like you're having a takeaway treat, but know exactly what ingredients you are putting in! x
Rob Lowe says
Tried this over the weekend, was really nice. Didn’t have enough oil in to fry so we used the air fryer on high. It worked well as we made sure to not over pack the draw. One for the list for sure
Lauren says
Using the air fryer is a great idea, glad you enjoyed the recipe 🙂
Adam Sankey says
I loved this dish! Crispy Chilli Beef is my usual go to takeaway so I like to think I’m a good judge. Recipe was easy to follow and well thought out
Lauren says
Thanks very much, glad you enjoyed it:-)