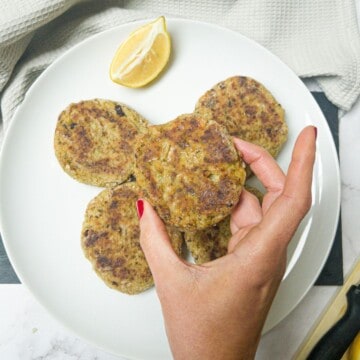
These Bubble and Squeak Patties are a really tasty way to use up leftover vegetables and make a delicious brunch dish! This version is also egg and gluten free!
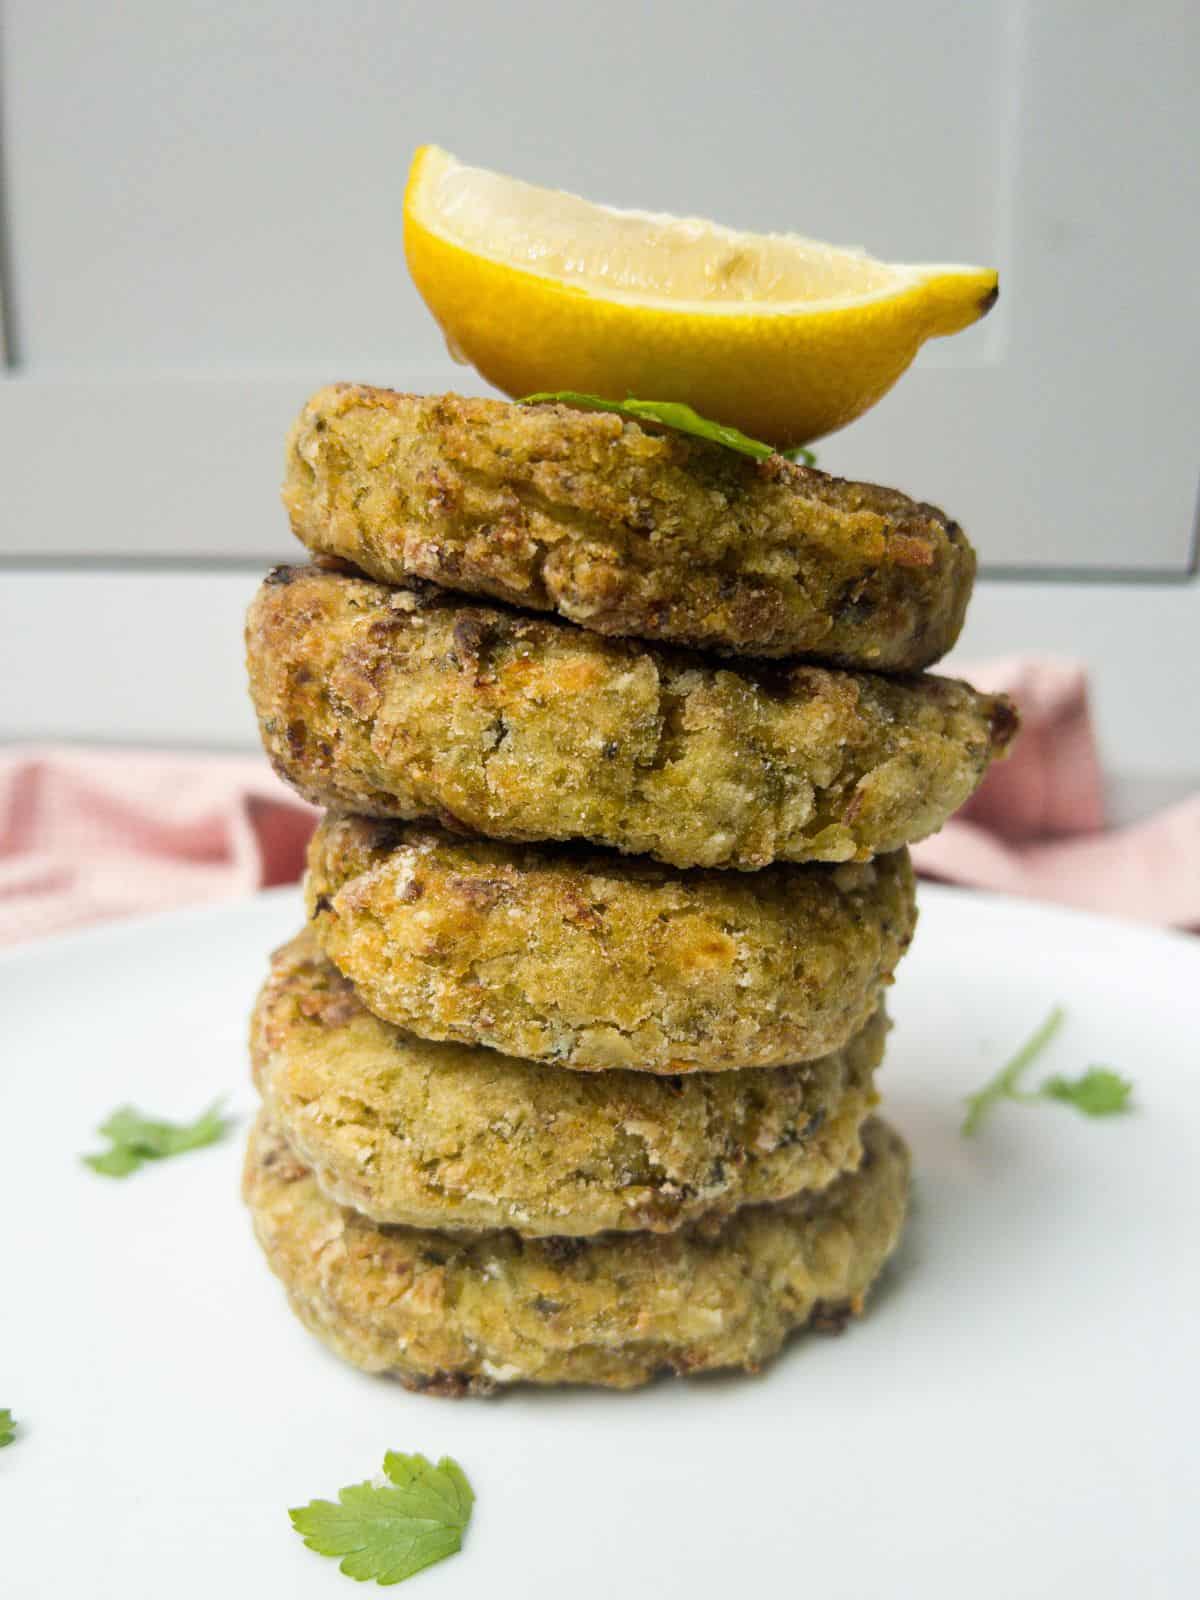
Today, we are going to dive into the delicious world of comfort food with a classic British dish that's sure to make your taste buds sing & evoke some nostalgia: Bubble and Squeak Patties.
Want to Save This Recipe?
Enter your email & I'll send it to your inbox. Plus, get great new recipes from me every week!
By submitting this form, you consent to receive emails from The Scatty Mum.
These humble yet oh-so-satisfying patties are the perfect solution for those leftover veggies in your fridge. Whether you're a fan of traditional British cuisine or just looking for a scrumptious way to use up those odds and ends, I will guide you through how to make this classic dish.
I think a roast dinner has to be one of the tastiest meals ever. Tender meat, crispy roast potatoes, a Yorkshire pudding, loads of veg like roasted carrots and green beans, ( I even love Brussels sprouts with bacon!) All served with lashings of gravy! I’m salivating just thinking about it.
But here's my little secret: when I make a roast dinner, I always cook up double the amount of potatoes and veggies that I actually need. Why? Well, so I can make up these delicious bubble & squeak cakes the next day!
The whole family will love them! They make a great toddler food as all of the vegetables are hidden amongst the mashed potato. If you have fussy eaters the patties are soft and easy to eat. They are also bursting with flavour so the adults will love them as well!
Jump to:
🤔 What Is Bubble & Squeak?
It’s a funny old name, isn’t it?
Traditionally bubble & squeak was a dish made of leftover meat, potatoes and vegetables, normally cabbage, all mashed together and fried. Nowadays, we normally leave out the meat and just use potatoes and a range of vegetables, depending on what you have leftover from your roast dinner.
According to Britannica, bubble & squeak originates from the sound of the ingredients “bubbling & squeaking” on the fire when they were fried.
It can be made into one big cake, almost like a frittata, simply fried together loosely in the pan or into little patties as I have done in this recipe.
🤔 How Can I Make Bubble & Squeak Allergy Friendly?
You would typically use egg and flour to bind the bubble and squeak mixture and coat the cakes before frying, which makes them unsuitable for vegans, those avoiding eggs, or following a gluten-free diet.
But guess what? I've got a solution! I swapped out the regular flour for a gluten-free alternative and completely ditched the egg ( just like I have in these eggless pancakes). Believe it or not, as long as you handle the mixture gently, you won't even miss the egg.
Once you've shaped the mixture into patties, pop them in the fridge to chill. This will help them firm up before frying. Just handle them with care, and you're good to go!
🥘 Ingredients Needed & Substitutions
✋ Be sure to double check all packaging for allergens. ✋
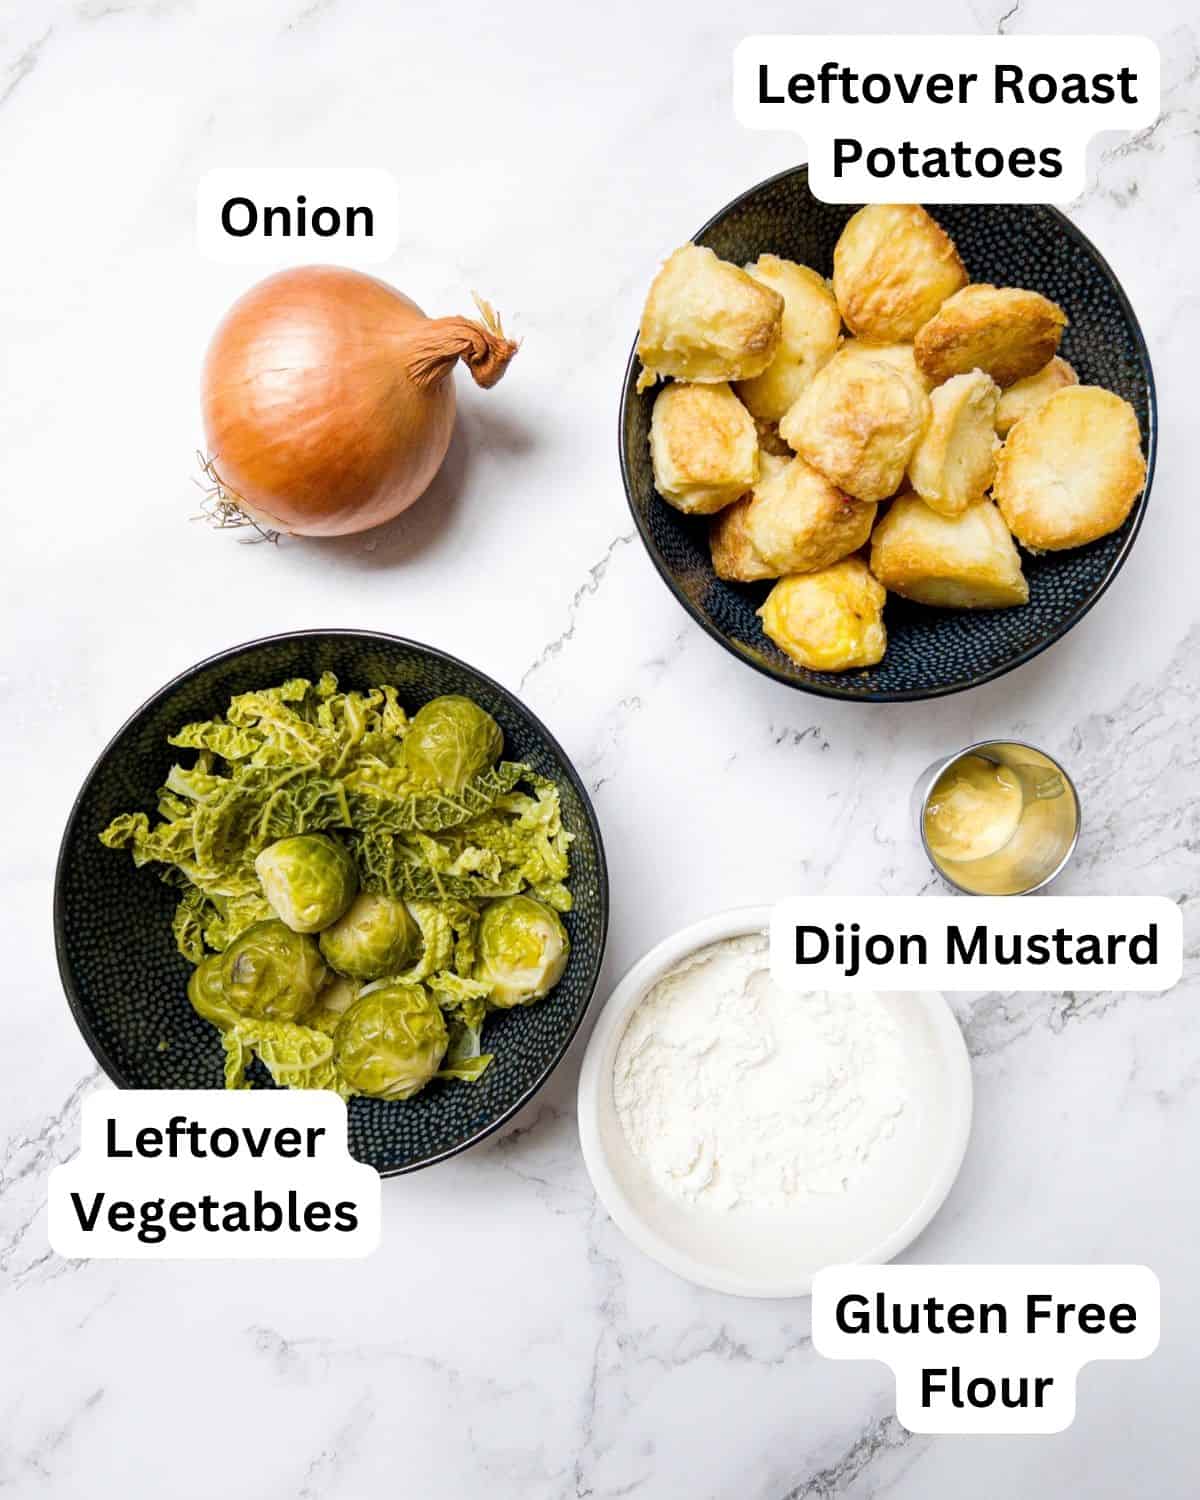
- Leftover Potatoes - I prefer using leftover roast potatoes, however, you can also use leftover mashed potatoes too. If the mash is the creamy type with lots of added butter or cream, you may need to add some extra flour to the mixture as the moisture from the potatoes may cause the cakes to fall apart.
- Leftover Cooked Vegetables - I have used savoy cabbage and Brussels sprouts, but you can use any leftover veg like carrots, broccoli, parsnips, peas or green beans. Whatever you have left over, throw it in!
- Onion - This is chopped and fried before mixing with the vegetables to add flavour. You can use red onion too which will provide a slightly milder and sweeter taste.
- Dijon Mustard -The mustard adds a hint of tang to the cakes. I have used Dijon mustard as this has a milder flavour, however, you can substitute this for English mustard, just be aware that English mustard has a much stronger flavour. If you are allergic to mustard you can leave this out.
- Gluten Free Flour - Used to coat the patties before frying. This helps them stay together and not stick to the bottom of the pan, as well as helping to form a nice crust on the outside of the patty. I always use Doves Farm Freee plain flour, just use regular flour if you do not need the recipe to be gluten free.
- Olive Oil - This is used to fry the patties. You can also use vegetable oil or any other mild-flavoured oil.
- Salt & Pepper - If cooking for small children you may wish to leave out the salt.
Scroll to the recipe card at the bottom of the post for quantities.
⚡ Mix up the Flavour!
- Add Meat- Why not chop up some leftover roasted meat into small pieces and mash together with the mixture. Roast beef tastes particularly lovely in these cakes. Diced ham or crispy bacon is also delicious.
- Add Herbs - Add some fresh chives or a little thyme to the cakes for a flavour twist.
✏️ How to Make - Step-By-Step Instructions
⬇️ Here you will find an overview of how to make the recipe. For full information on ingredients and quantities please see the recipe card at the bottom of the page ⬇️
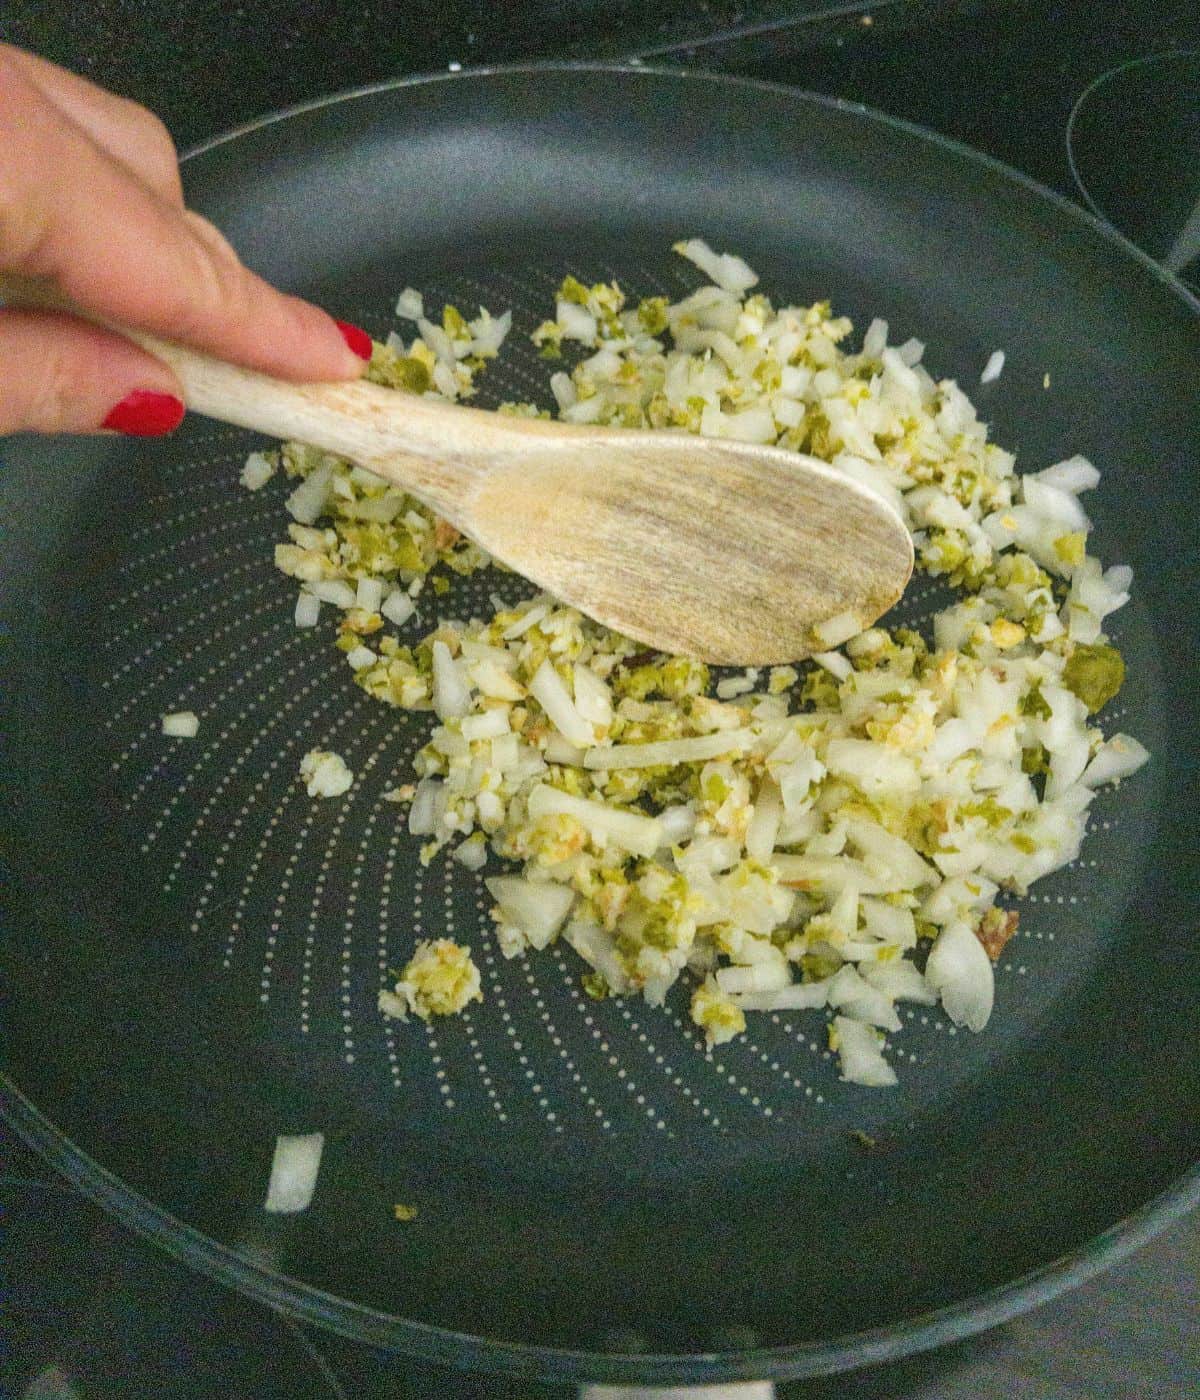
Step 1: Peel your onion and dice it into small squares. Grab a frying pan and heat up a little oil over low to medium heat. Toss in the diced onion and let it sizzle away for about 4-5 minutes until it begins to soften and turns translucent.
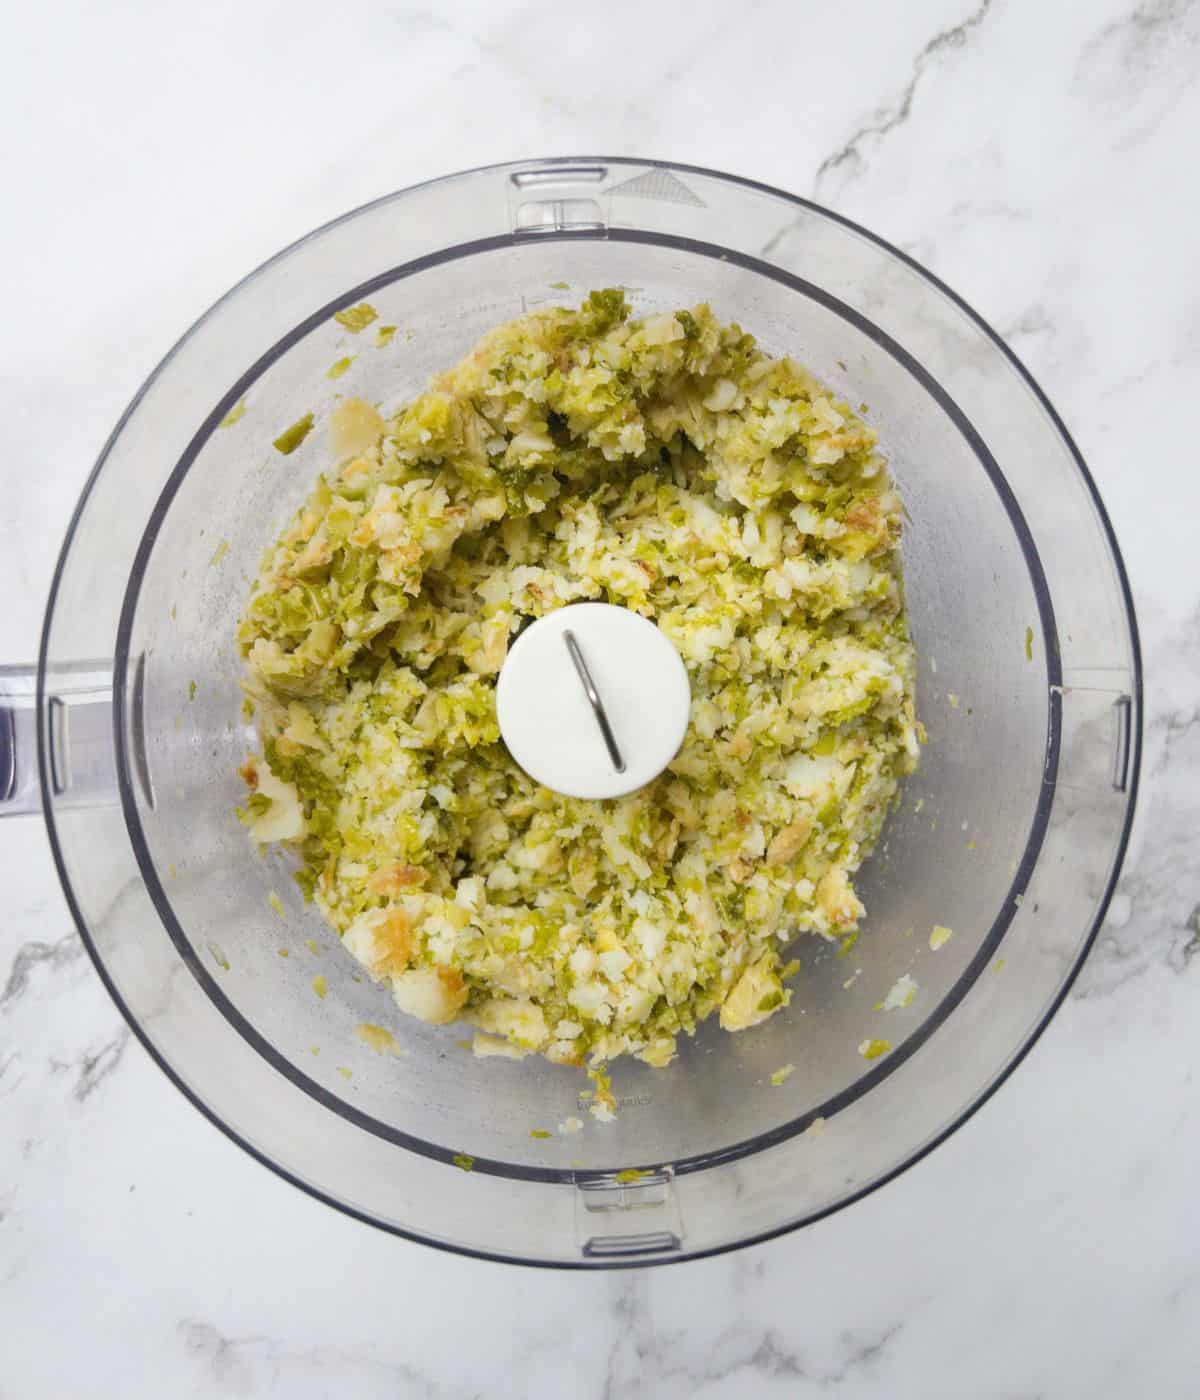
Step 2: Now, it's time to get your veggies ready for mashing. You have a couple of options here. If you've got a food processor, you can save some time & manual labour! Simply add the potatoes, cooked onion, and the other veggies of your choice into the food processor and give it a few pulses.
The goal is to break them down into smaller pieces while still keeping some lumps for texture. Alternatively, if you prefer a more rustic approach or don't have a food processor handy, chop the potatoes and veggies into small pieces. Place them in a large mixing bowl and use a trusty potato masher to create a mash that's slightly chunky.
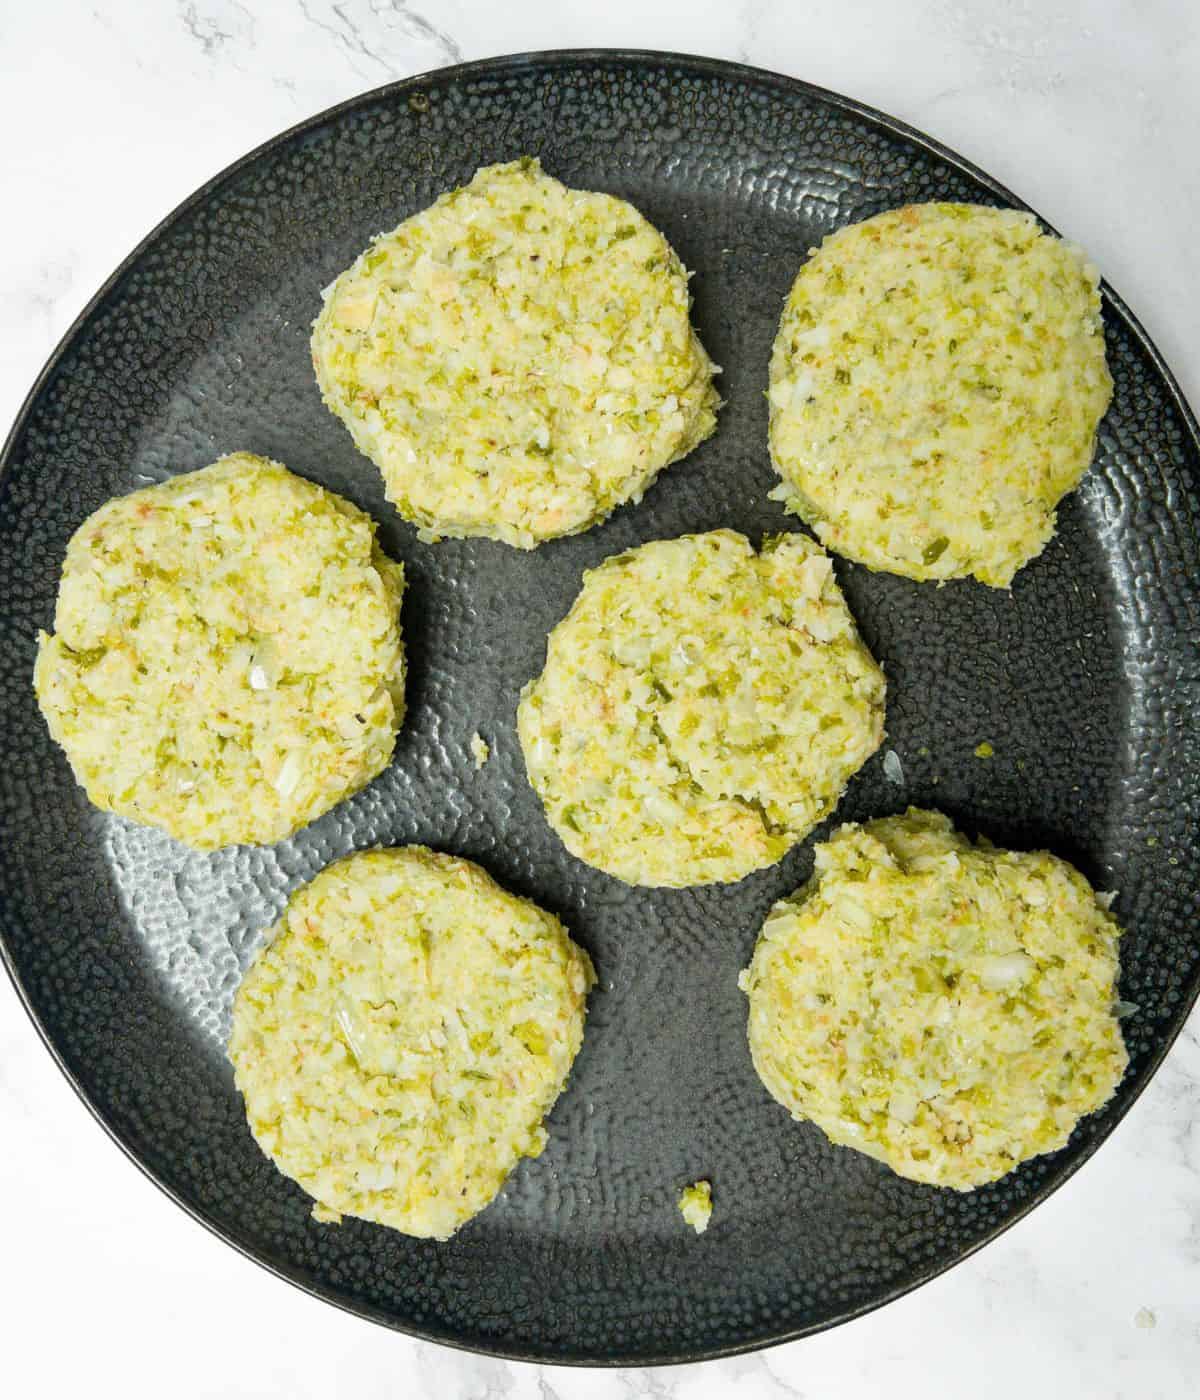
Step 3: Now its time to flavour the patties! Add a dollop of mustard, sprinkle in some salt and pepper, and give everything a good mix. Feel free to use your hands for this part! Take the mashed mixture and shape it into six equal-sized balls. Once you've got your veggie balls, gently flatten them with the back of your hand, forming them into round patties.
Step 4: Grab a bowl and place some flour in it. Dip each patty into the flour, making sure it gets fully coated. This will make the outside of the cakes all crispy when cooked.
Tip: If you've got a little extra time, pop the patties in the fridge for at least 10 minutes to firm them up a bit. This step will help them hold their shape better during cooking!
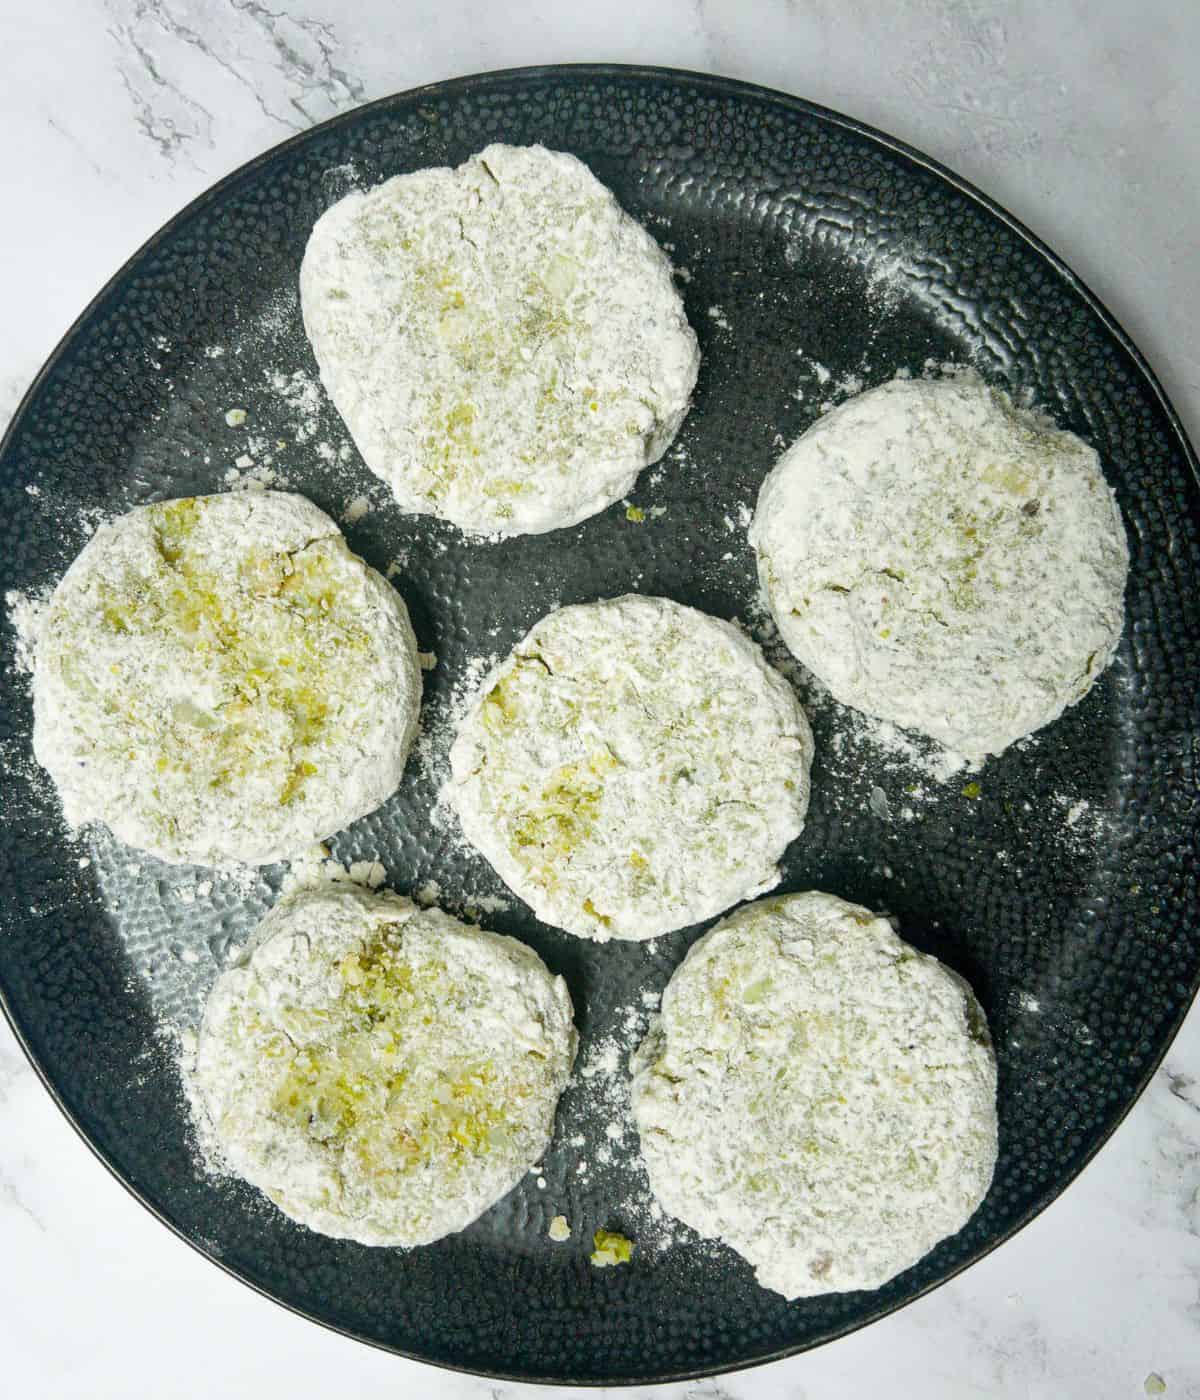
Step 5: Heat up a frying pan again, this time adding a bit of oil, and set it to medium heat. You want it nice and hot before you start cooking the patties.
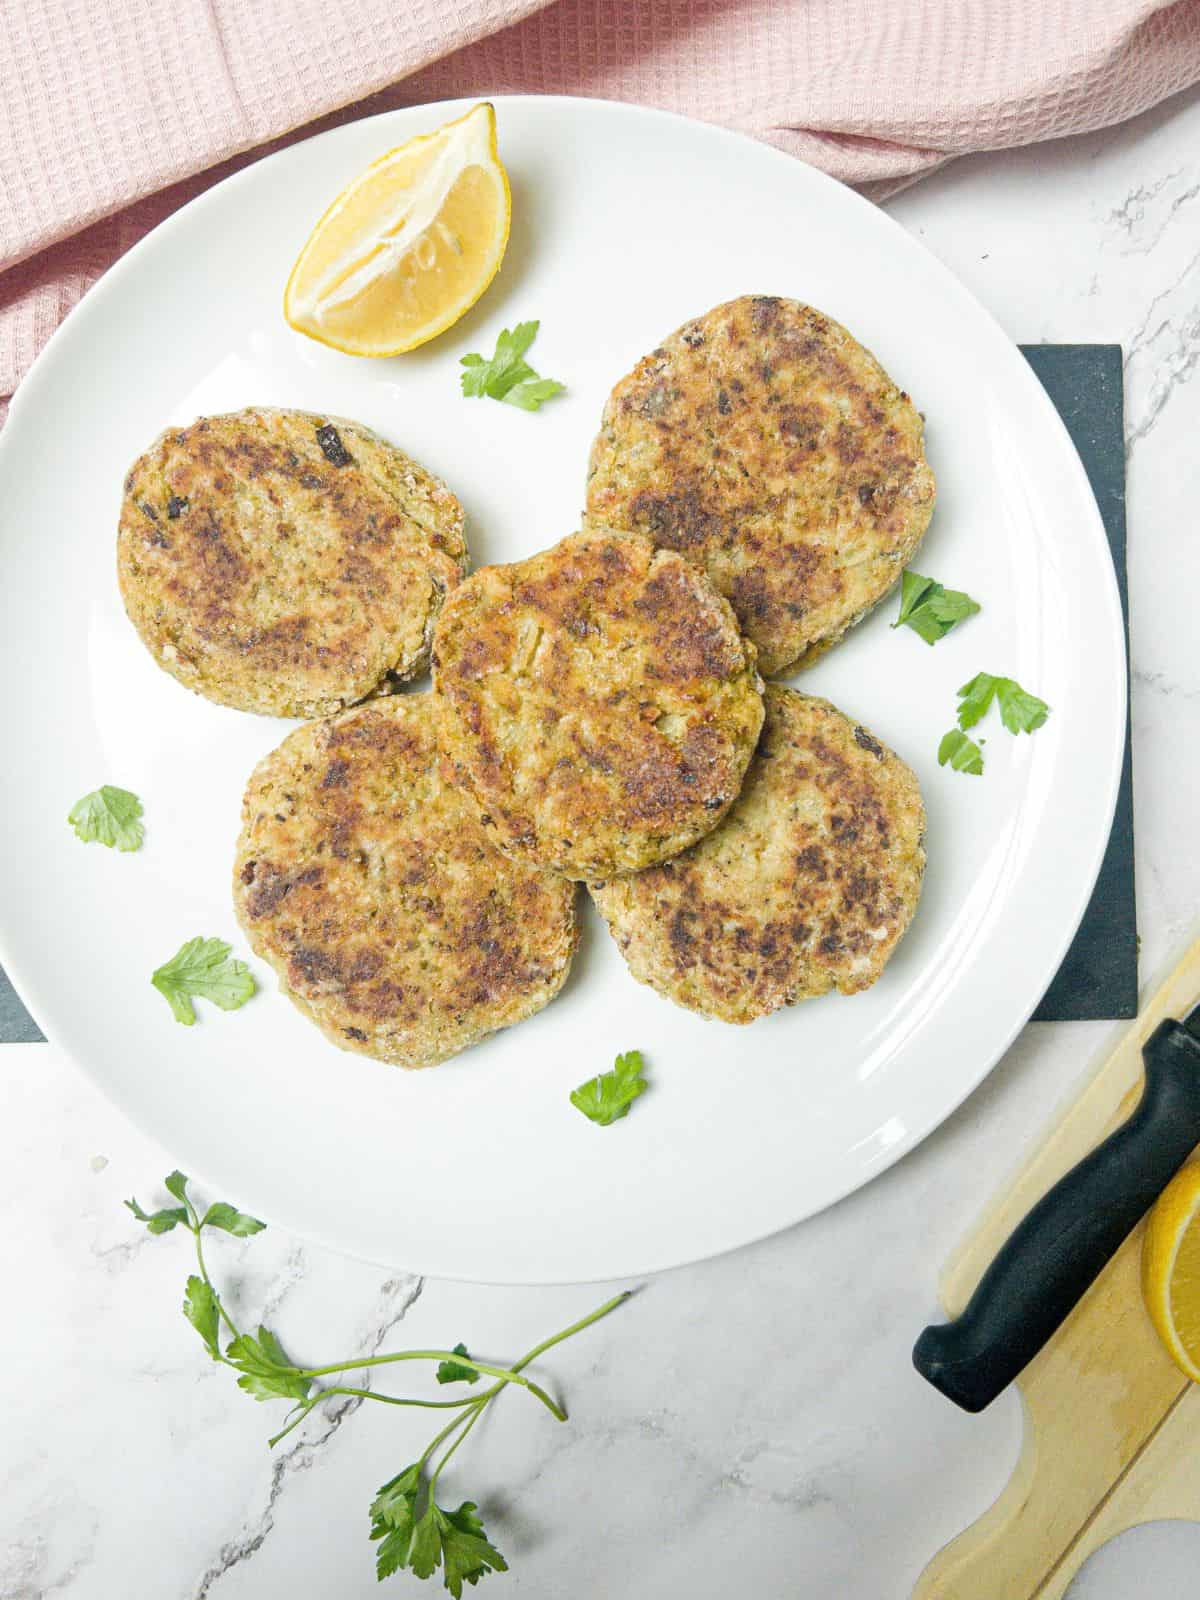
Step 6: Carefully place the veggie cakes in the pan and let them sizzle away for about 4-5 minutes on each side. You're aiming for a beautiful golden brown crust on the outside while making sure they're warmed through.
Serve immediately.. enjoy!
💡 Tips & Tricks
- If you have time, put the patties in the fridge for at least 10 minutes before cooking. This will help them to firm up and keep their shape whilst cooking.
- Treat the cakes with love! They are quite delicate, so be gentle with them when handling and flipping over. Try to only flip them once!
- Make sure you use a nonstick frying pan, otherwise, no matter how careful you are, the patties will stick to the pan and crumble and that's no good for anyone!
- Ensure that the oil is hot before adding the cakes to the pan. A good way to test this is to drop a little crumb of the mixture into the pan and see if it sizzles.
- Don’t overcrowd the pan. You may need to fry these in batches, a couple at a time. If you put too many in, the steam gets stuck under the cakes at the bottom of the pan and they won’t crisp up.
🥡 How To Store
If you have leftovers they will keep in the fridge in an airtight container for around 2-3 days. Re-heat them in the oven at 180˚C for around 5-10 minutes until piping hot throughout. You can also re-heat the cakes in the microwave but this will cause them to go really soft and you will lose any crispness to the outside.
If you are adding leftover meat to the bubble and squeak cakes, I wouldn’t recommend re-heating them. They are best eaten straight away when cooked, as reheating meat twice is not recommended by the FSA
The patties will also freeze really well. First of all, freeze flat on a cold baking tray for around an hour until frozen. This will ensure they keep their shape. The cakes can then be popped into a freezer bag for up to 3 months.
When you are ready to eat, let them thaw in the fridge overnight and reheat as above.
🍴 Serving Suggestions
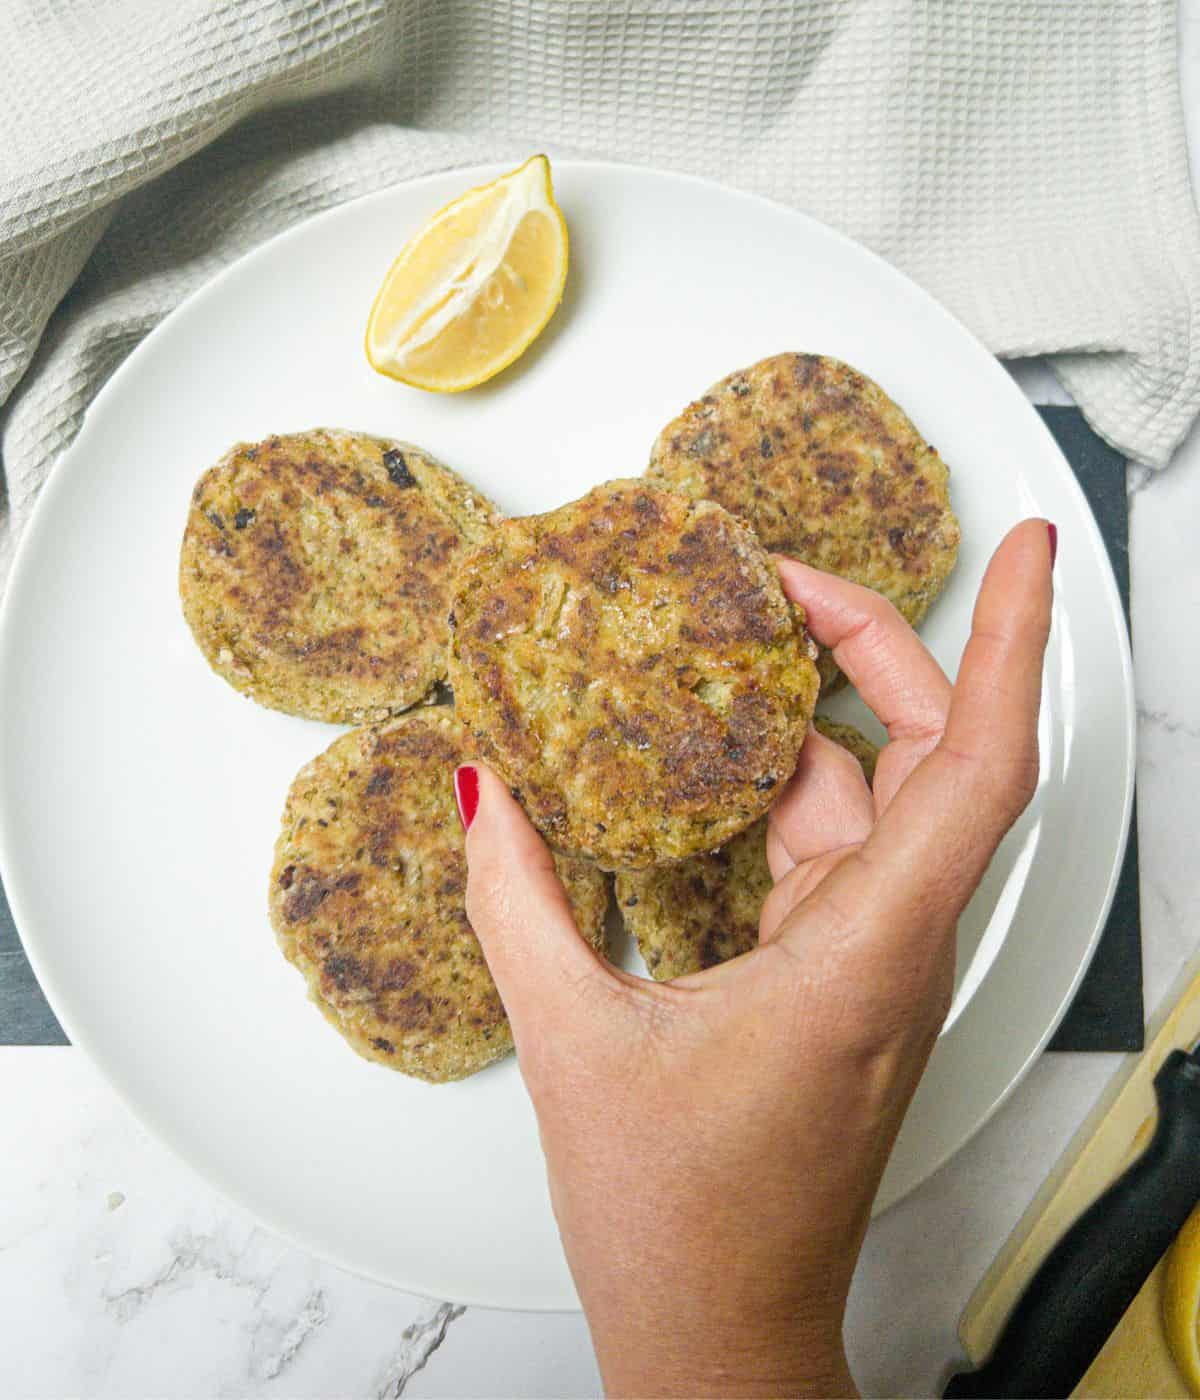
Traditionally Bubble & Squeak is eaten the day after a “Sunday roast” or Christmas dinner as a breakfast or brunch, so this will make the perfect Boxing Day breakfast!
If you don’t have an egg allergy, fry an egg and lay the egg over the top of a couple of patties for a delicious brunch dish.
They can also be served as a light lunch or as a side dish for a quick dinner with some sausages or leftover roasted meat like this slow-cooked lamb breast and baked beans!
💬 Recipe FAQs
Can I make bubble and squeak in the air fryer?
You certainly can! Spray the air fryer basket with olive oil & pop the patties into the air fryer at 180˚C (no need to preheat) for 10-12 minutes, depending on your air fryer, remembering to flip them halfway through.
I prefer to pan fry the patties as this helps the outside crisp up and gives it that lovely brown colour, however, if you prefer to bake them you can pop them on a baking tray in the oven at 180˚Fan / 200˚C / 395˚F for 15-20 minutes until piping hot throughout.
Sometimes people put an egg into the mixture before forming into patties to help the cakes stay together whilst cooking. As I try to make as many of my recipes as possible egg free, I have not added an egg, but to be honest, as long as you are careful when handling the patties, you really don’t need it.
As long as you don’t add an egg to bind the patties, as the ingredients are made up of potatoes and vegetables, bubble and squeak is considered a vegan dish.
📖 More Brunch Recipes You Will Love..
If you loved this recipe, please leave me a 5🌟 rating or comment below. I really do appreciate it. 😊
📖 Recipe
Bubble & Squeak Patties
Equipment
- Food Processor optional
Ingredients
- 350 g (12 oz) leftover roast potatoes or leftover mashed potatoes
- 200 g (7 oz) leftover cooked vegetables e.g Brussels Sprouts or cabbage
- 1 medium onion finely diced
- 50 g (⅓ cup) gluten free plain flour can use regular plain flour if not following GF diet
- 1 teaspoon dijon mustard can be left out if allergic to mustard
- olive oil enough to shallow fry the patties in
- salt & pepper to taste
Instructions
- Dice the onion into small squares and fry in a little oil in a frying pan on a low to medium heat for around 4-5 minutes, until it starts to soften and turns translucent.
- Next, it's time to mash the vegetables. You can either put the potatoes and vegetables along with the cooked onion in a food processor and pulse until it has broken into smaller pieces but there are still lumps, or if you prefer to chop the vegetables manually or you don’t have a food processor, simply chop the potatoes and veg into small pieces and then place in a large mixing bowl and mash with a potato masher.
- Add the mustard and salt & pepper to the mashed mixture. Using your hands, mould the mixture into 6 equal size balls.
- Flatten the balls with the back of your hand and shape them into round patties.
- Place the flour in a bowl and dip each patty in the flour, ensuring the patties are fully coated in the flour.
- Tip: If you have time, leave the patties to chill in the fridge for at least 10 minutes to help them firm up.
- Add some oil to the frying pan and turn onto a medium heat ready for the patties.
- Fry the cakes in a hot frying pan for around 4-5 minutes on each side until the outside starts to brown and they are warm throughout.
- Serve immediately.
Notes
- If you have time, put the cakes in the fridge for at least 10 minutes before cooking. This will help them to firm up and keep their shape whilst cooking.
- Treat the cakes with love! They are quite delicate, so be gentle with them when handling and flipping over. Try to only flip them once!
- Make sure you use a nonstick frying pan, otherwise, no matter how careful you are, the patties will stick to the pan and crumble and that's no good for anyone!
- Ensure that the oil is hot before adding the cakes to the pan. A good way to test this is to drop a little crumb of the mixture into the pan and see if it sizzles.
- Don’t overcrowd the pan. You may need to fry these in batches, a couple at a time. If you put too many in, the steam gets stuck under the cakes at the bottom of the pan and they won’t crisp up.





Comments
No Comments