

Follow this easy tutorial on How To Cut Carrot Sticks. Rather than buying costly pre-cut versions, we will show you how you can easily make your own at home!
Are you often tempted to grab a pre-cut bag of carrot sticks? We've all been in that situation, where time is valuable and it feels like there aren't enough hours in the day. However, with this simple tutorial, I'll demonstrate how to make your own carrot sticks, saving you time and money, so it's a win-win!
Want to Save This Recipe?
Enter your email & I'll send it to your inbox. Plus, get great new recipes from me every week!
By submitting this form, you consent to receive emails from The Scatty Mum.
Trust me, it's a quick and effortless process, and much cheaper than buying pre-cut carrots. By cutting up a large batch at once and storing them in the fridge, you'll have a convenient supply for the entire week.
Read on to find out how!
Jump to:
🤔 Why Make Your Own?
- So much cheaper than buying a bag of pre-cut carrots.
- They are super easy to make, just make one batch and you are set for the week!
- Great for kids' lunchboxes or as a healthy dipping snack.
- A nutritious and healthy snack.
🥘 Ingredients
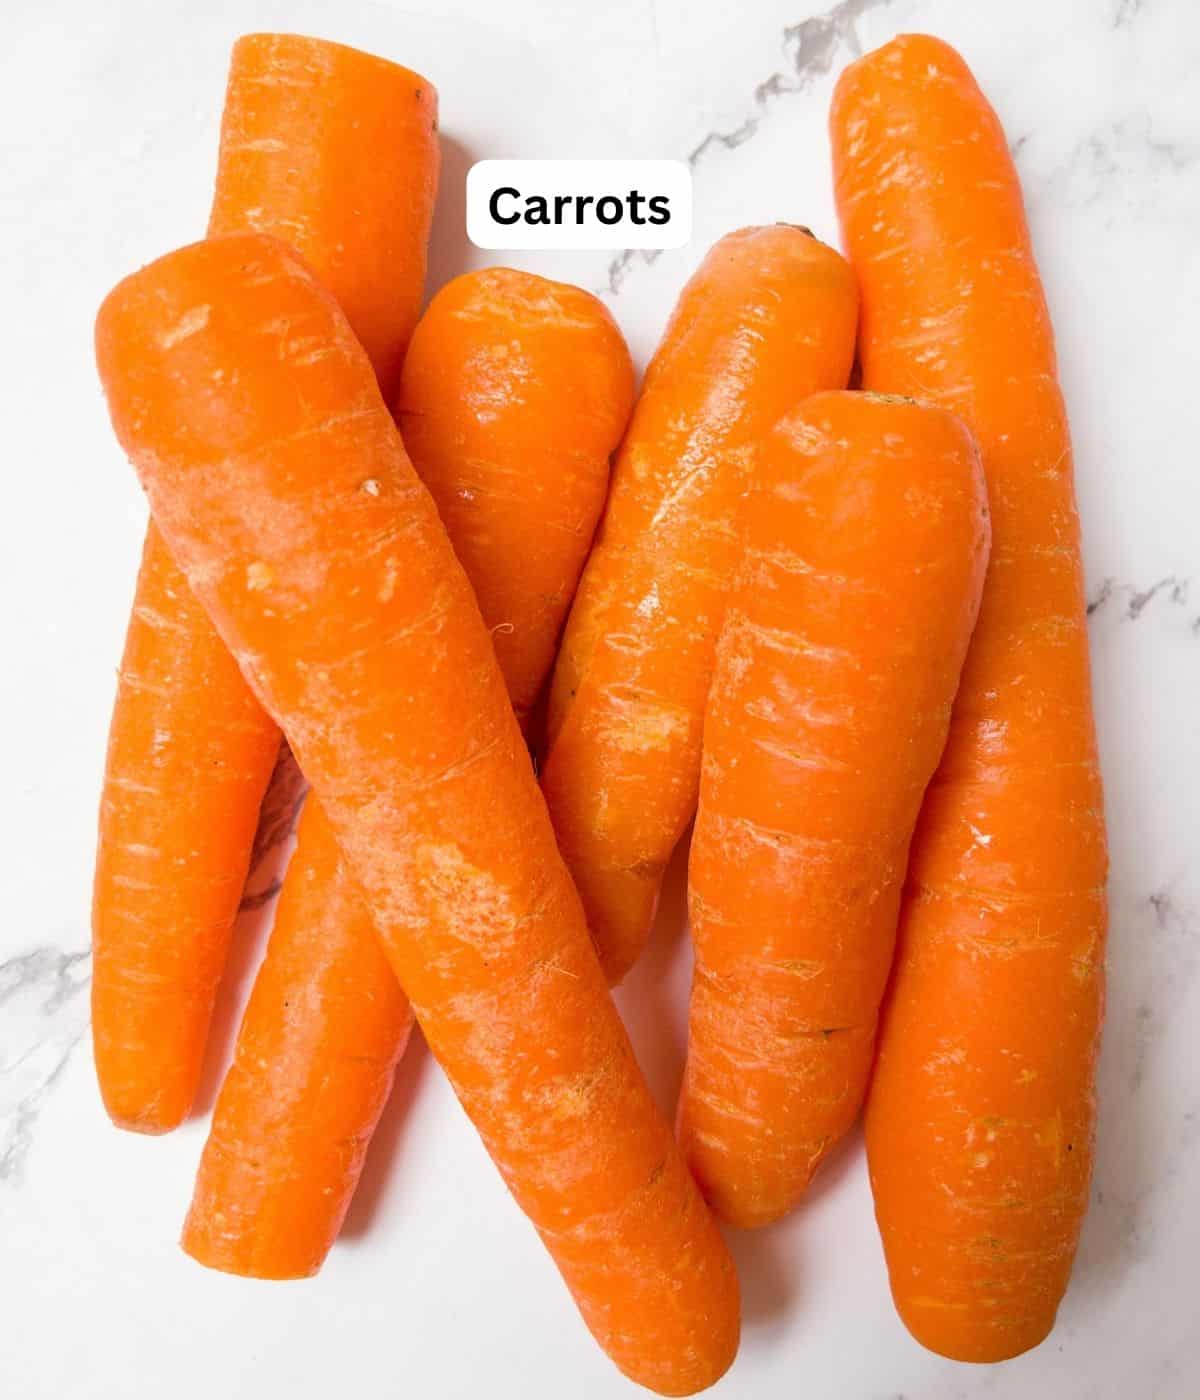
Whole carrots & that's it!
Try and choose carrots that are firm and straight. Discard any that have cracked or gone soft. Carrots are one of the most economical vegetables you can buy. You should be able to pick up a huge bag at the supermarket for a reasonable price.
✏️ How To Chop Carrot Sticks

Step 1: Prepare the Carrots
To begin, choose fresh carrots that are firm, vibrant orange in colour, and free from any soft spots or blemishes. Wash the carrots thoroughly under running water to remove any dirt or debris. If you prefer, you can peel the carrots using a vegetable peeler to remove the outer skin, peeling is optional though as the skin is edible and contains additional nutrients. I prefer the appearance of carrot sticks without the skin, so I tend to peel them when making batons.
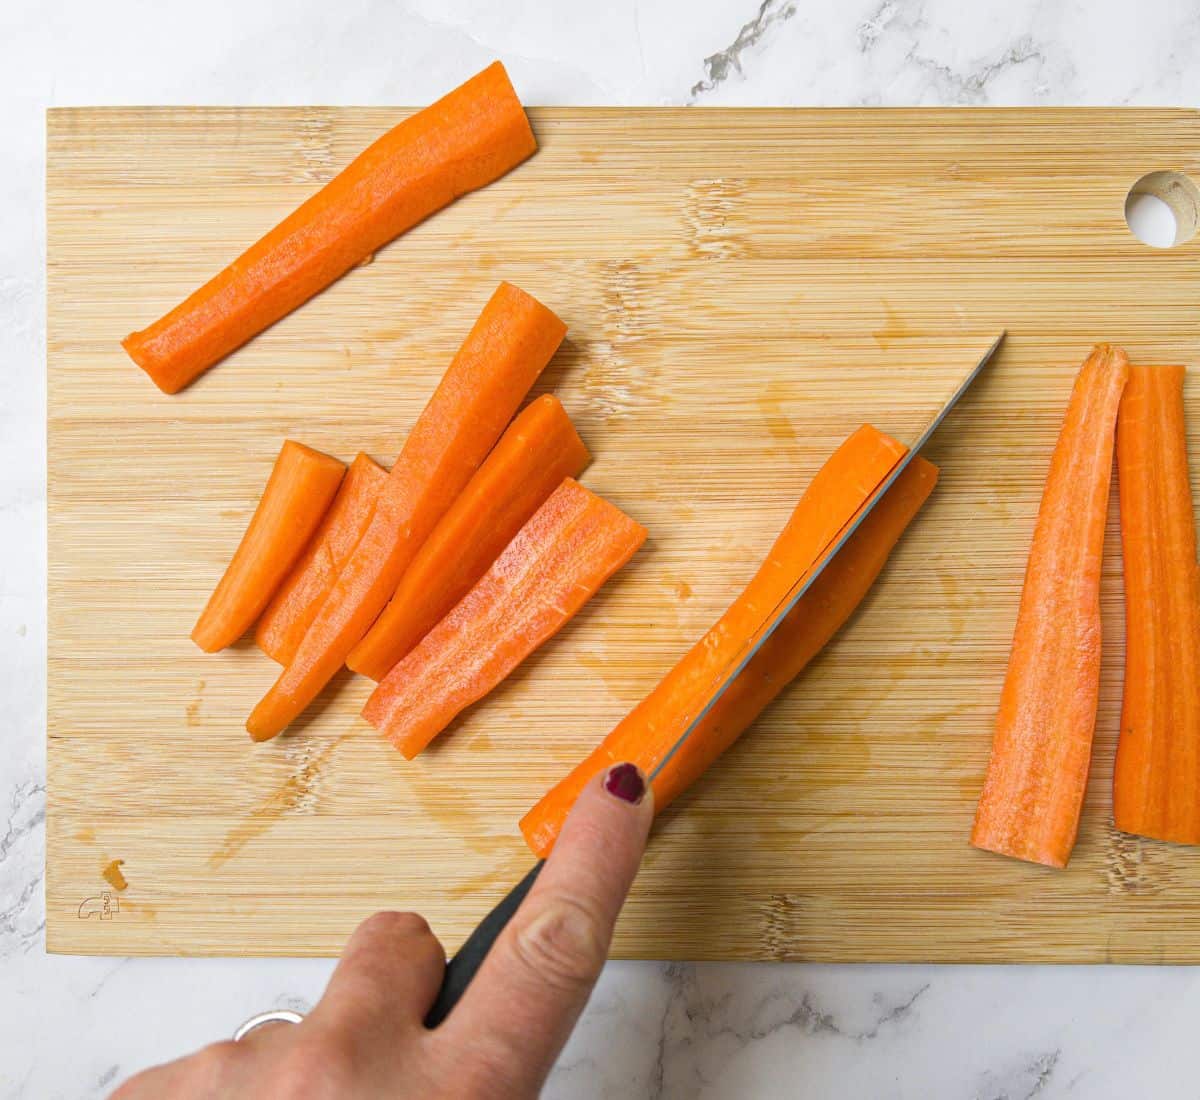
Step 2: Cutting the Carrots
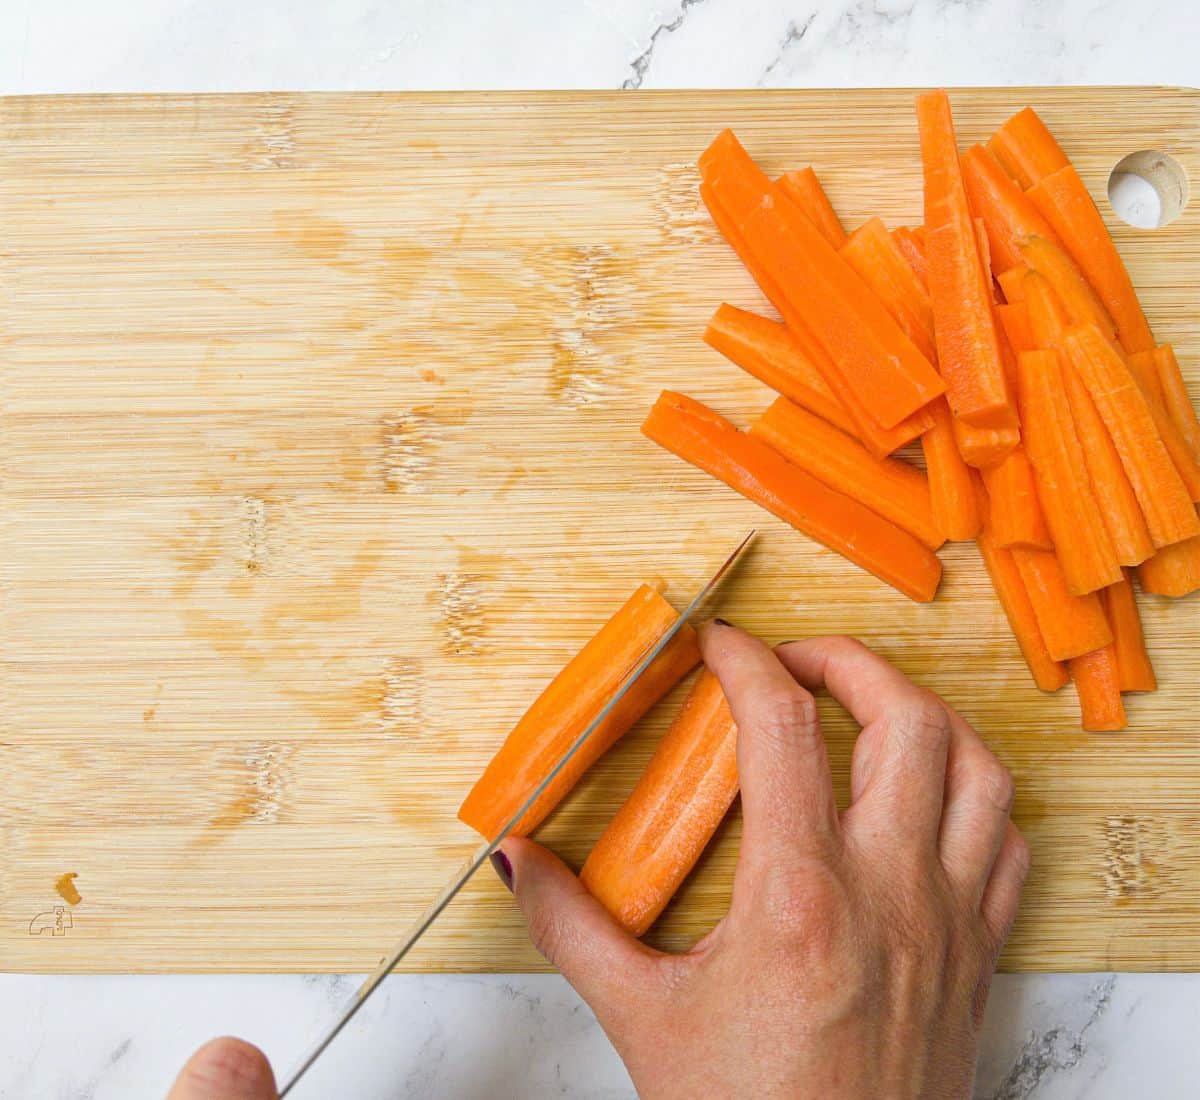
Place the carrot on the chopping board. With a sharp knife, cut off both ends of the carrot, creating flat surfaces on both sides. Next, make a vertical cut down the length of the carrot, halving it. Place both halves flat-side down on the chopping board. Make a horizontal cut across both carrot halves, leaving you with four quarters.
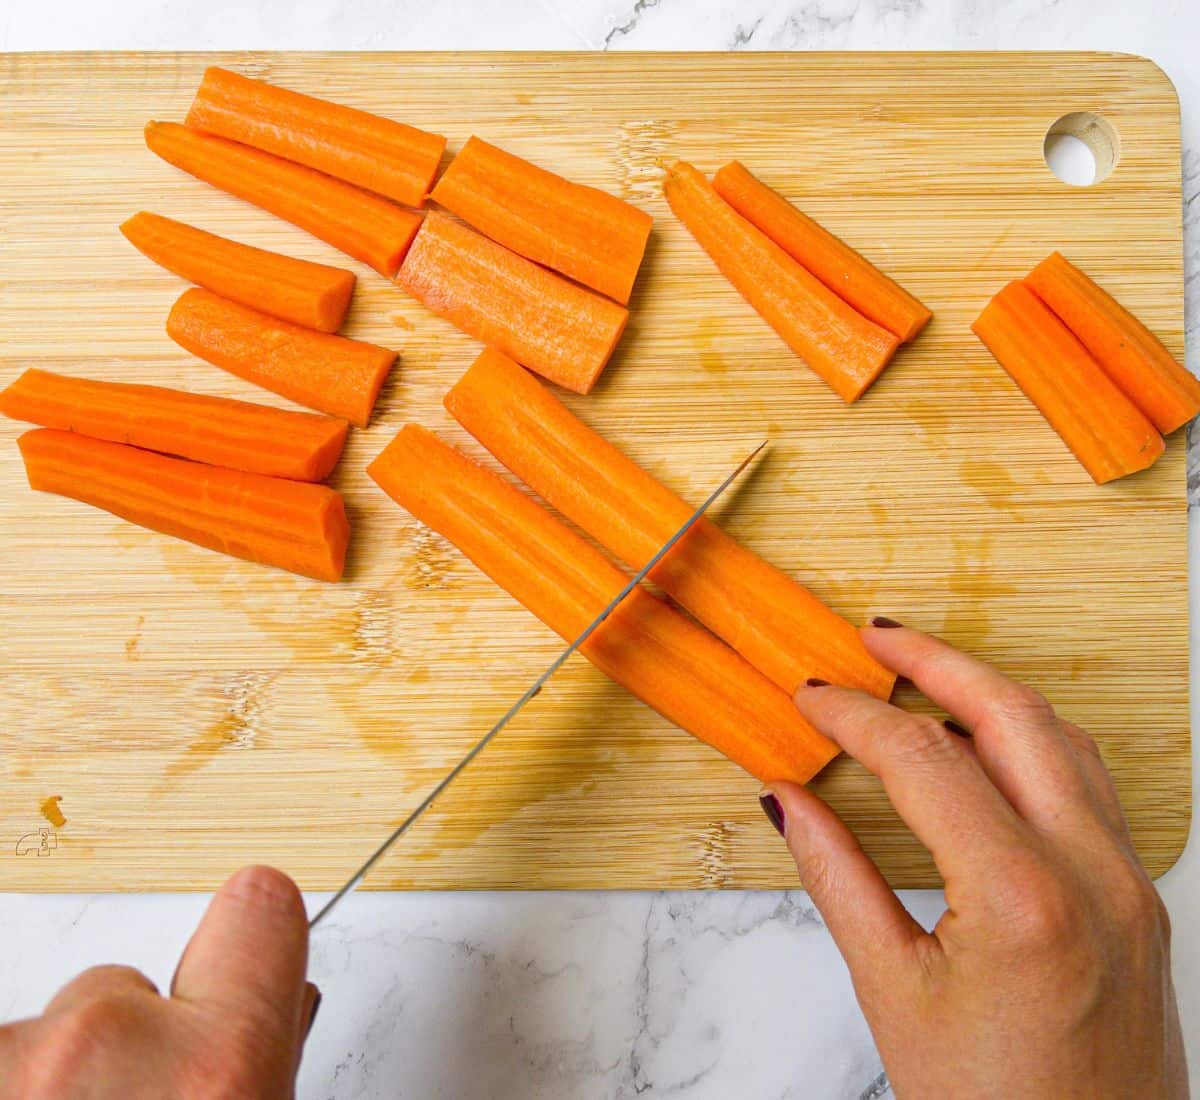
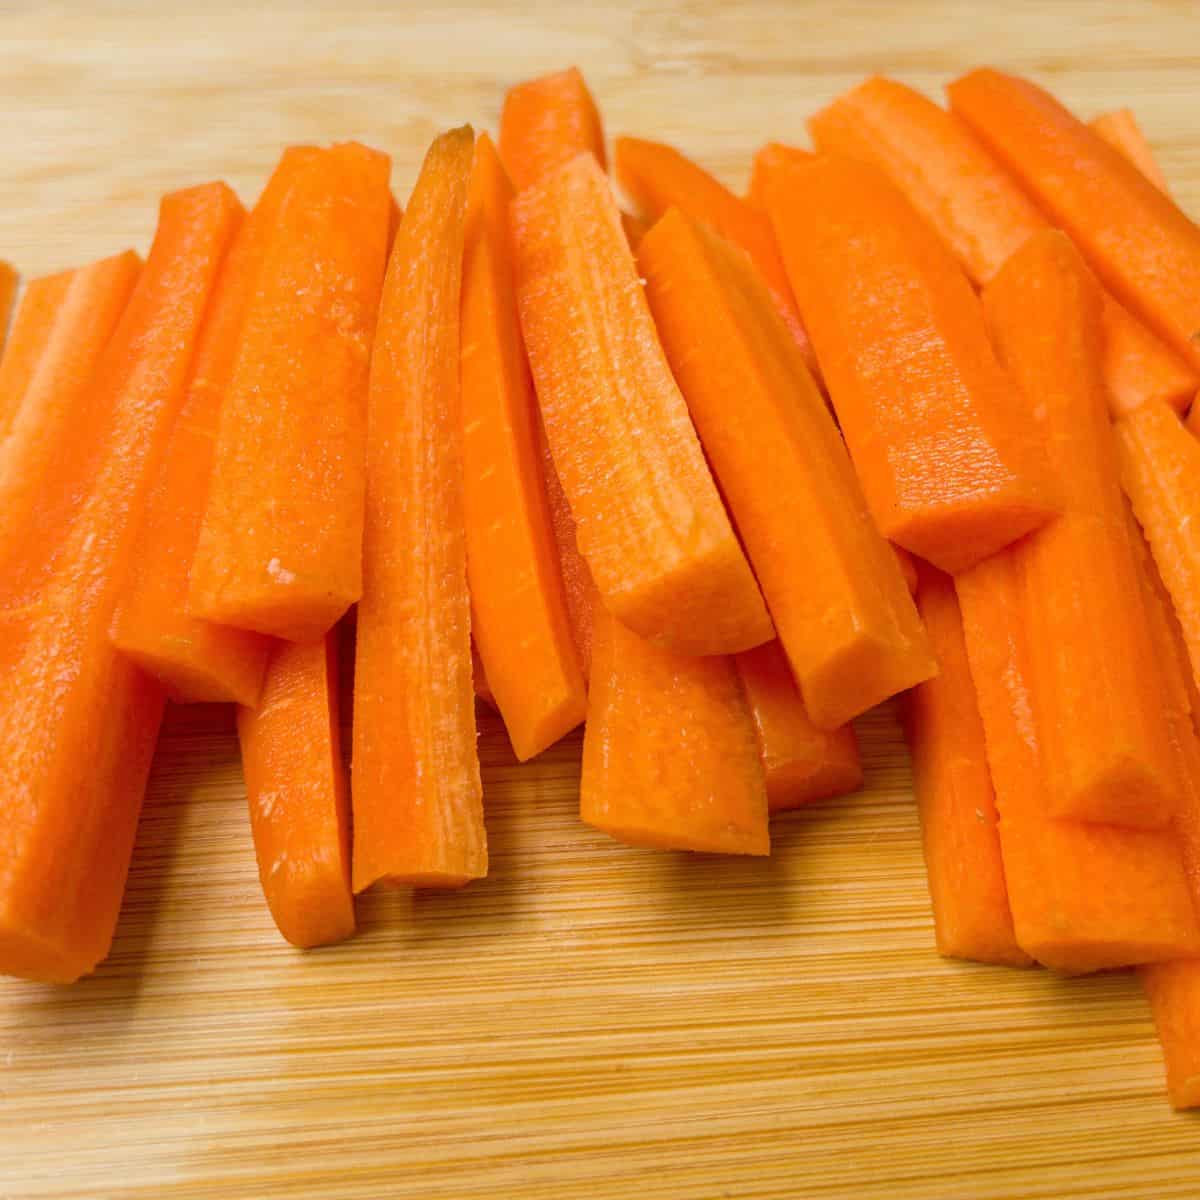
Step 3: Creating Carrot Sticks
Take one carrot quarter and place it flat-side down on the chopping board. Cut the quarters lengthways into 2 or 3 sticks, depending on how thick you would like the batons.
Adjust the thickness according to your preference, repeating the steps above for the remaining carrot quarters.
💡 Tips & Tricks
- If you prefer thinner or thicker carrot sticks, just slice the four quarters of the carrots into thicker or thinner slices.
- Always cut away from your body and keep your fingers away from the blade of the knife.
🥡 How To Store The Carrot Sticks
You can make a big batch of the sticks and store them in the fridge to use throughout the week.
Store them in an airtight container, or add some cold water to the container for extra freshness and to stop the carrots from drying out.
This will keep them nice and fresh. They will keep like this for around a week.
🍴 Serving Suggestions
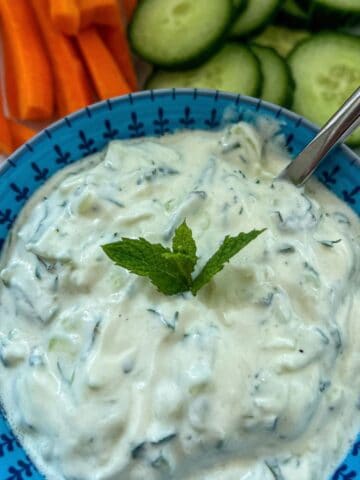
These carrot sticks are delicious as part of a grazing board or buffet spread. They are fab dipped into some Baba Ganoush, Homous or Lima Bean Dip.
You can also use them as a healthy addition to your children's school lunchbox.
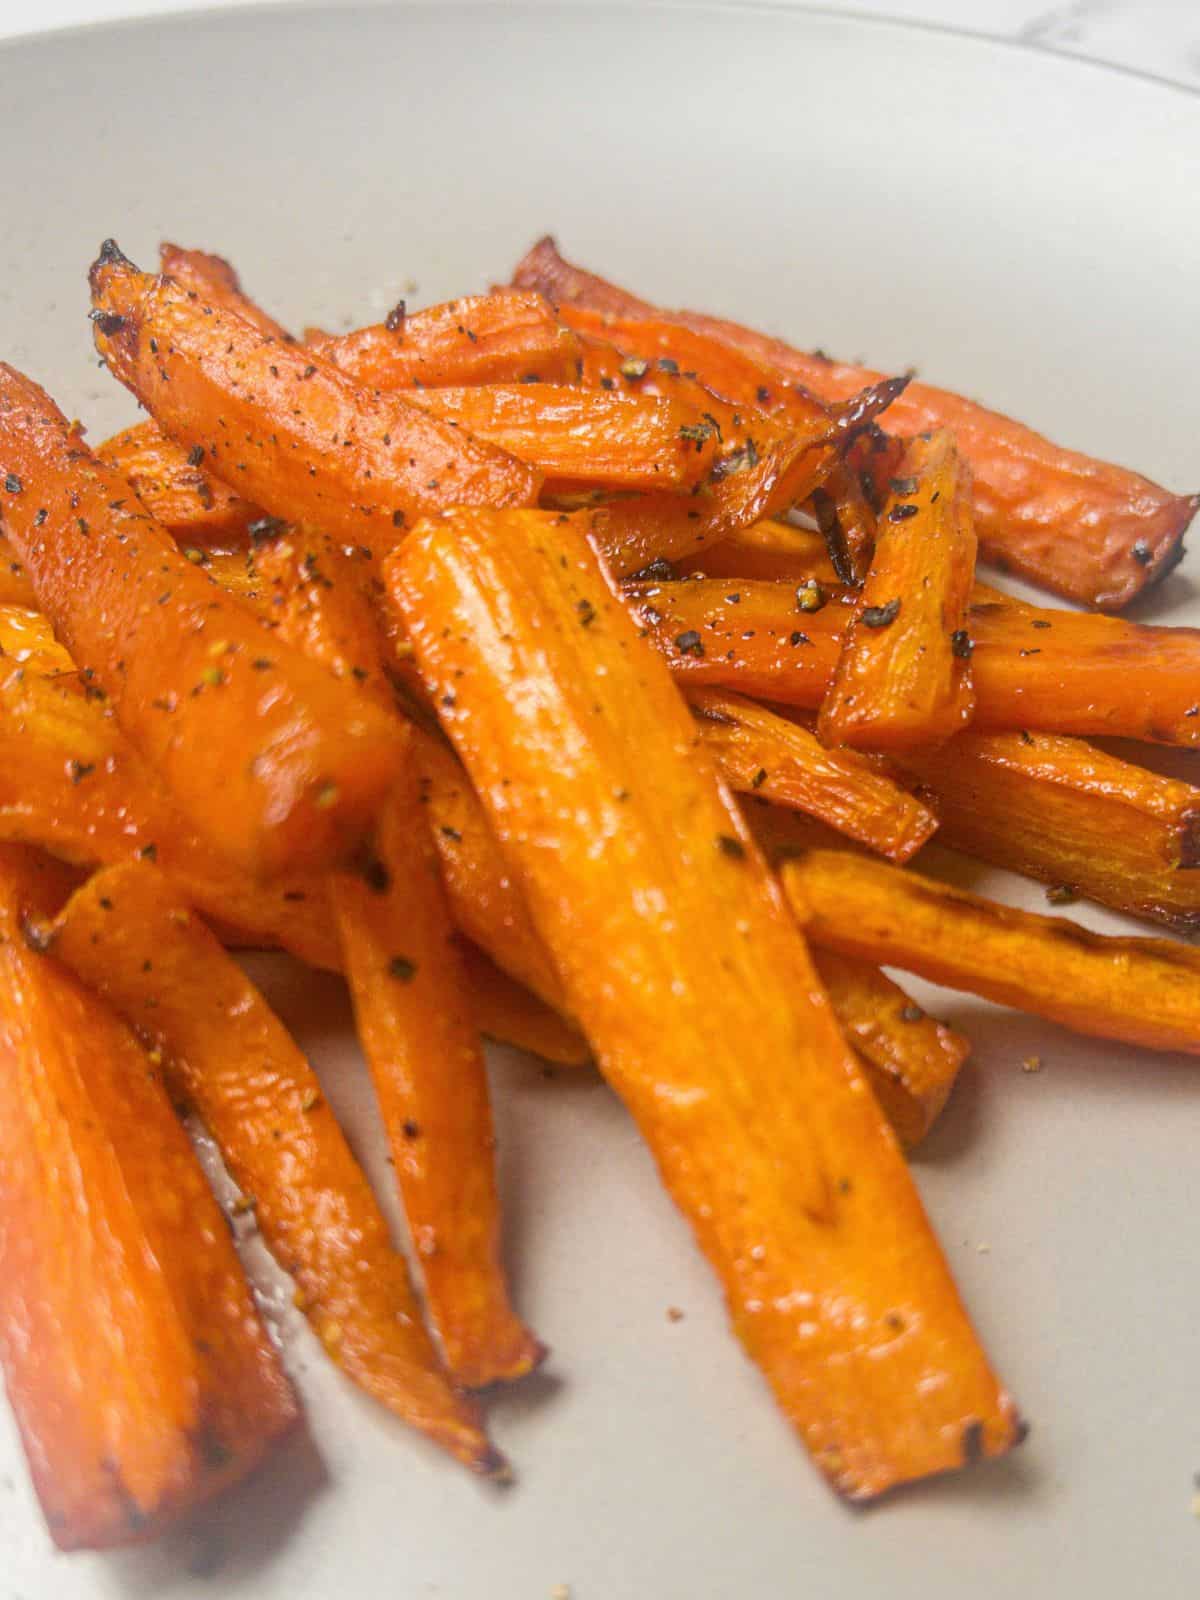
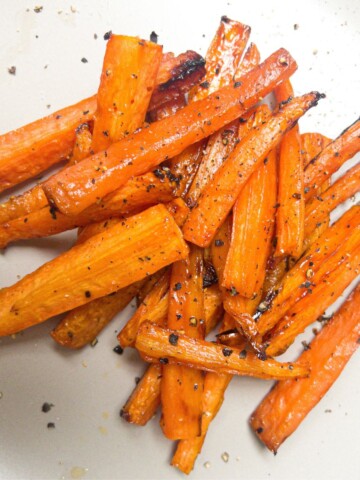
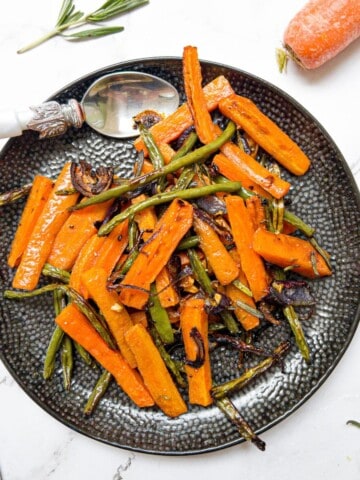
They can also be cut and then cooked in the air fryer or boiled/steamed to be eaten with a wide range of dinners like Dairy Free Fish Pie or Salmon Katsu Curry.
🤔 Can I Freeze Carrot Sticks?
Yes, you can easily freeze carrot sticks. Freezing is a great way to preserve them for longer periods. Here's how to freeze them.
- Blanch the carrot sticks by briefly immersing them in boiling water for 2-3 minutes.
- Transfer the blanched carrot sticks into ice-cold water immediately to stop the cooking process.
- Once cooled, drain the carrot sticks thoroughly and pat them dry to remove any excess moisture.
- Arrange the carrot sticks in a single layer on a baking sheet or tray.
- Place the baking sheet in the freezer and allow the carrot sticks to freeze for a few hours until they are firm.
- Once frozen, transfer the carrot sticks into airtight freezer bags or containers.
- Label the bags or containers with the date and contents for easy identification.
- Return the carrot sticks to the freezer where they can be kept for up to 3 months.
When you're ready to use them, simply let them defrost in the fridge or use them directly in cooked dishes without thawing.
The texture of the thawed carrot sticks may be slightly softer compared to fresh ones, which makes them more suitable for cooking rather than eating raw.
💬 FAQ
To determine if carrots have gone bad, look for mould, decay, soft or slimy texture, wrinkling or shrivelling, foul odour, or significant discolouration. If you notice any of these signs, it's best to discard the carrots.
Related
Looking for other recipes like this? Try these:
📖 Recipe
How To Cut Carrot Sticks
Equipment
Ingredients
- 4 medium Carrots
Instructions
Step 1: Prepare the Carrots
- Start by selecting fresh carrots. Look for firm carrots with a vibrant orange colour, free from any soft spots or blemishes.
- Wash the carrots thoroughly under running water to remove any dirt or debris.
- If necessary, peel the carrots using a vegetable peeler to remove the outer skin. This step is optional, as the skin is edible and contains additional nutrients, so the choice is yours.
Step 2: Cutting the Carrots
- Place the carrot on the chopping board.
- Using a sharp knife, cut off both ends of the carrot to create a flat surface on both sides.
- With a steady hand, make a vertical cut down the length of the carrot to halve it.
- Place both halves flat-side down on the cutting board.
- Make a horizontal cut across both of the carrot halves, so you are left with four quarters.
Step 3: Creating Carrot Sticks
- Take one carrot quarter and place it flat-side down on the cutting board.
- Cut the carrot lengthways into 2 or 3 sticks, depending on how thick you would like the batons.
- Repeat the above steps for the remaining carrot quarters.
Notes
-
- If you prefer thinner or thicker carrot sticks, just slice the four quarters of the carrots into thicker or thinner slices.
- Always cut away from your body and keep your fingers away from the blade of the knife.


Comments
No Comments