
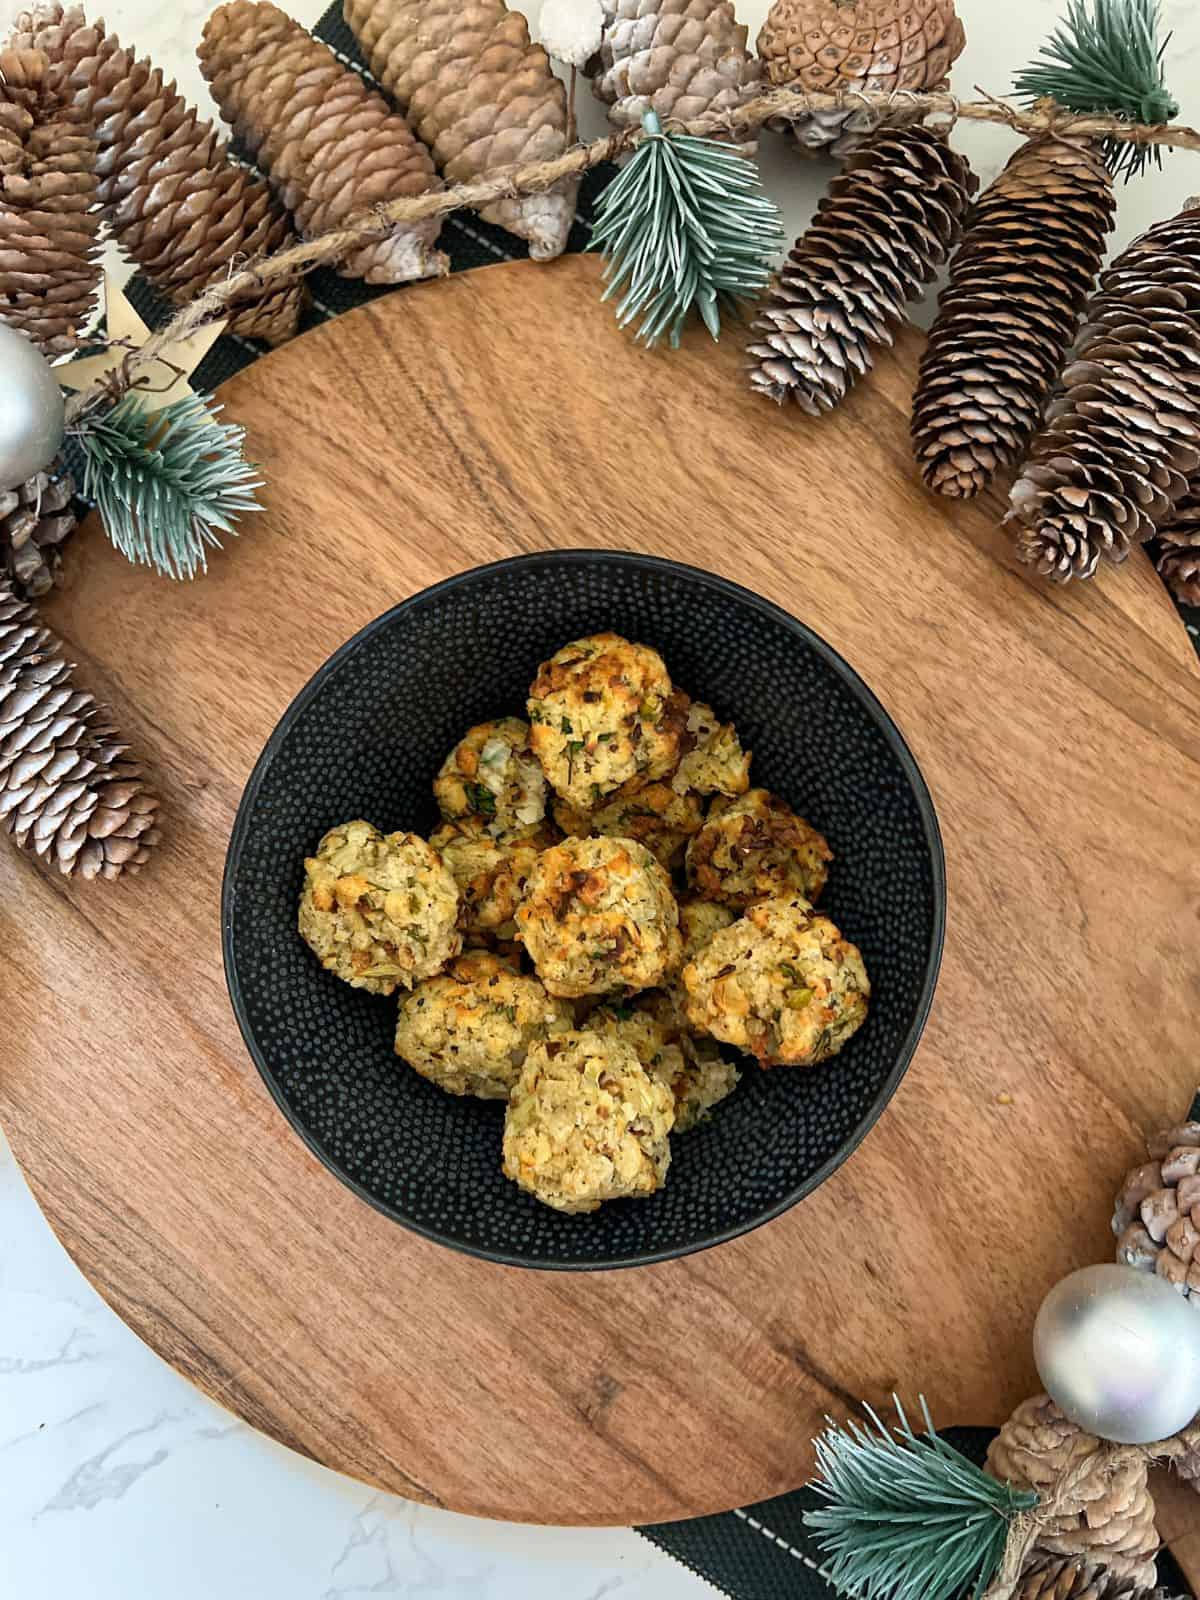
Crunchy on the outside, yet soft & moist on the inside, these Air Fryer Stuffing Balls make the perfect Thanksgiving or Christmas side dish! Quick & easy to make, they are ready in just 25 minutes!
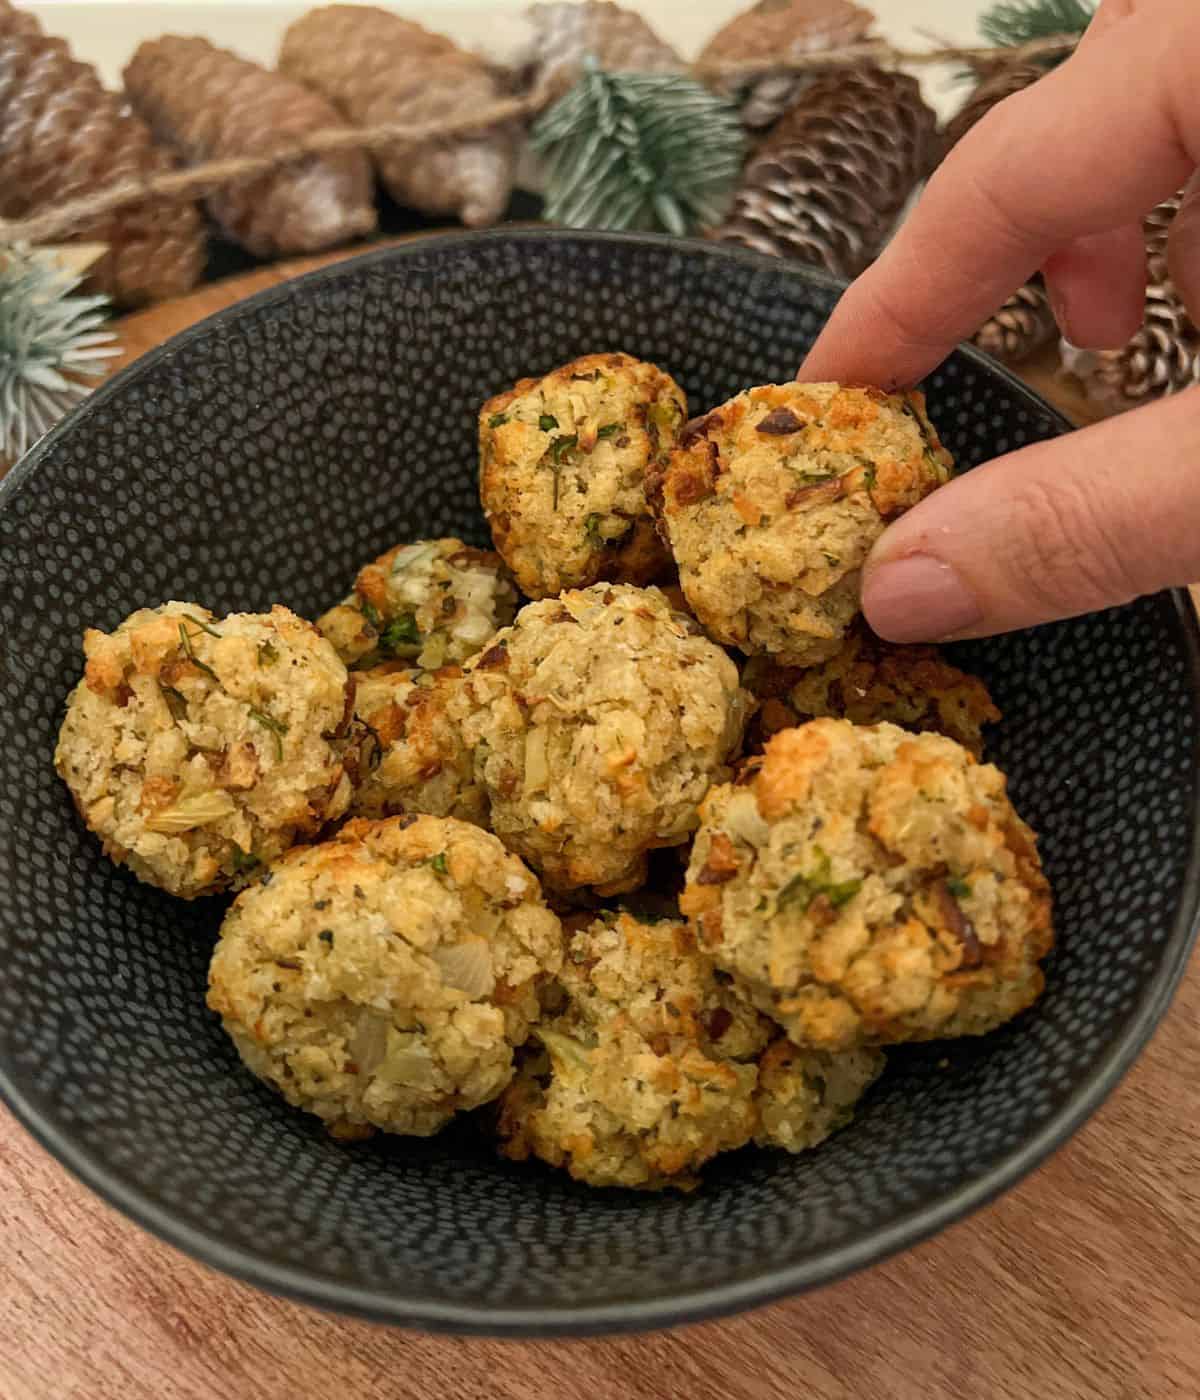
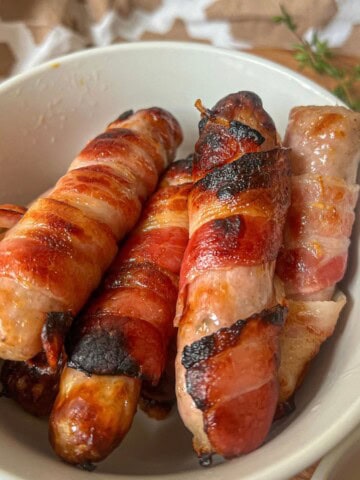
Air fryer stuffing balls are such a brilliant way to make your roast dinners easier. They're quicker than cooking them in the oven, and you'll free up loads of oven space - always handy when you've got a roast or Christmas Dinner on the go. That's why I make my pigs in blankets in the air fryer too.
Want to Save This Recipe?
Enter your email & I'll send it to your inbox. Plus, get great new recipes from me every week!
By submitting this form, you consent to receive emails from The Scatty Mum.
My recipe is homemade, but I will also give you temperatures & timings if you are using Paxo stuffing instead!
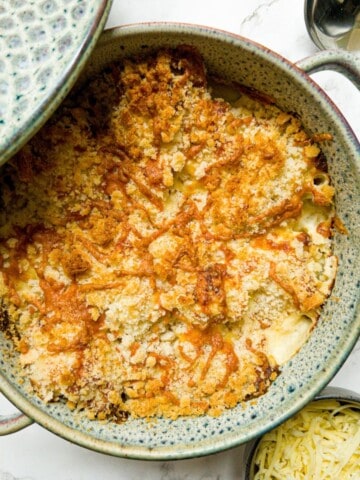
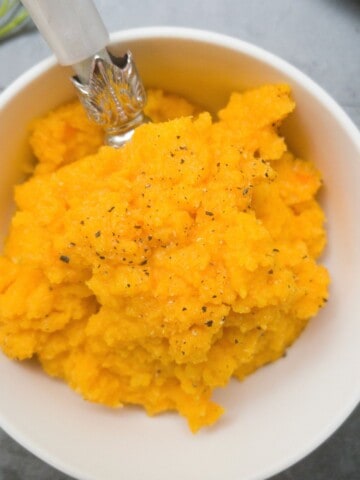
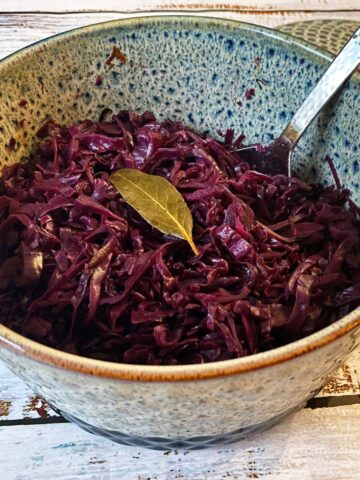
Some of my other air fryer favourites include these 5 air fryer festive side dishes, crispy pork belly slices & these honey & garlic air fryer chicken thighs.
Jump to:
- ❤️ Why You Will Love This Recipe
- 🥘 Ingredients You Will Need
- 🥜 How Can I Make This Dish Allergy Friendly?
- 🤔 Can I Make Paxo Stuffing Balls In The Air Fryer?
- ✏️ How to Make Air Fryer Stuffing Balls
- 🤔 Which Air Fryer Do You Use?
- 🤔Do I Need To Preheat My Air Fryer?
- 💡 Lauren's Tips
- 🥡 Storage / Reheating / Freezing
- 🍴 How To Serve
- 💬 Recipe FAQs
- ⚡ More Roast Dinner Sides
- 📖 Recipe
- 💬 Comments
❤️ Why You Will Love This Recipe
- ✔️ Quick & Easy: On the table in just 25 minutes, these stuffing balls are super simple to prepare.
- ✔️ Allergy-Friendly: With a couple of easy swaps, you can easily make them dairy-free & gluten-free. ( I will show you how below)
- ✔️ Family-Friendly: Kids and adults alike will love the crispy texture and delicious flavour of these stuffing balls.
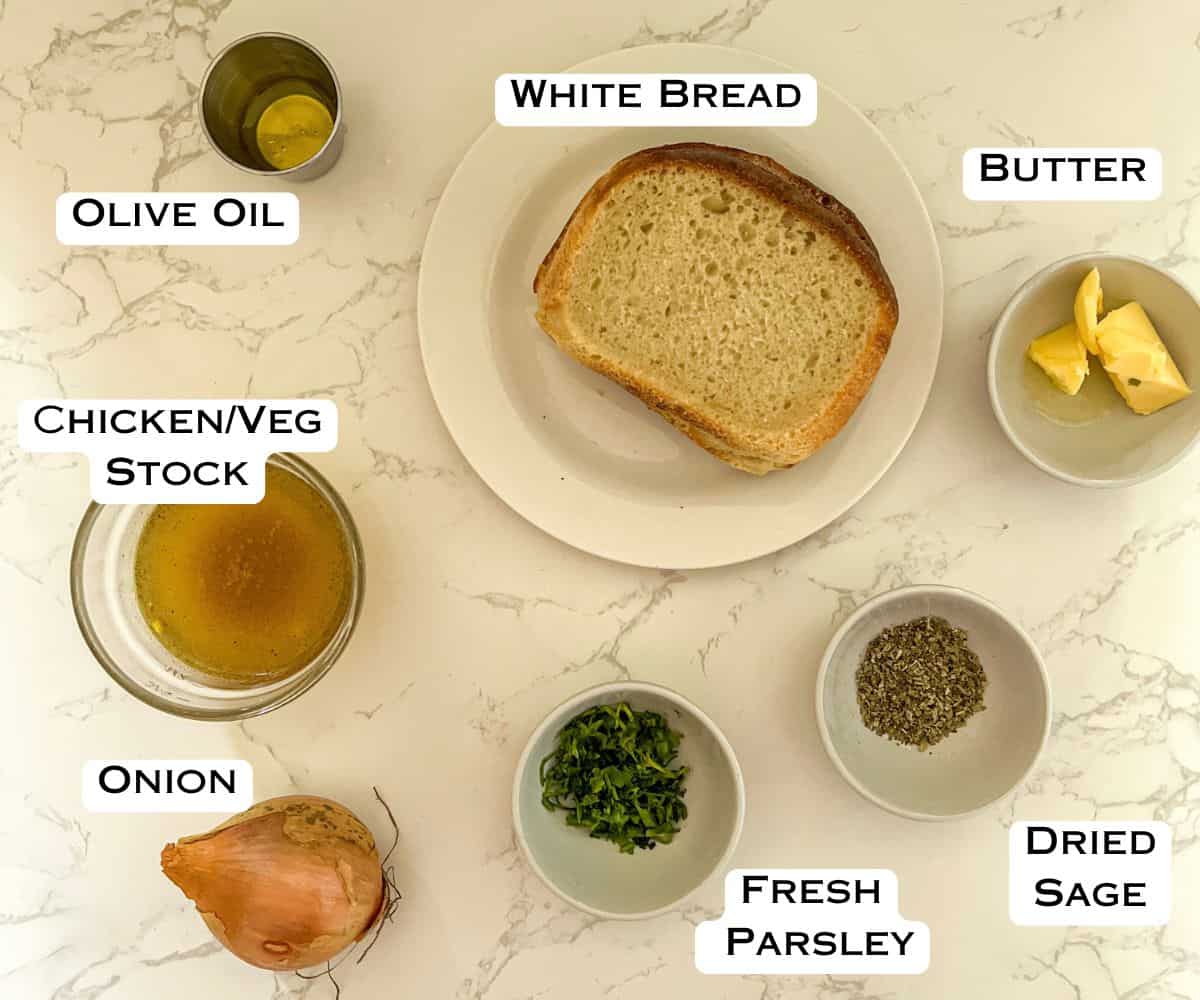
🥘 Ingredients You Will Need
Here is a brief overview of the ingredients you will need to make these Air Fryer Stuffing Balls. To find out how to make them allergy-friendly, simply scroll down to the section below this one.
✋ Double check all packaging for allergens ✋
- Bread - This will be blitzed into breadcrumbs to form the base of your stuffing balls. I find white bread works best.
- Onion - Finely chopped onion adds a lovely savoury flavour and a bit of texture. It's a must for that classic sage & onion stuffing taste.
- Butter & Olive Oil - Used to cook the onion and help bind the stuffing mix, they also add moisture so your stuffing balls aren't dry.
- Herbs - I've used dried sage which is a stuffing essential & fresh parsley which adds some freshness that helps to balance the richness of the other ingredients.
- Stock - Adds extra flavour and helps mould the balls together.
See the recipe card for full information on ingredients and quantities.
🥜 How Can I Make This Dish Allergy Friendly?
With just a couple of simple tweaks, it is easy to make this recipe allergy-friendly so everyone can enjoy it.
- ✔️ Make It Gluten-Free: Make sure the stock you are using is gluten-free. Swap normal bread for gluten-free white bread.
- ✔️ Make It Dairy-Free: Use dairy-free spread in place of butter or swap for an extra tablespoon of olive oil.
- ✔️ Make It Celery-Free: Check the ingredients of your stock to make sure it is celery-free.
🤔 Can I Make Paxo Stuffing Balls In The Air Fryer?
Yes, although I'm biased and think my easy homemade variety tastes much nicer, 🤪 if you're short on time you can easily make Paxo or any other soup-bought stuffing balls in the air fryer. Here's how!
- Make up the stuffing balls as per the packet instructions.
- Place in a single layer in the air fryer basket and cook for 9-11 minutes at 180˚C/350˚F, shaking a couple of times whilst cooking, until golden & crispy on the outside.
Paxo also do a gluten-free version, so be sure to look out for that if you are after an allergy-friendly option!
✏️ How to Make Air Fryer Stuffing Balls
⬇️ Here you will find an overview of how to make the recipe. For full information on ingredients and quantities please see the recipe card at the bottom of the page ⬇️
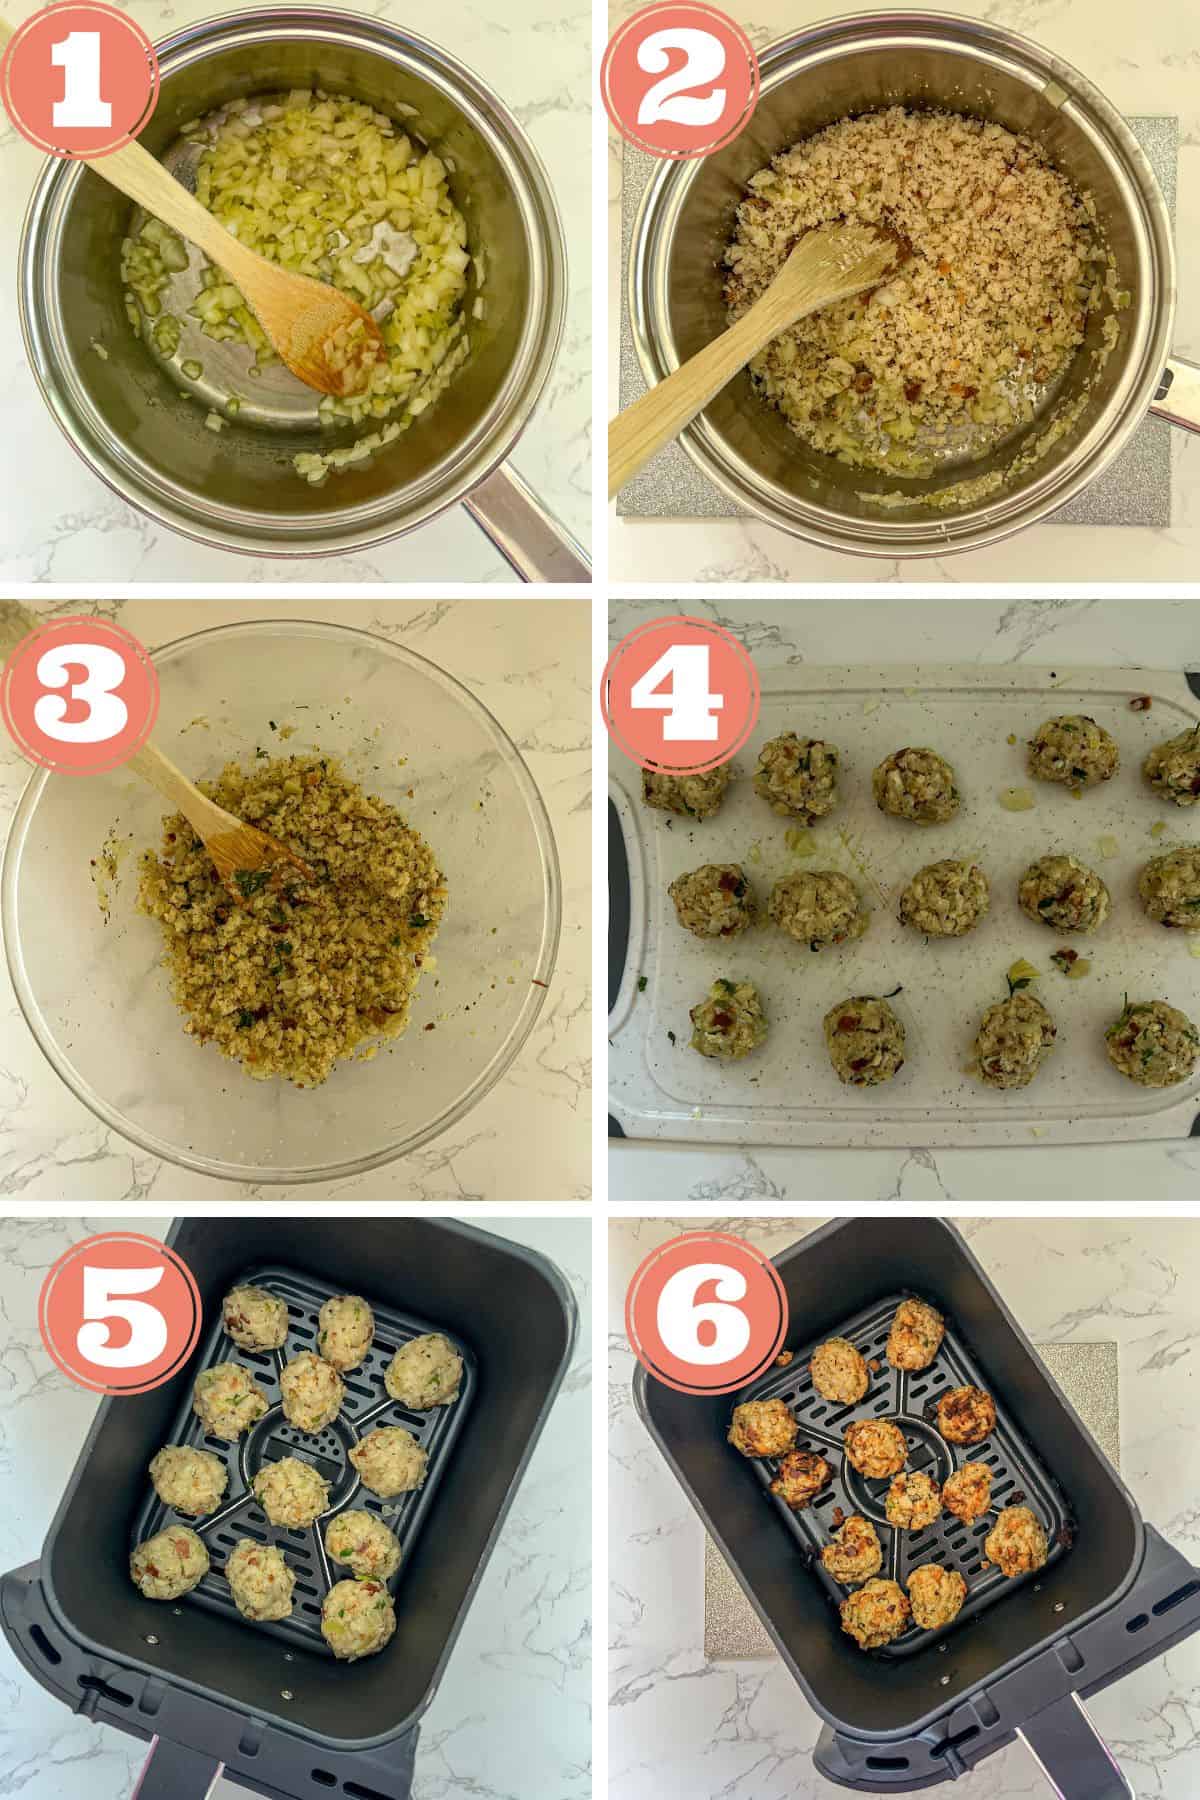
Step 1: Start by finely dicing the onion. The smaller the dice, the better it will blend better into the stuffing mix. Heat the oil and butter in a saucepan over a low to medium heat.
Once the butter has melted, add the diced onion and cook for about 5 minutes, stirring regularly until the onion has softened without turning brown.
Step 2: While the onion is cooking, take your bread slices and blitz them in a food processor until they resemble fine breadcrumbs. Using slightly stale bread works best as it creates a better texture, but fresh bread is fine too.
Step 3: Once the onion is soft, increase the heat to medium and stir in the breadcrumbs and dried sage. Cook for 2-3 minutes until the breadcrumbs turn a light golden colour.
Step 4: Transfer the breadcrumb mixture to a mixing bowl. Add the chopped fresh parsley and pour over the stock. Season with a pinch of salt and pepper to taste. Let the mixture sit for a few minutes, allowing the breadcrumbs to absorb the stock fully. This will make it easier to shape into balls and prevent them from falling apart when cooking.
Step 5: Once the mixture has cooled slightly, roll it into 12-14 evenly-sized balls. Arrange the balls in a single layer in the air fryer basket - you may need to cook them in batches if your air fryer is small. If your air fryer requires preheating, do this beforehand.
Cook the stuffing balls at 180˚C/350˚F for 9-11 minutes, giving the basket a shake halfway through so they crisp up evenly on all sides.
Step 6: Best served immediately.
🤔 Which Air Fryer Do You Use?
This recipe is tested with my Ninja Foodie Dual Zone AF300UK Air Fryer, and the timings and temperatures are tailored for this model. Keep in mind that different air fryer brands may cook differently, so regularly check your food for the best results.
🤔Do I Need To Preheat My Air Fryer?
It depends on your air fryer! Some models recommend preheating, while others don't need it. If your air fryer manual suggests preheating, you will need to take a couple of minutes off the cooking time stated in the recipe.
It's best to check the food as its cooking to check when its ready.
💡 Lauren's Tips
- ✔️ Adjust Cooking Time If Preheating: If you need to preheat your air fryer, reduce the cooking time by a couple of minutes, as the air fryer will already be hot when you add the stuffing balls.
- ✔️ Use Slightly Stale Bread: Slightly stale bread works best as it blitzes into a better texture for stuffing.
- ✔️ Don't Skip the Onion Step: Make sure the onion is cooked until it's soft, if the onion is undercooked, it can overpower the other flavours.
- ✔️ Don't Overcrowd the Air Fryer: Make sure to leave a bit of space between the stuffing balls in the basket so the hot air can circulate properly, giving you crispy edges.
- ✔️ Shake the Basket: Give the basket a shake halfway through cooking so all sides of the stuffing balls get golden and crispy.
🥡 Storage / Reheating / Freezing
Storage
Any leftover stuffing balls can be kept in an airtight container in the fridge for up to 3 days.
Reheating Fresh Stuffing Balls
Reheat the balls in the air fryer either on the reheat function if you have a Ninja or at 170˚C/340˚F for 5-6 minutes until warmed through.
Reheating Frozen Stuffing Balls
Add a couple of extra minutes of cooking time to the reheating instructions above.
Freezing
Once cool, freeze flat on baking tray for 1 hour until hard, then transfer to a freezer bag and freeze for up to 3 months. Either defrost in the fridge overnight before reheating or reheat from frozen as above.
🍴 How To Serve
Stuffing balls are a classic match with roast chicken or turkey, especially at Christmas or Thanksgiving alongside a dollop of bread sauce. Serve them with roast veggies like parsnips, glazed carrots, or Brussels sprouts & crispy roast potatoes.
A rich homemade gravy is always a winner too, especially for drizzling over the stuffing balls. In fact, any dinner that comes with gravy, like sausage and mash, then serve up the stuffing too!
Don't forget to add any leftover stuffing to the classic Boxing Day sandwich, piled high with leftover meat like roasted gammon & cranberry sauce.
💬 Recipe FAQs
Make sure the breadcrumbs are well-moistened with the stock and that you give the mixture time to absorb the liquid before rolling into balls. If they're still too crumbly, try adding a small bit more stock or a little bit of flour to help bind them.
Definitely! Feel free to add extra ingredients like chopped chestnuts, cranberries, or even a bit of grated cheese for extra flavour.
Yes! If you don't have an air fryer, you can bake the stuffing balls in the oven at 180°C (350°F) for about 15-20 minutes or until golden and crispy on the outside.
⚡ More Roast Dinner Sides

If you loved this recipe, please leave me a 5🌟 rating or comment below. I really do appreciate it. 😊
📖 Recipe

Air Fryer Stuffing Balls
Ingredients
- 160 g (5.5oz) white bread approx 4 slices
- 1 medium onion finely diced
- 2 teaspoon dried sage
- 1 tablespoon fresh parsley
- 15 g ( 1tbsp) butter
- 1 tablespoon olive oil
- 100 ml ( ⅖ cups) stock chicken or vegetable
- salt & pepper to season
Instructions
- Finely dice the onion. Heat the oil and butter in a saucepan on a low to medium heat. Once the butter has melted add the onion and cook for 5 minutes, until soft, stirring regularly.
- Whilst the onion is cooking, blitz the bread in a food processor until it resembles breadcrumbs.
- Increase the heat to medium, add the breadcrumbs and dried sage to the onions & cook for 2-3 minutes until the breadcrumbs start to turn golden.
- Transfer the mix to a mixing bowl. Add the chopped fresh parsley, made-up stock & salt & pepper. Leave for a few minutes until the stock has been absorbed into the breadcrumbs.
- Roll into 12-14 balls. Place in the air fryer basket in a single layer (preheat if necessary) & cook at 180˚C/350˚F for 9-11 minutes, shaking the basket a couple of times whilst cooking.
- Best served immediately.
Video
Notes
- Make up the stuffing balls as per the packet instructions.
- Place in a single layer in the air fryer basket and cook for 9-11 minutes at 180˚C/350˚F, shaking a couple of times whilst cooking, until golden & crispy on the outside.


Comments
No Comments