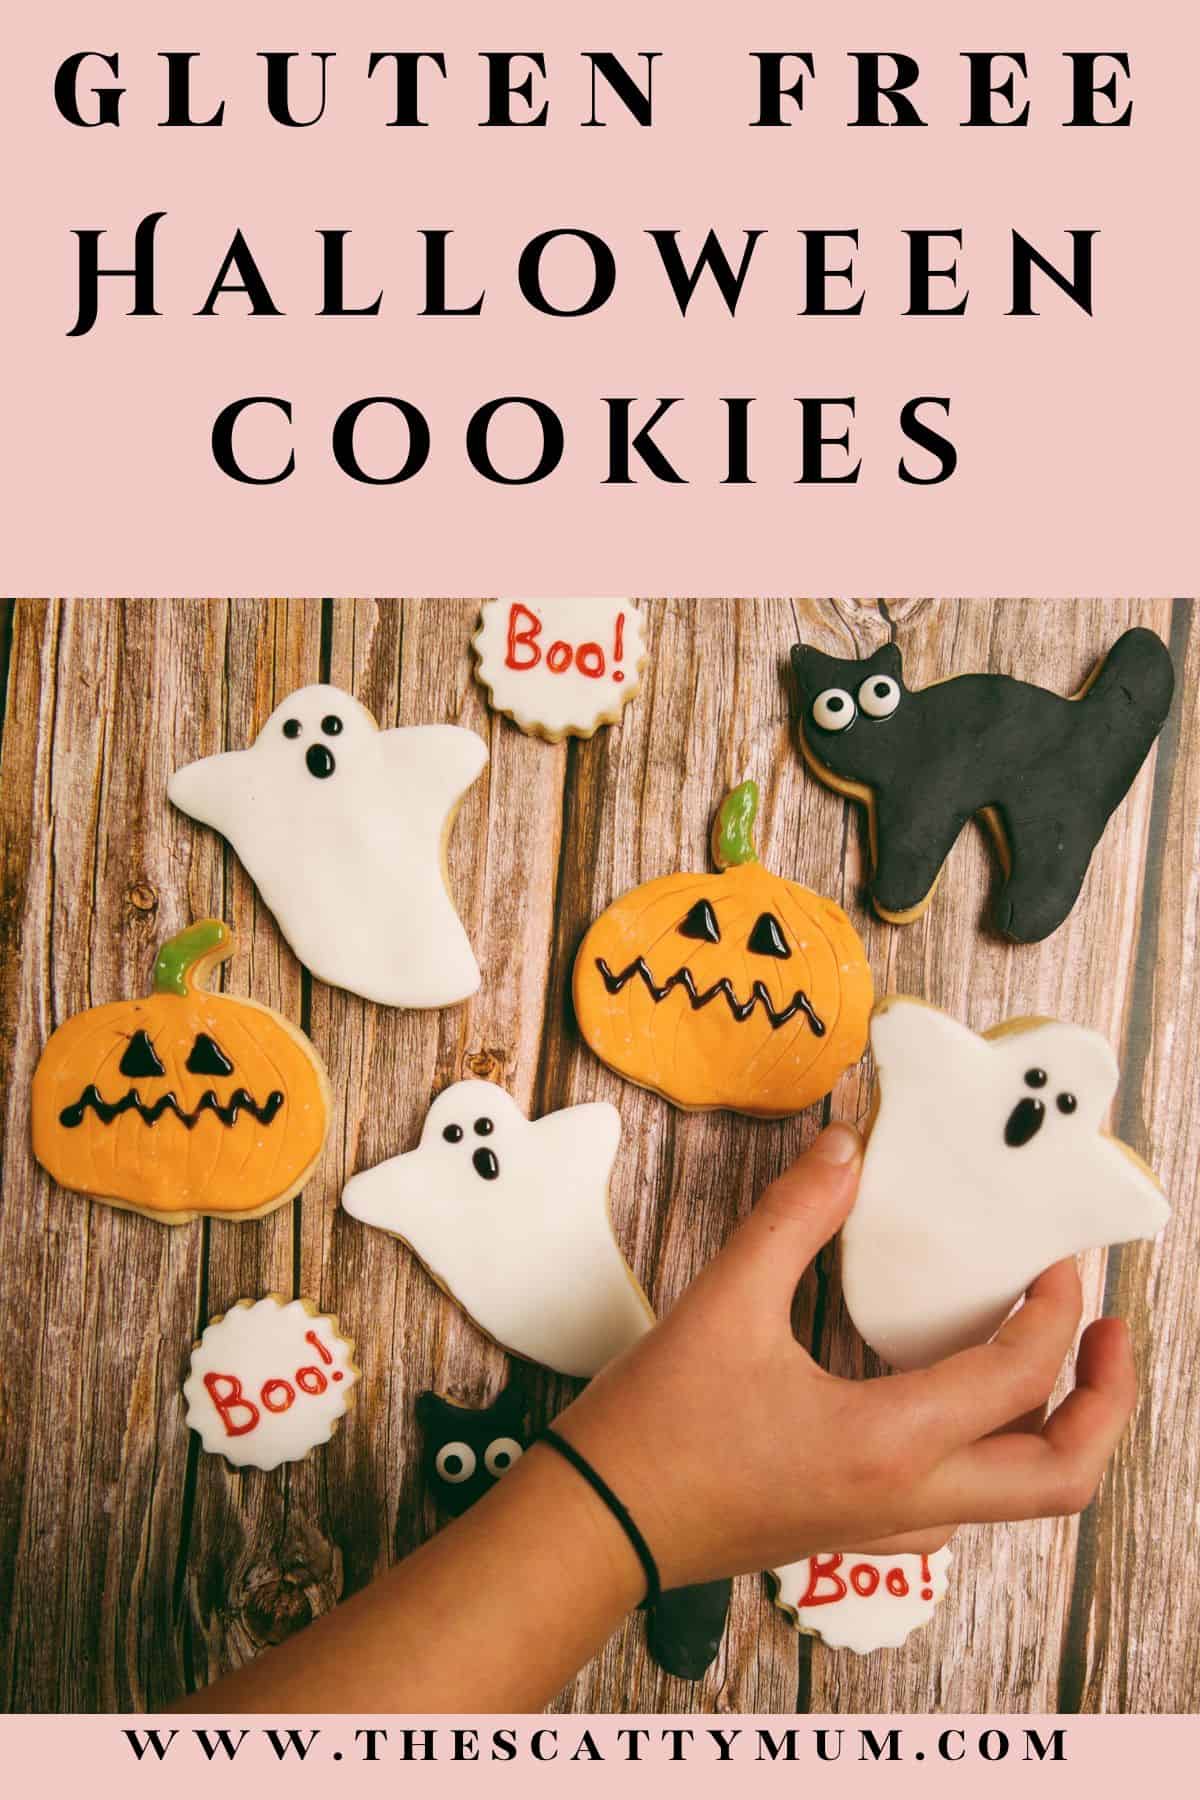
Spooky Halloween cookies with an icing decoration that are totally gluten free! This super easy recipe is great fun to make with the kids for a tasty Halloween treat!
*Disclosure: This post may contain affiliate links - This means I receive a commission for purchases made though those links, at no cost to you. Please click here for further info*
Want to Save This Recipe?
Enter your email & I'll send it to your inbox. Plus, get great new recipes from me every week!
By submitting this form, you consent to receive emails from The Scatty Mum.
Halloween is such a fun time of year, the children love to cover the house with decorations and I put on a spooky themed tea for them which always includes my Halloween Mummy Sausages and these Gluten Free Halloween Cookies.
If you are looking for other ideas to serve at a Halloween tea party check out my 15 Allergy Friendly Spooky Halloween Treats where you will find delicious delights to serve up including dairy free, egg free, gluten free and nut free options, so you will be sure to find something yummy and safe for your child.
To make these gluten free Halloween cookies I have used my fail safe Gluten Free Shortbread Cookies recipe which produces a buttery, yet crisp biscuit that has a sharp snap to it.
I have made these cookies into pumpkins, black cats and ghosts using these Halloween cutters but the great thing is you can decorate them however you wish, dependant on what cutters or equipment you have available.
Jump to:
🍅 Ingredients
To make the actual cookie you will need:
- Gluten Free Flour
- Dairy Free Butter
- Cornflour
- Caster Sugar
- Vanilla Extract
- Xanthan Gum
Check out the original shortbread cookie recipe for more details on the ingredients and amounts you will need.
To make the decorations for the cookies you will need:
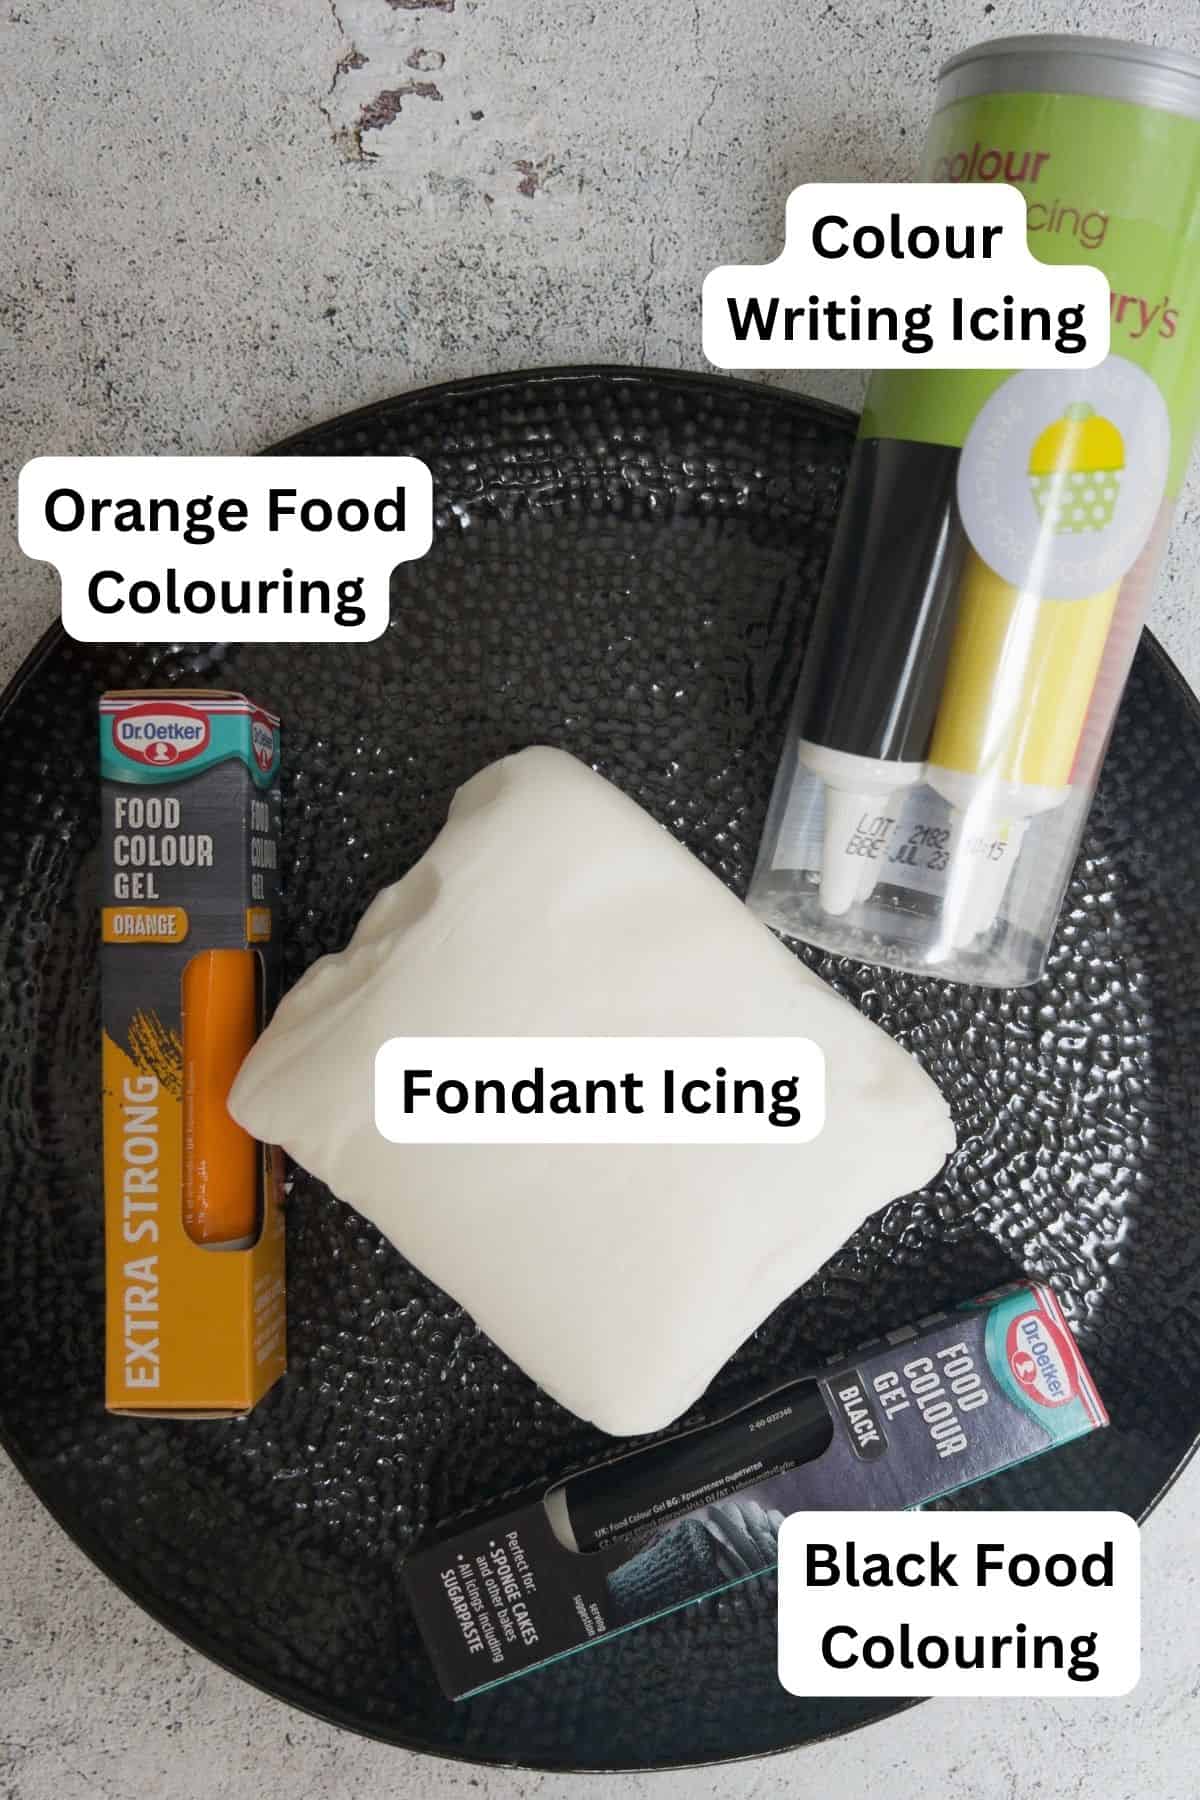
- Fondant Icing - You can buy this pre-made, double check the packaging but most are gluten, dairy and egg free.
- Food Colouring - I have used black and orange for this recipe.
- Colour Writing Icing - These are great for drawing things on top of the cookies and adding detail.
- Edible Eyes - I have used these as the cats eyes, they are super handy to keep in the cupboard for a number of recipes like my Mummy Sausages.
Scroll to the recipe card for quantities.
✏️ How To Make This Recipe
First up you will need to bake the gluten free shortbread cookies using this recipe.
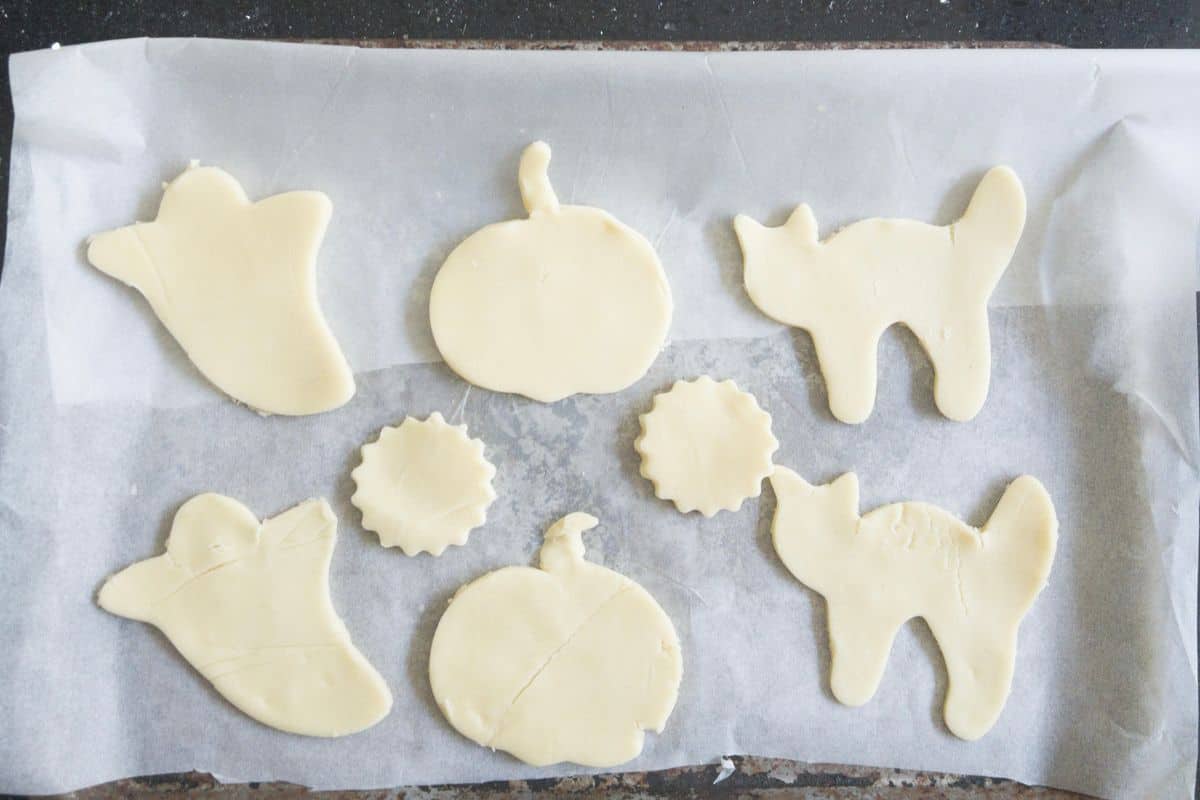
Instead of using the standard round cutters, use these Halloween cookie cutters or whatever cutters you have. If you don’t have any cutters you can try and cut the shapes out free hand or cut out the shapes on cardboard and cut round them with a knife.
🎃 To make the pumpkin cookies
Take a third of the fondant icing, place in a bowl and add a few drops of orange food colouring to it. Knead the icing with your hands until it starts to change colour. If the colour isn’t as dark as you would like just add a couple more drops of the food colouring.
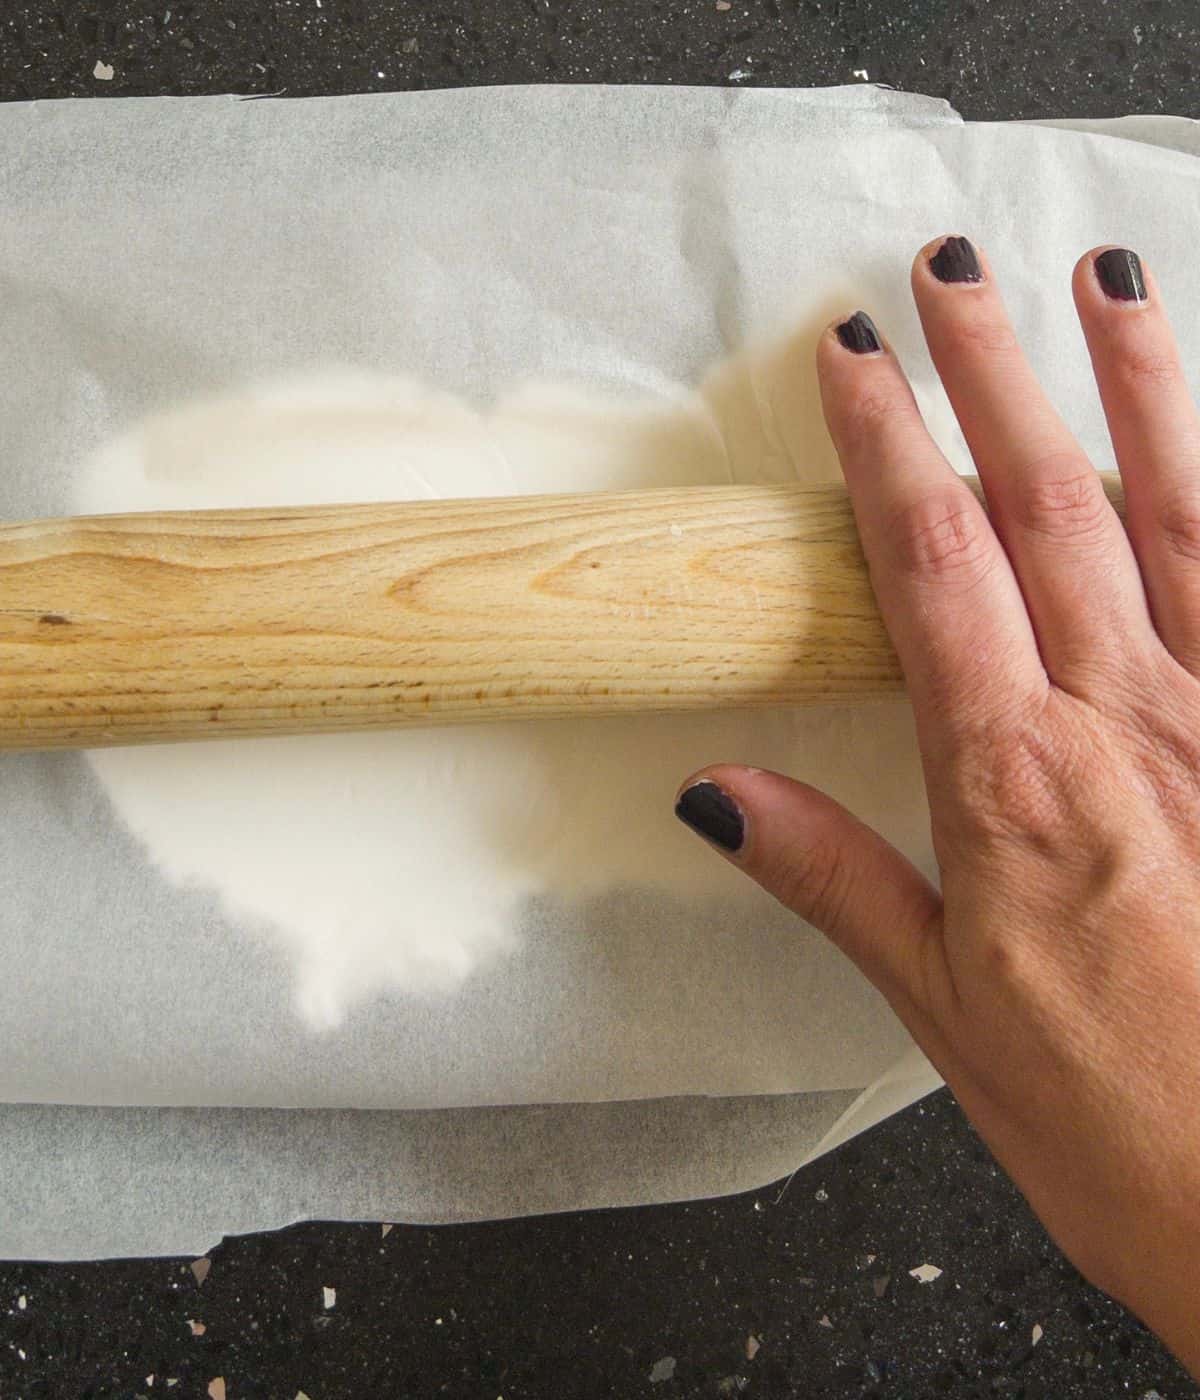
Once you have the colour you are looking for, roll out the icing between two sheets of greaseproof / baking parchment paper to about ¼ cm thick and cut out the pumpkin shapes using the cookie cutter.
You can re-roll the icing if you need more cut-outs.
Using a pastry brush, dab some water on the back of the icing (not too much though as it will cause it to go sticky and runny!) and place the icing on top of the pumpkin shaped biscuit.
Use a sharp knife and make vertical slightly curved lines down each side of the pumpkin to make an indentation of the pumpkin lines.
Decorate the face with black colour writing icing and add a green stalk with some green colour writing icing.
🐈⬛ To make the black cat cookies.
For the icing follow the same instructions as above, but use black food colouring.
Once you have stuck the icing to the biscuit, add a couple of edible eyes to the face area of the cat.
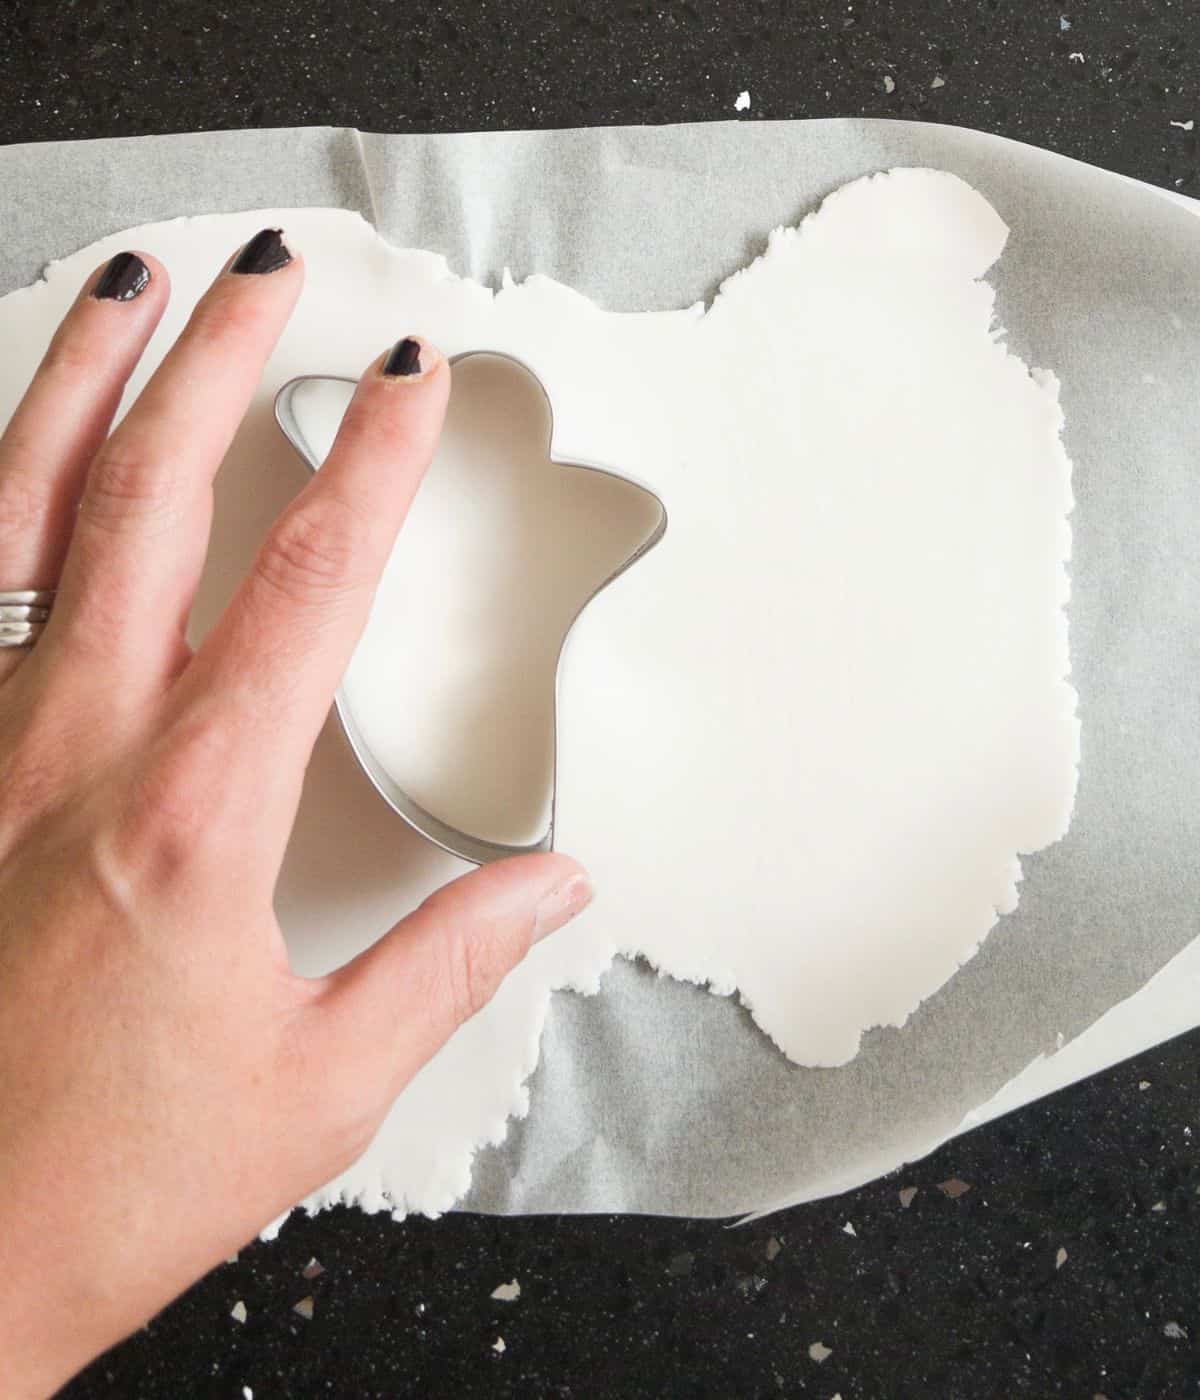
👻 To make the ghost cookies
Roll out the white fondant icing and cut out the ghost shape using the cutters. Stick to the ghost shaped biscuit with water as above.
Using black colour writing icing, make a couple of round shapes for the eyes and a slightly oval shape underneath for the mouth.
❗ To make the Boo! Cookies
Ice the biscuit with white fondant as above and use red colour writing icing to write the word “Boo!” on the biscuit.
Top Tip: Wear some latex gloves whilst mixing the icing with the food colouring to stop it from staining your hands. If you do get some on your hands, some alcohol based hand sanitiser or white vinegar mixed with baking powder will remove it.
⚡ Variations
Be as artistic as you like!
Depending on what cutters you have, you can make so many different designs. Why not try some bats or draw a spider web onto a round cookie with the colour writing icing.

🍱 Storage
The cookies will keep in an airtight container at room temperature for up to 4 days.
You can also freeze them for up to 1 month, so if you are running short on time in the lead up to the big day, why not make in advance.
Let them fully defrost on the kitchen side for a few hours before eating.
🎃 More Halloween Recipes
Check out these other spooktacular treats!
If you loved this recipe, please leave me a 5🌟 rating or comment below. I really do appreciate it. 😊
📖 Recipe

Gluten Free Halloween Cookies
Ingredients
- gluten free shortbread cookies recipe
- 500 g pre made fondant icing Can be bought in most supermarkets
- orange food colouring
- black food colouring
- edible eyes
Instructions
- Make the cookies as per the recipe in the ingredients section above.
For the pumpkin cookies
- Take a third of the fondant icing, place in a bowl and add a few drops of orange food colouring to it. Knead the icing with your hands until it starts to change colour. If the colour isn’t as dark as you would like just add a couple more drops of the food colouring.
- Once you have the colour you are looking for, roll out the icing between two sheets of greaseproof / baking parchment paper to about ¼ cm thick and cut out the pumpkin shapes using the cookie cutter.
- Using a pastry brush, dab a little water on the back of the icing and place the icing on top of the pumpkin shaped biscuit.
- Use a sharp knife and make vertical slightly curved lines down each side of the pumpkin to make an indentation of the pumpkin lines.
- Decorate the face with black colour writing icing and add a green stalk with some green colour writing icing.
For the black cat cookies
- For the icing follow the same instructions as above, but use black food colouring.
- Once you have stuck the icing to the biscuit, add a couple of edible eyes to the face area of the cat.
For the ghost cookies
- Roll out the white fondant icing and cut out the ghost shape using the cutters. Stick to the ghost shaped biscuit with water as above.
- Using black colour writing icing, make a couple of round shapes for the eyes and a slightly oval shape underneath for the mouth.
For the Boo! cookies
- Ice the biscuit with white fondant as above and use red colour writing icing to write the word “Boo!” on the biscuit.




Comments
No Comments