Discover the ultimate recipe for Dairy-Free Rice Krispie Treats that are just as delicious as the classic version! These gooey, marshmallowy delights are made with coconut oil instead of butter, making them dairy free!
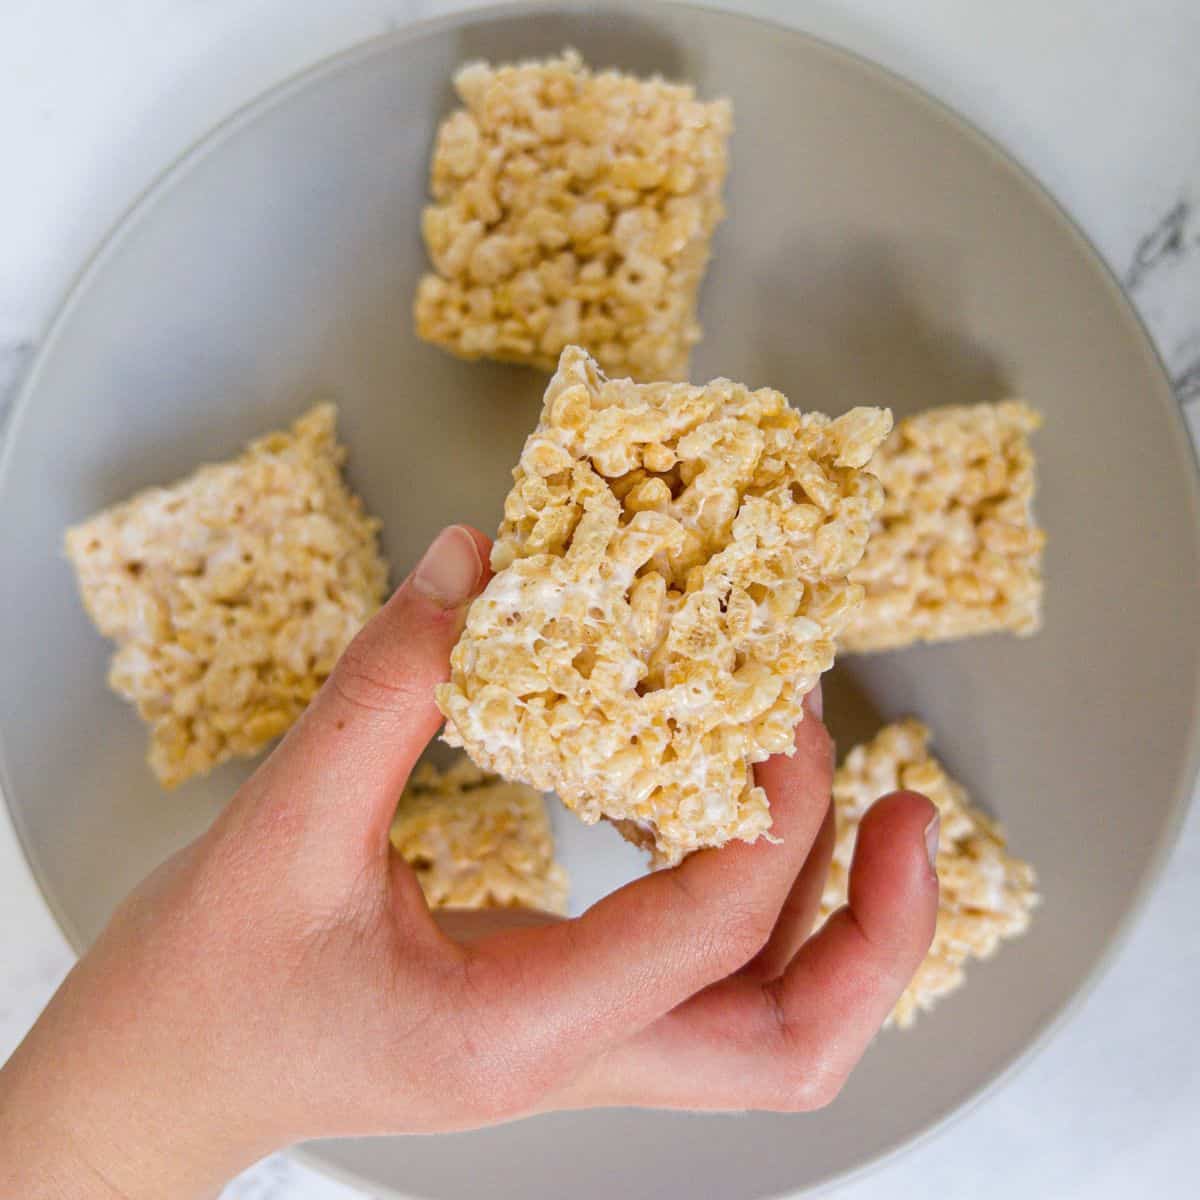
Rice Krispie treats (or squares as we call them in the UK) evoke pure nostalgia. It was a good day when your Mum produced this as an afternoon snack!
Want to Save This Recipe?
Enter your email & I'll send it to your inbox. Plus, get great new recipes from me every week!
By submitting this form, you consent to receive emails from The Scatty Mum.
However, for those who have a dairy allergy or follow a dairy-free lifestyle, enjoying the shop-bought version of these gooey delights can be a challenge as they contain milk.
Fear not! I’m going to share with you a delicious recipe for dairy-free Rice Krispie treats that will have everyone reaching for seconds. Whether you have dietary restrictions or not, I guarantee these soft and chewy no-bake snacks will be a big hit.
If you love easy, no-bake snacks, also check out these gluten free rocky roads & chocolate & coconut bliss balls.
Jump to:
🤔 Are Rice Krispies Gluten-Free?
Traditional Rice Krispies cereal, made by Kellogg's, contains malt flavouring derived from barley, which contains gluten. So, unfortunately, the original Rice Krispies cereal is not considered gluten-free.
There are loads of gluten-free alternatives available in the supermarket, so fear not, if you have coeliac disease or follow a gluten-free diet, you can still make your own homemade version!
Some gluten-free puffed rice brands are Go Free Rice Pops by Nestle or Organic Wholegrain Puffed Rice Cereal by Kallo. Most of the major UK supermarkets like Tesco & Sainsburys also do their own versions.
When buying crispy rice cereal, it's important to carefully check the label and look for products specifically labelled as gluten-free as a lot do have barley in them as an ingredient.
🥘 Ingredients Notes & Substitutions
✋ Be sure to double check all packaging for allergens. ✋
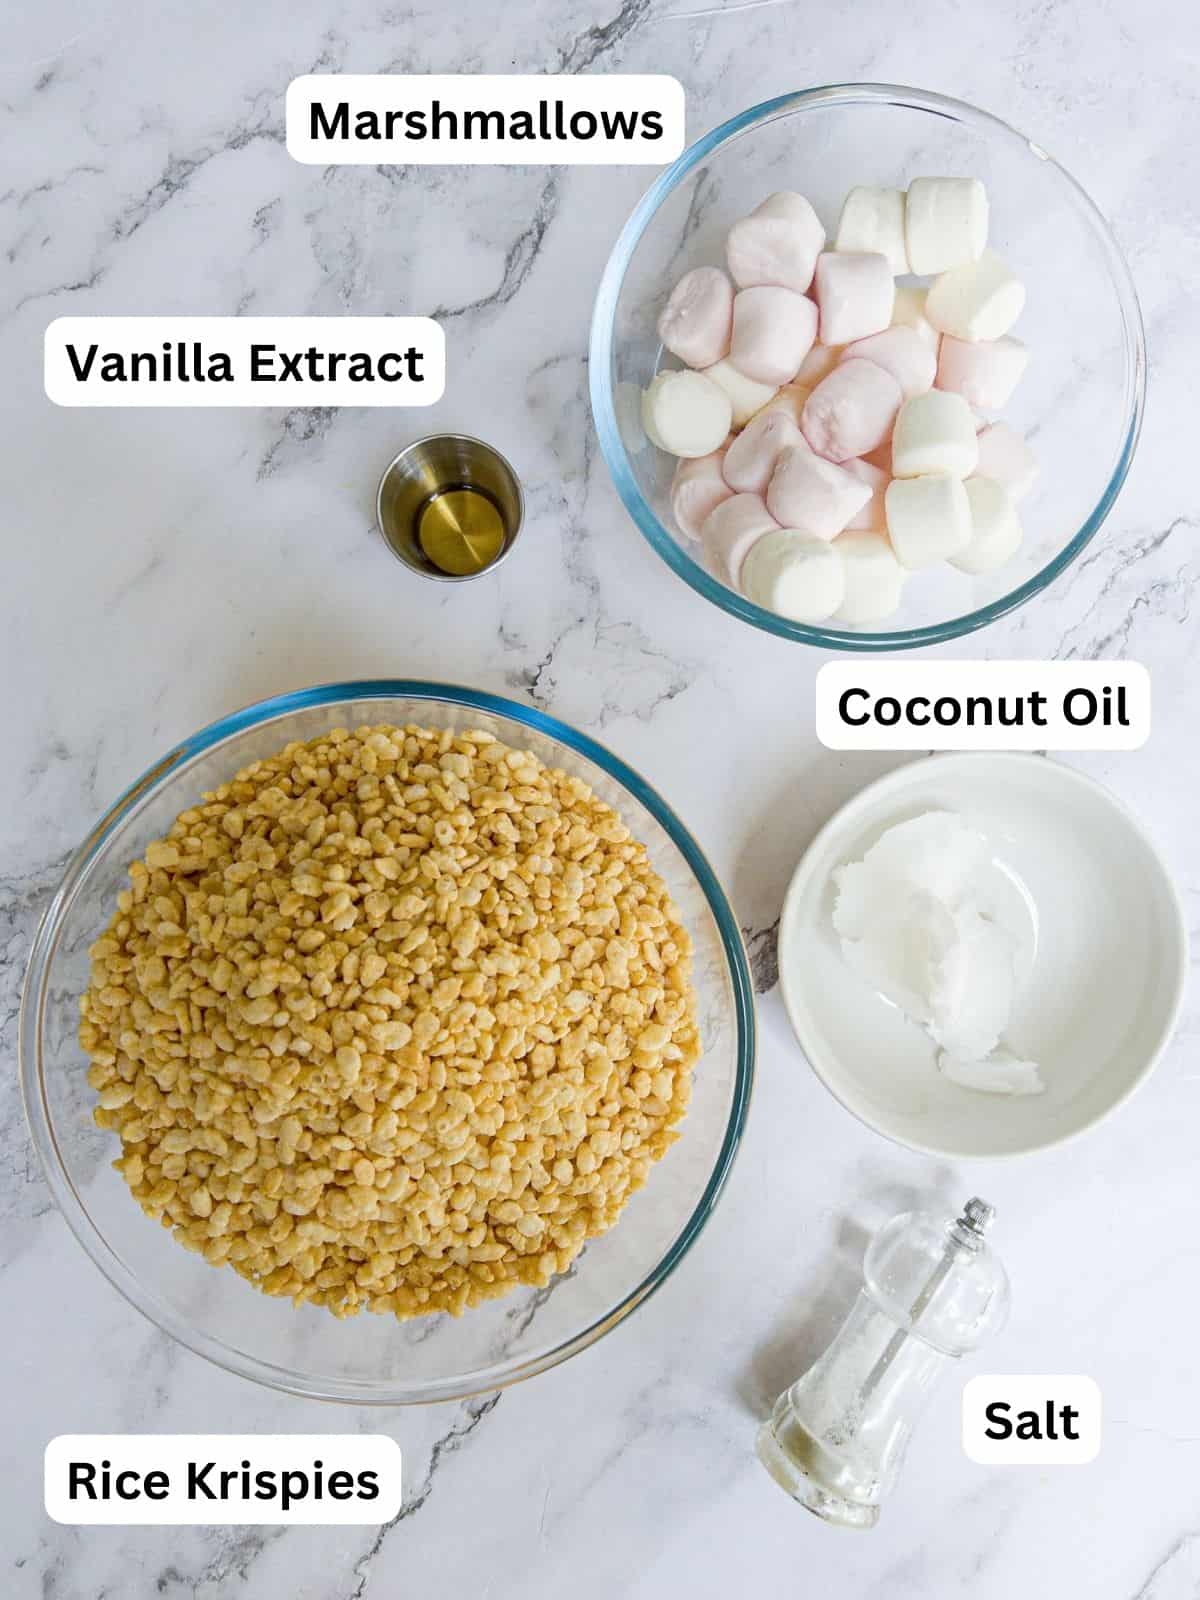
- Rice Krispies: I have used the classic Kellogs version. These are dairy free but do contain barley, so are not certified gluten-free. Check out the paragraph above for some gluten-free alternative options.
- Marshmallows: It's worth noting that standard marshmallows contain beef gelatine so are not vegan. I have not tried this recipe with vegan marshmallows like Dandies, as the general consensus is they are not as easy to melt as standard marshmallows, however, The Unconventional Baker has put together this handy post that gives lots of tips if you are having trouble melting vegan marshmallows.
- Coconut Oil: This is a great alternative to use in baked goods. I love the slight coconut flavour it brings to the squares, but if you prefer a more buttery taste you can substitute the coconut oil with the same amount of dairy-free spread or butter.
- Vanilla Extract: Used to add a touch of sweetness. Try and use vanilla extract instead of vanilla essence if you can, as extract is less processed and provides a more natural flavour.
- Salt: Just a pinch of salt is added to balance out the sweetness.
See the recipe card for full information on ingredients and quantities.
⚡ Variations
- ✔️ Swap Vanilla Extract for Almond Extract: If you do not have a nut allergy, then almond extract provides a delicious alternative flavour.
- ✔️ Fruity Surprise: Toss in some dried fruit, such as cranberries, raisins, or chopped dried apricots, to introduce a burst of natural sweetness and a soft & chewy texture.
- ✔️ Sprinkles: Decorate the rice krispie treats with dairy-free sprinkles or edible glitter to elevate them to the next level, Perfect for special occasions or themed parties!
- ✔️ Make It Gluten-Free: Use gluten-free Rice Krispies (see options near the top of the post)
- ✔️ Make It Vegan: If you use coconut oil or dairy free butter and vegan marshmallows, then these rice krispie squares will be vegan.
✏️ How to Make- Step-By-Step Instructions
⬇️ Here you will find an overview of how to make the recipe. For full information on ingredients and quantities please see the recipe card at the bottom of the page ⬇️
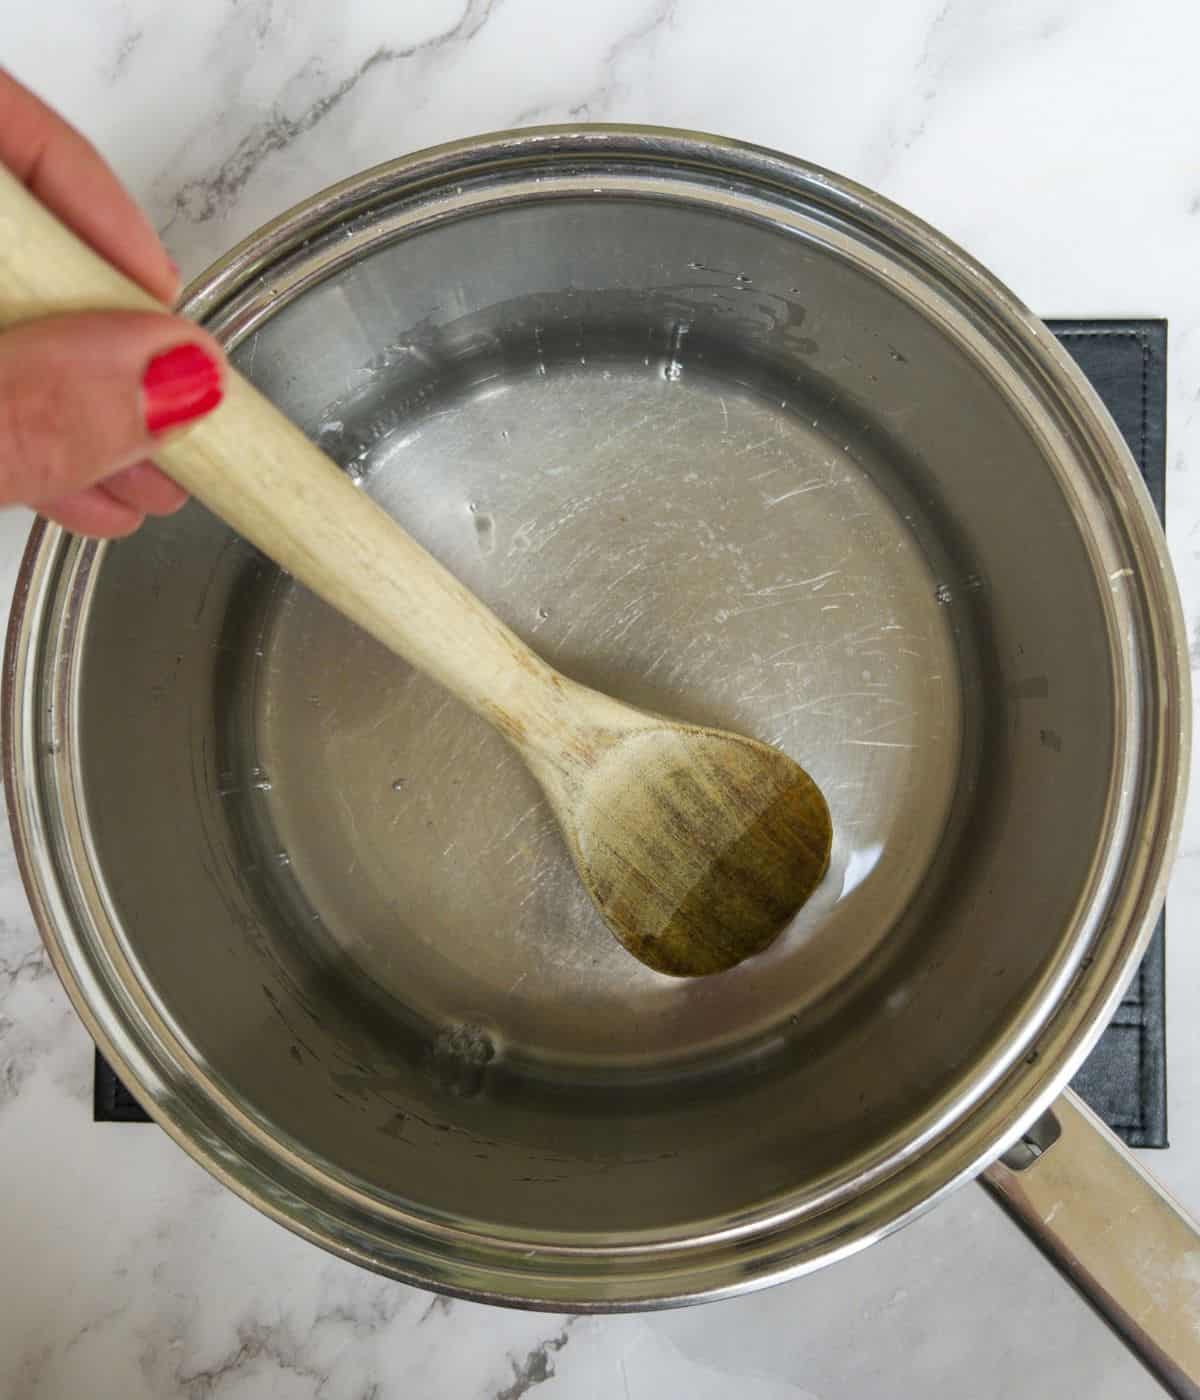
Step 1: First, you will need to set up your baking dish. You can either fully line a 9x9-inch baking dish with parchment paper or lightly grease it. Another option is to use a silicone dish, this is what I use. I love using the silicone trays as they don't require any lining or greasing.
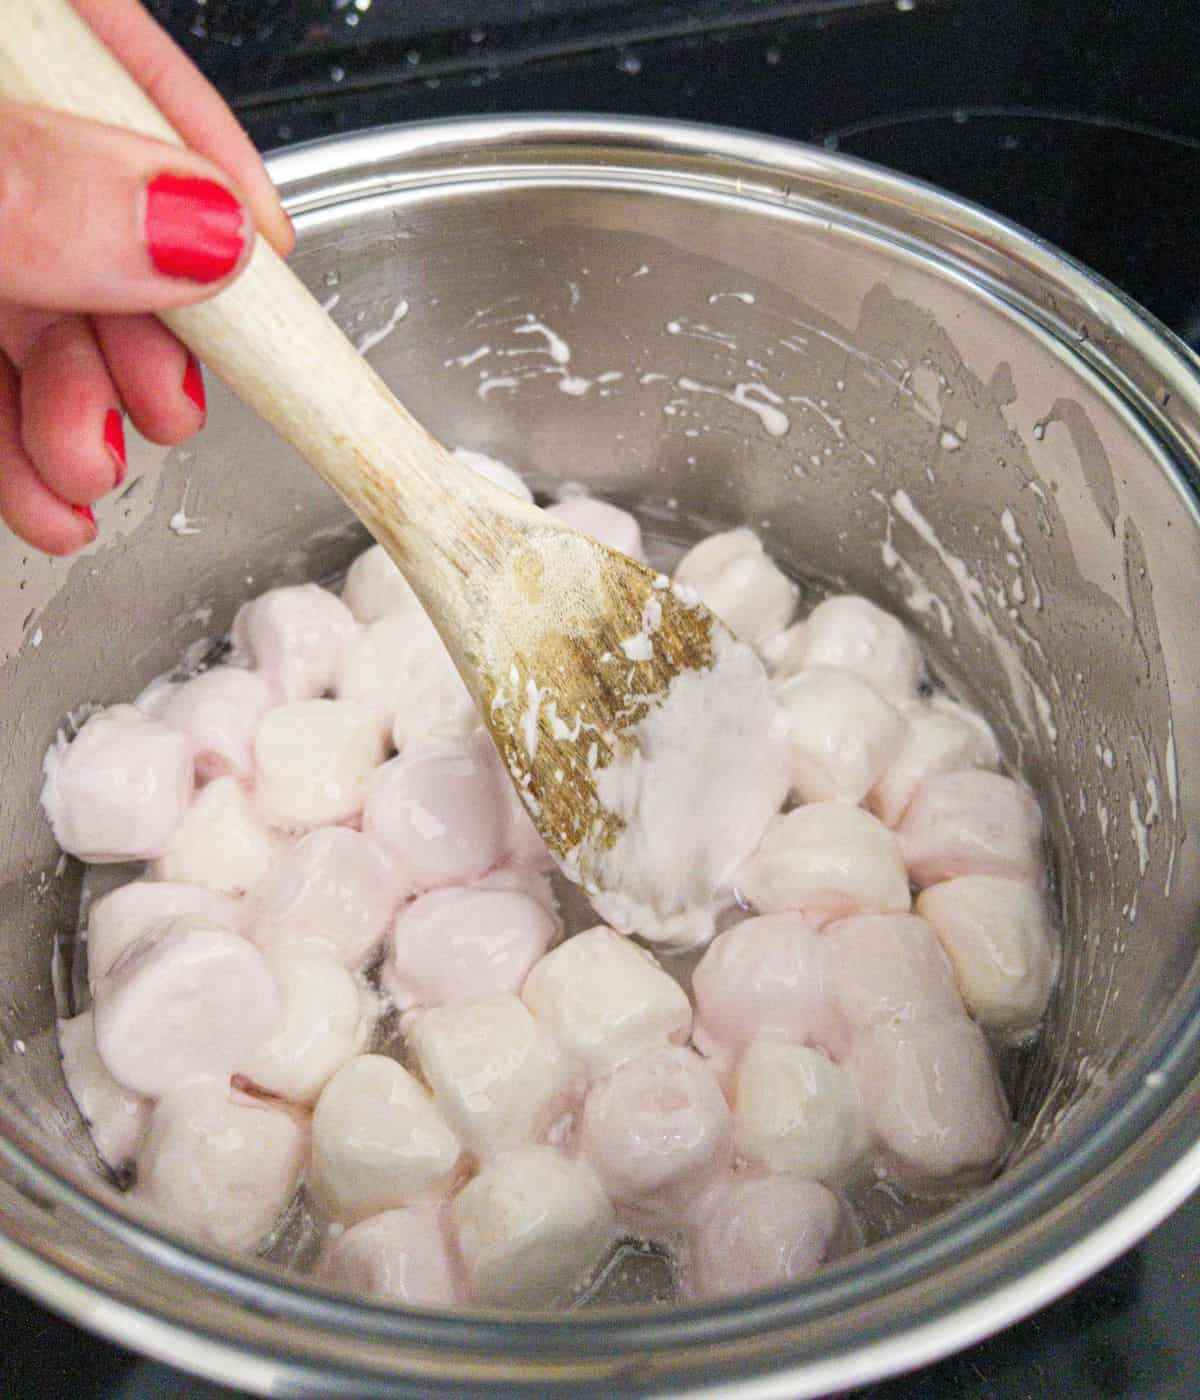
Step 2: Next, grab a large saucepan and melt the coconut oil over a low heat. Once it's nice and melted, add the marshmallows to the pan. Keep stirring continuously until the marshmallows are melted completely and you have a smooth mixture.
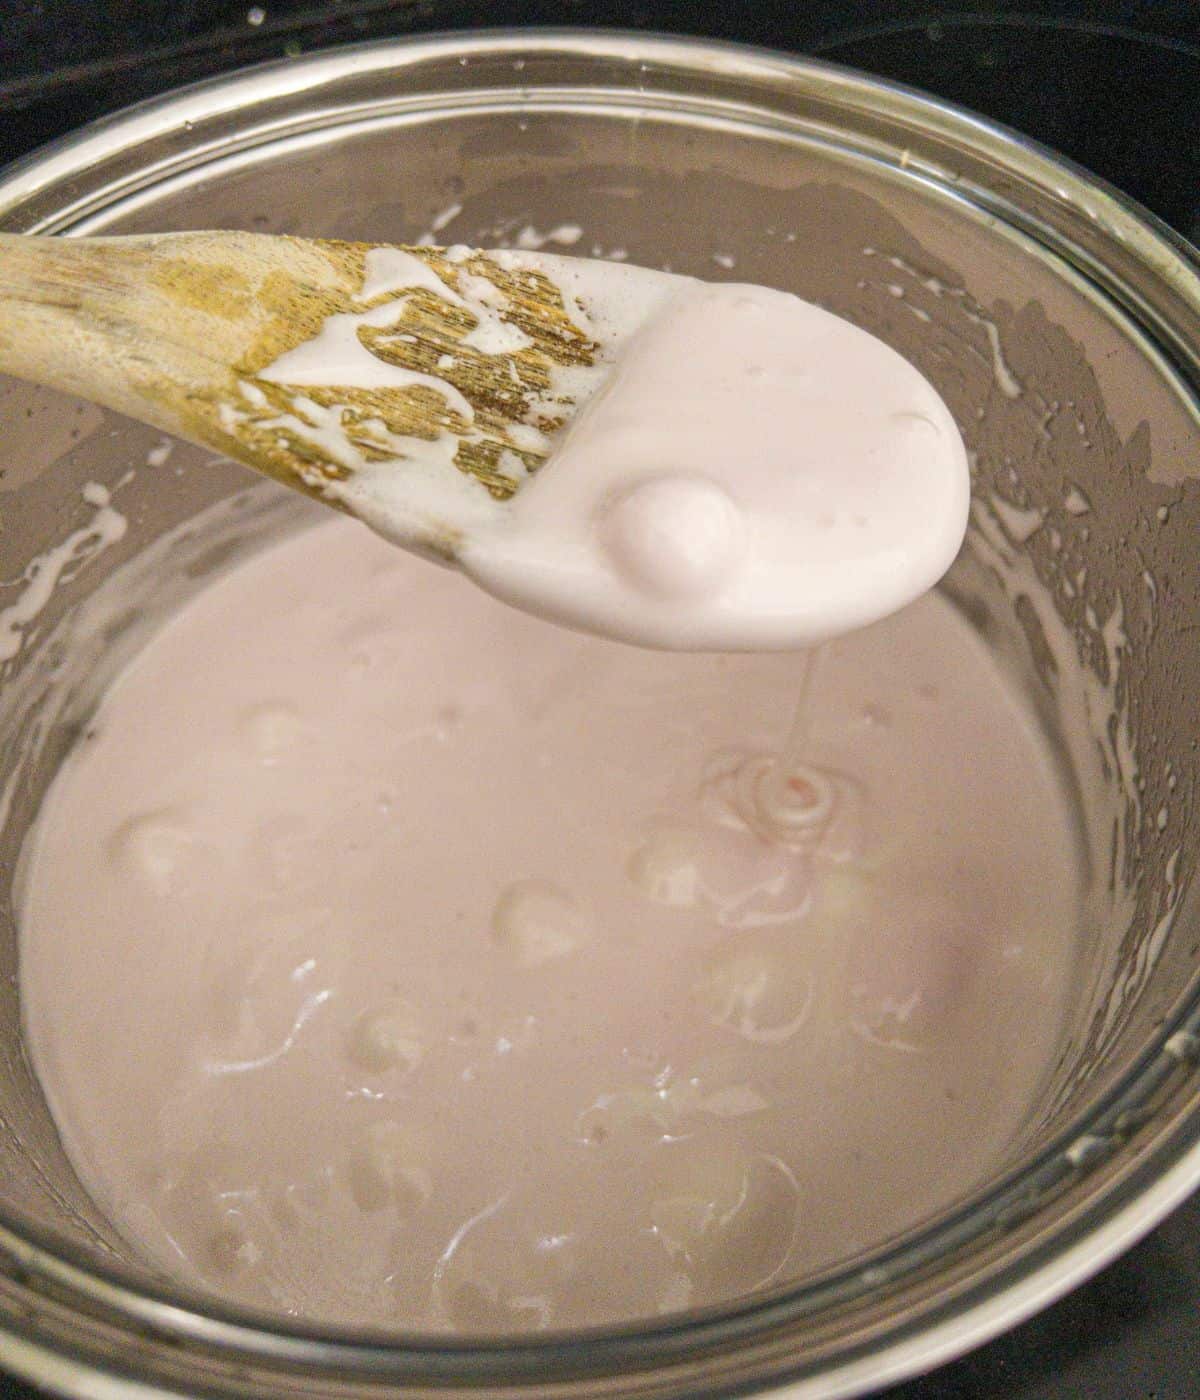
Step 3: Remove the saucepan from the heat, then add in the vanilla extract and salt. Give it a good mix to make sure everything is well combined.
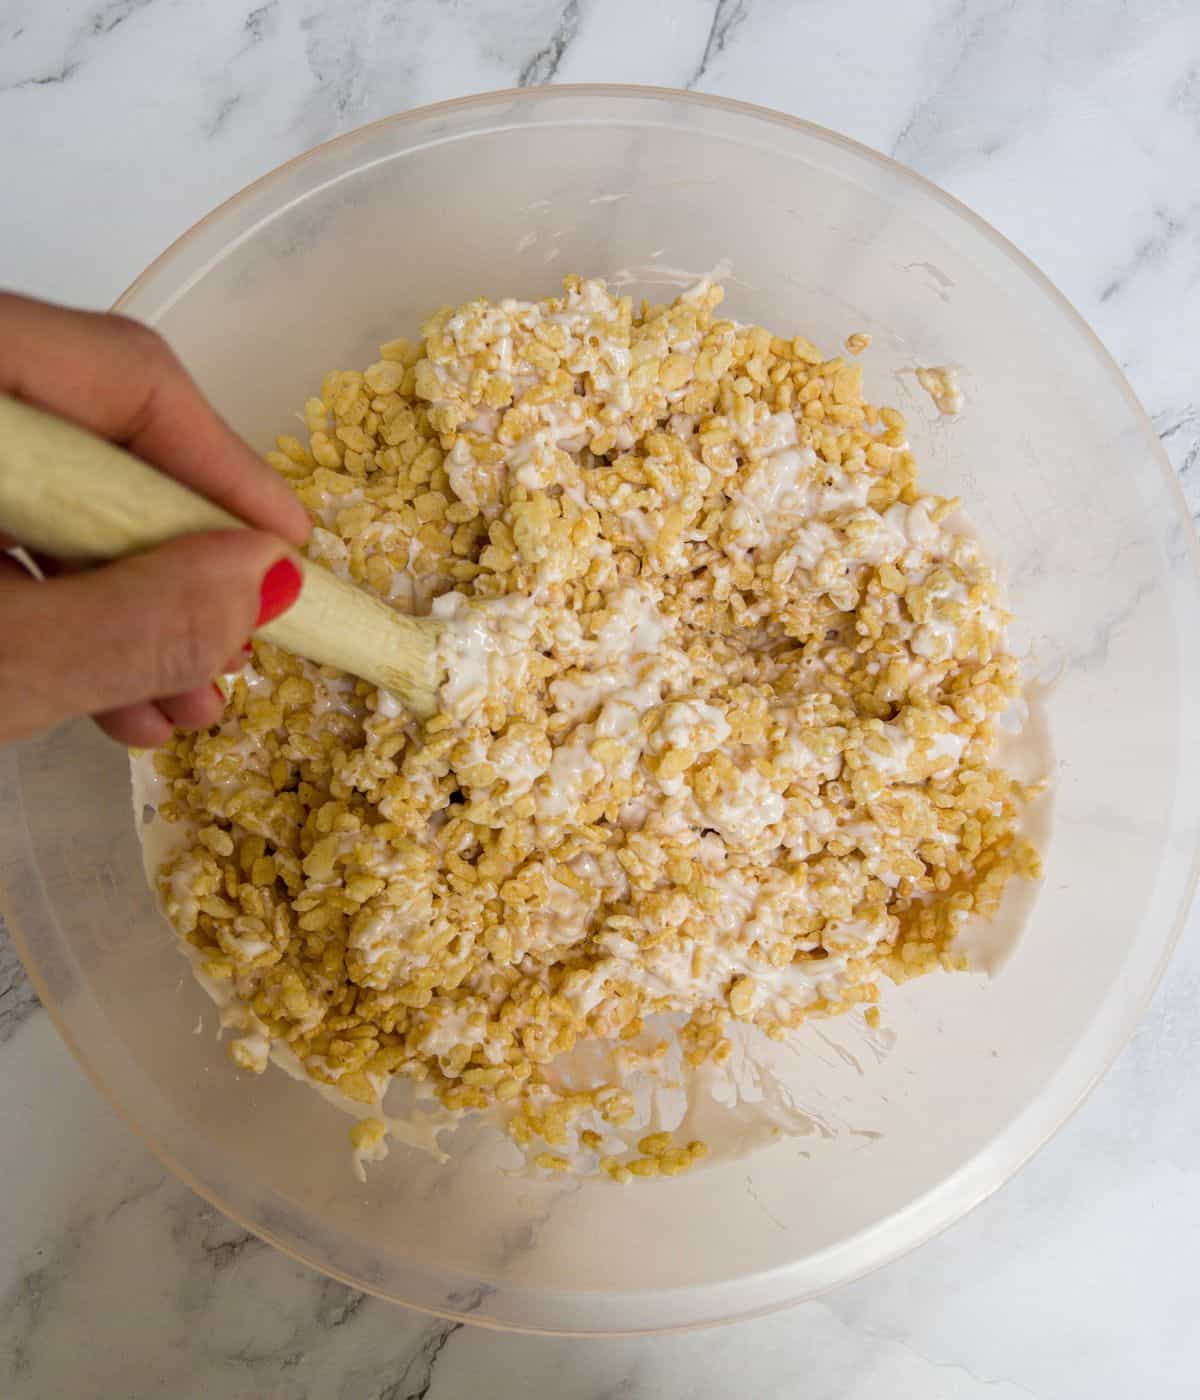
Step 4: Now it's time to add the crispy rice cereal. Add it to the saucepan and gently fold it into the melted marshmallow mixture. You want to make sure each rice crispy bit gets coated in the marshmallow goodness. Just be careful not to crush the cereal while mixing.
If the saucepan you are using isn’t big enough to hold all of the cereal, add it instead to a large mixing bowl, pour in the melted marshmallow and combine in the mixing bowl.
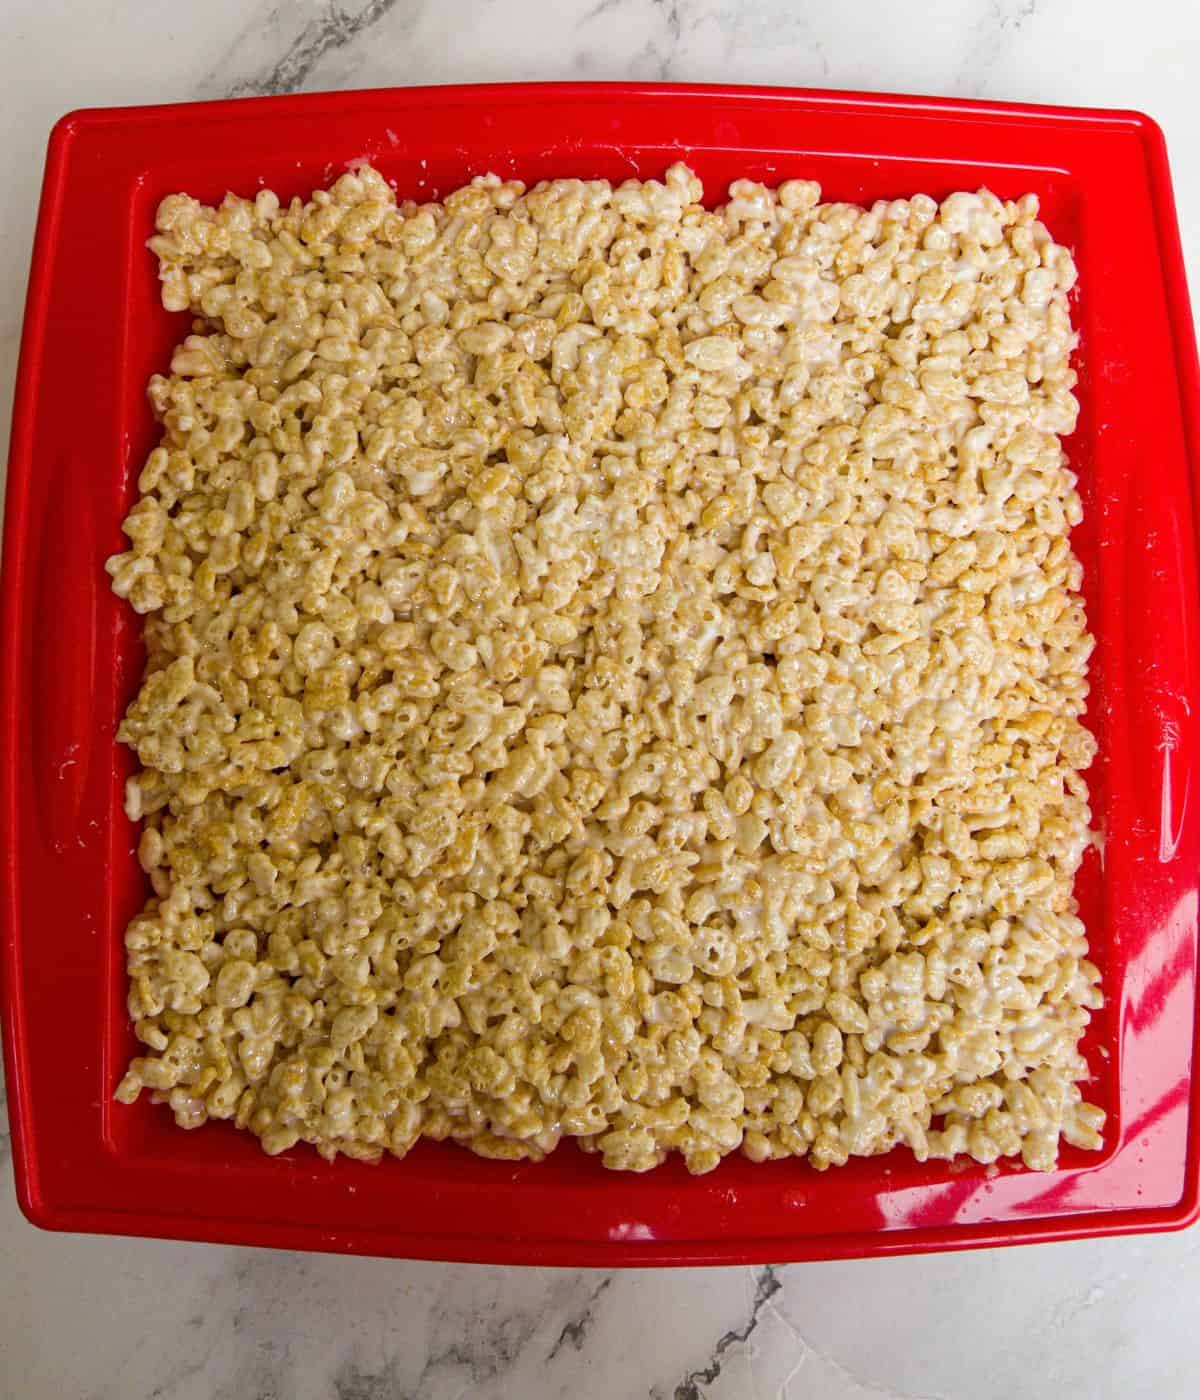
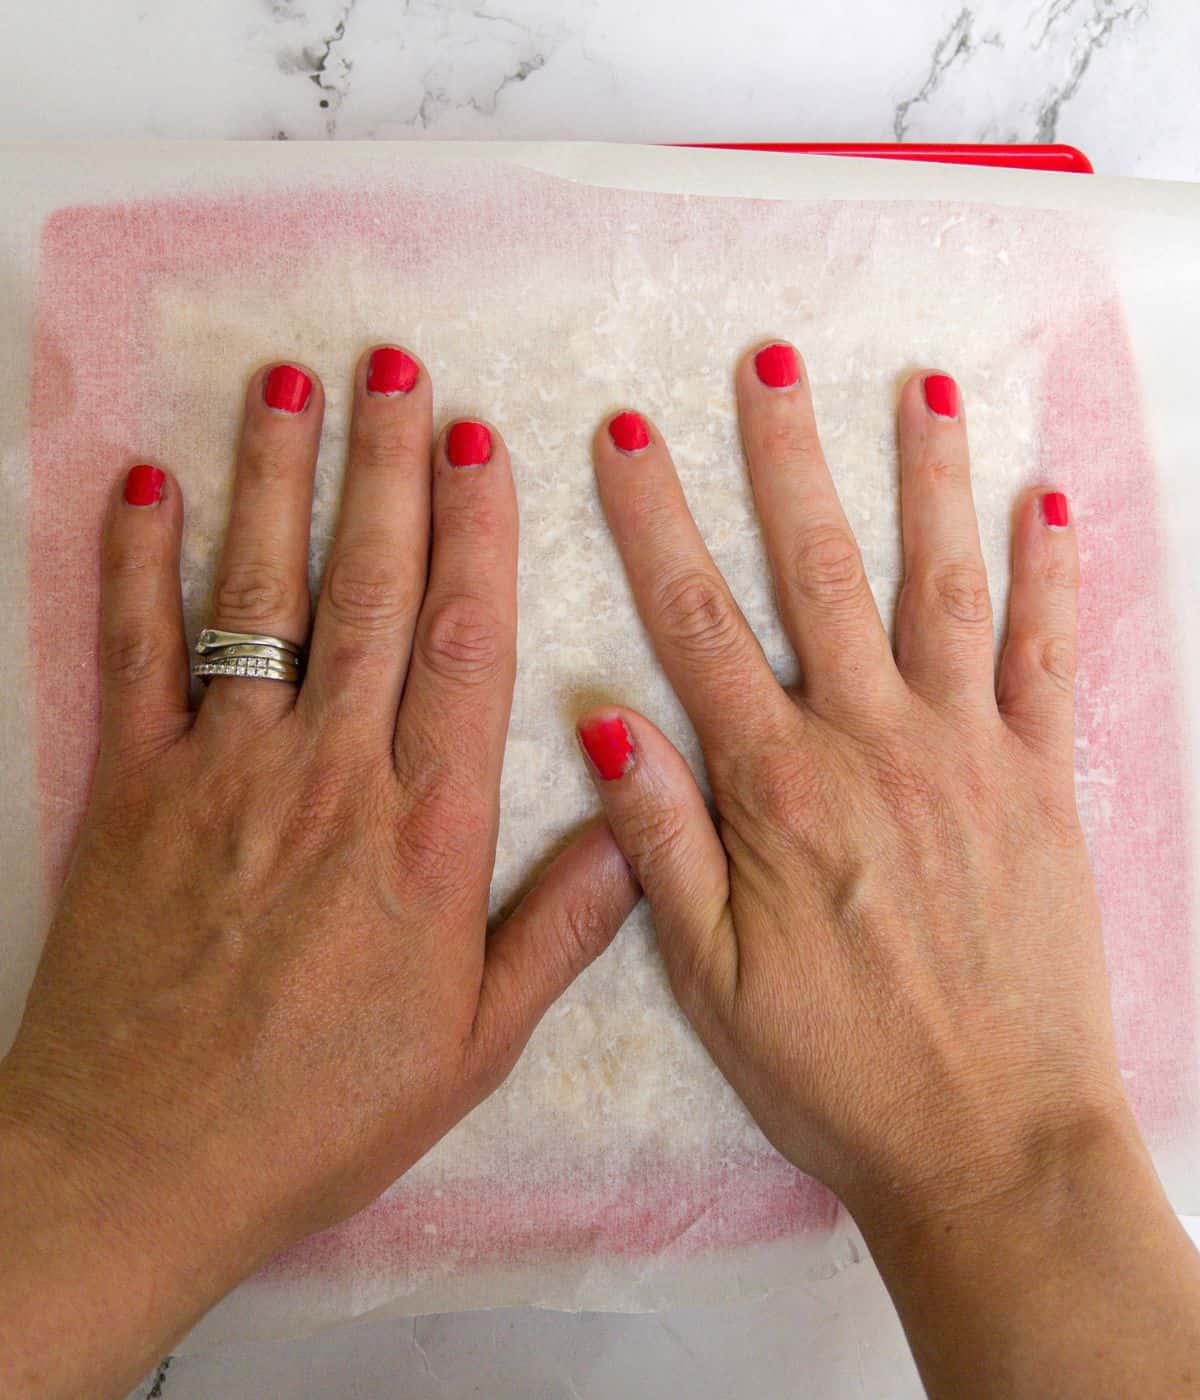
Step 5: Transfer the mixture into your prepared baking pan or cake tin. To make sure the treats hold together nicely, use a piece of baking parchment paper and your hands to press it down evenly. Applying a little bit of pressure will help compact the treats, so they don't fall apart when they set.
Let the Rice Krispie treats cool at room temperature for about an hour, or until they become firm and set.
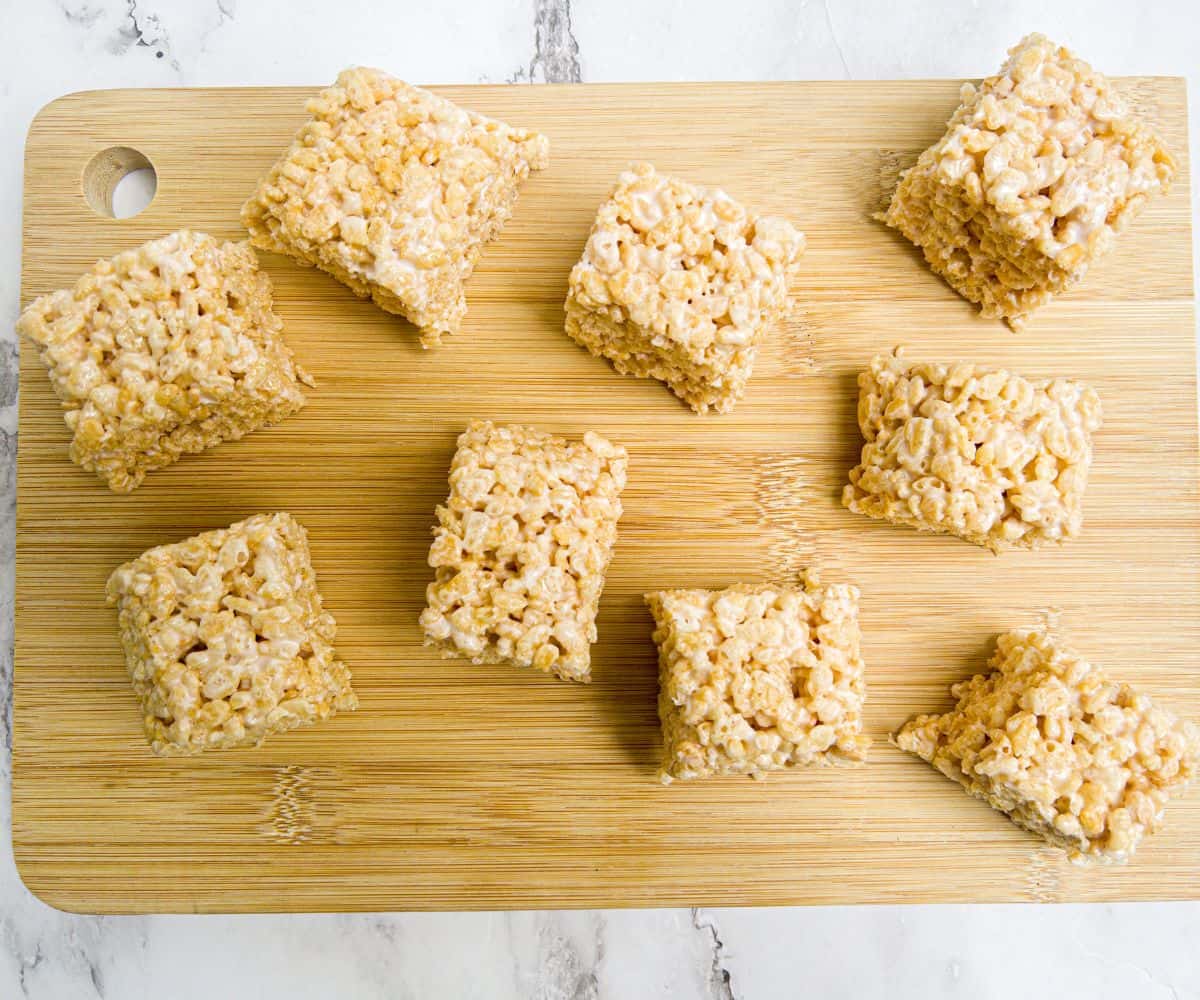
Step 6: Once they've cooled down, grab a sharp knife and cut the treats into your desired sizes and shapes. While squares or rectangles are the classic choices, feel free to get creative!
💡 Tips & Tricks
- ✔️ I love to use silicone baking dishes as they don't require any lining with baking parchment or greasing and are completely non stick!
- ✔️ When mixing, if the saucepan you are using is not big enough to hold all of the rice cereal, then simply use a large mixing bowl instead. Just pour in the marshmallow mixture and combine in the bowl.
- ✔️ You will need to work fast when combining the rice and marshmallows, as the mixture sets quite quickly.
- ✔️ Cut a piece of baking parchment to the size of the baking dish and press it down evenly with your hands on top of the mixture. This helps to compact the treats into the dish and creates an even top.
- ✔️ Kellogg's Rice Krispies do contain gluten, however, there are plenty of gluten-free varieties available in the major supermarkets or online.
💬 Recipe FAQs
How do you store Rice Krispie treats?
Once sliced, keep them in a large airtight container on the kitchen side for up to 3 days. You can place baking parchment paper in between the layers to stop them from sticking.
Yes. First place them on a baking tray and freeze for an hour, or until hard. Then, remove the squares from the tray, place them in a freezer bag, and return them to the freezer for up to 3 months. Freezing them flat first prevents them from sticking together. Leave to defrost at room temperature for a couple of hours before eating.
How do I make sure my dairy-free Rice Krispie treats stick together well?
Using enough dairy-free margarine or coconut oil and ensuring the mixture is well-pressed into the pan will help the treats stick together. If needed, you can also slightly increase the amount of marshmallows.
📖 More Sweet Treats
Looking for other recipes like this? Why not try these:
If you loved this recipe, please leave me a 5🌟 rating or comment below. I really do appreciate it. 😊
📖 Recipe
Dairy Free Rice Krispie Treats
Ingredients
- 200 grams (7 oz) marshmallows
- 250 grams (8.8 oz) rice krispies
- 3 tablespoon coconut oil
- ½ teaspoon vanilla extract
- pinch sea salt
Instructions
- Fully line a 8x8-inch baking dish with parchment paper or grease it lightly. Alternatively, you can use a silicone dish, these don't need lining or greasing.
- In a large saucepan, melt the coconut oil over a low heat. Once. melted, add the marshmallows and stir continuously until they are completely melted and smooth.
- Remove the saucepan from heat and stir in the vanilla extract and salt. Mix well to combine.
- Add the crispy rice cereal to the saucepan and gently fold it into the melted marshmallow mixture until well-coated. Be careful not to crush the cereal while mixing.
- Transfer the mixture to the prepared baking pan and press it down evenly using a piece of parchment paper and your hands. Applying slight pressure helps to compact the treats, so they don't fall apart when set.
- Allow the Rice Krispie treats to cool at room temperature for about an hour or until they are firm and set.
- Once cooled, use a sharp knife to cut the treats into desired sizes and shapes. Square or rectangular shapes are the traditional choice, but feel free to get creative!
Notes
- ✔️ I love to use silicone baking dishes as they don't require any lining with baking parchment or greasing and are completely non stick!
- ✔️ When mixing, if the saucepan you are using is not big enough to hold all of the rice cereal, then simply use a large mixing bowl instead. Just pour in the marshmallow mixture and combine in the bowl.
- ✔️ You will need to work fast when combining the rice and marshmallows, as the mixture sets quite quickly.
- ✔️ Cut a piece of baking parchment to the size of the baking dish and press it down evenly with your hands on top of the mixture. This helps to compact the treats into the dish and creates an even top.
- ✔️ Kellogg's Rice Krispies do contain gluten, however, there are plenty of gluten-free varieties available in the major supermarkets or online.


Comments
No Comments